Friday, 23 August 2013

1/48 Hasegawa F-14B Tomcat - Part VI

Slowly plodding on with this. Managed to get a shot up it's bum


Primer on. I've used Mr Surfacer 1200 thinned with Lacquer thinners and sprayed through my airbrush
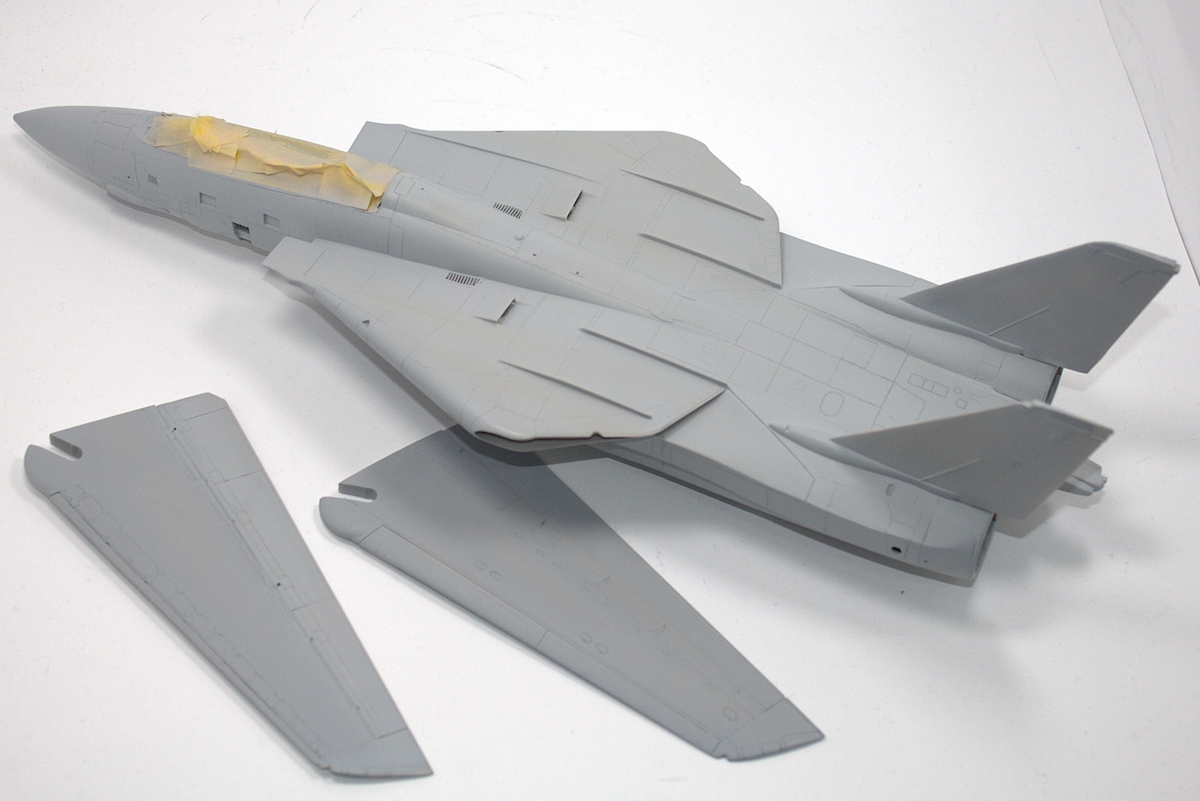

Another Hasegawa boo boo is the size of the camera pod. It should go all the back to the nose gear bay. I've used a bit of card and some filler to extend the pod to the correct length.

The F-14 has a green tinge to the centre panel of the windscreen. I chose to simulate this by airbrushing light coats of Tamiya Clear Green/X 22 Gloss thinned with Mr Color Thinners. This was my first attempt, to many coats so it's to dark. To remove it just use Isopropal Alcohol. This will not damage the plastic


Second attempt. Maybe a bit light. The hardest part is not getting any dust on it. I painted it on the inside of the windscreen as it should be less likely to get damaged during the rest of the build.


Pre shading, I'm not usually a fan of this, but the F-14 did get quite dirty, and light grey overcoat should mean I can get a decent result.


Happy enough the with finish that I can move onto the next stage. I've used the Mr Color and Mr Hobby Paints, called out in the instructions for the base coats. The other "50 Shades of Grey" are Mr Color, Mr Hobby and Tamiya from my extensive collection of grey paints


Before I do the back I have to fill the windscreen. I used normal cement, applied carefully to secure the windscreen. I'll used Perfect Plastic Putty to fill the gaps


Hours of masking, for 2 mins spraying - Still what choice do you have, its the only way to get the a good finish.


The Black is Tamiya NATO Black decanted from the Aerosol can and sprayed though my airbrush.


A few touch ups were needed after the masking came off. Particularly the rear of the black , which wasn't symmetrical 


Masked out the wheel wells, this took another 60 mins but worth it as I got a nice finish. After this dried I applied a black Wash. I couldn't be bothered going to town in there. Very little will be seen.


At the same time as masking the wheel wells I did the step wells. 


She now looks OK. Time to do the yellow (I hate painting yellow) and fit the clear anti col's


Sunday, 21 July 2013

1/48 Hasegawa F-14B Tomcat - Part V

The next issue I've come across is the gap between the engine fairings and the beaver tail.


I couldn't find a good image of this area that showed the size of the gap, or if one exists so I've decided to fill it a bit with card.


Aires engines, nice as ever but no one will see it. I really only wanted the exhaust nozzles (maybe that an idea for some resin manufacturer) but since I've bought the whole set I may as well use them. I painted the inners Tamiya XF-2 and then ran a black wash through them. Probably a bit dirty compared to references but, like I said no one will see it.


Lovely PE flame holders, the resin engine rear was nice as well


The fit is pretty good, but not perfect. The resin is a little smaller in diameter than the kit parts so some sanding is required. I finally managed to get a nice join on the Beaver tail as well


Ensured the fit is best at the top with a bit of sanding to done at the bottom

Love this water based putty, especially for gaps like the one between the intake and fuselage


Apply liberally


And wipe of with a wet finger or cotton bud, then let dry. Sometimes a repeat application is needed


Another issue with the Hasegawa kit is the length of the vertical stabiliser.


But it's easily fixed with a few swipes of the sanding sticks


Wednesday, 12 June 2013

1/48 Hasegawa F-14B Tomcat - Part IV

Here's the next instalment.

Anticipating a nasty join between front fuselage and the rear assembly I ignored the instructions and attached the top piece to the front fuselage, rather than joining it the bottom fuselage first and then trying to attach that assembly to the front fuselage.


Prior to this I'd added some card to the top fuselage, and cut holes in the resin pit for these to go through, allowing them to be glued to the front tub. The card also provides a stronger more sure bond between the 2 parts


I also put 2 cuts vertically down the rear of the resin pit, this allowed me to flex the front fuselage out to match the contours of the top fuselage. I also used a piece of sprue as a spreader to keep the front fuselage as close to the contour of the top piece.


One of the disappointments with this kit is the amount of warped sprues. I've had this kit for a while, and it's been in my garage which gets hot (about 45 deg C) in the summer but I don't think that should have caused this amount of warping.


I tried to straighten some of the parts by soaking in hot water and clamping the piece to a flat surface. This was only marginally successful.


Once the top part had set I attached the lower fuselage. This seemed to go together quite well... However this was a bit of wishful thinking, as I was going to find out later. I also attached the lower beaver tail to the lower piece first. This seemed like a good idea at the time.


Advice from mates at my model club was that the join of the lower forward fuselage cover always results in a step at the rear join. You can also see the spreader in this picture which stops the lower edges of the front fuselage assembly from curving in to far.


First dry fit seemed to confirm this advice


The rear of the front gear bay appeared to be a problem. But this was actually quite flexible and bent down. That is stuck up like this actually made it a bit easier to ensure that it located into recess in the lower fuselage piece.


And after some sanding and dry fitting I ended up with an excellent join. The only issue was a little bit of a mismatch a the front outer edges. The white bits of card filled a gap between the lower piece and landing gear bay. They also ensured good alignment along that seam.


The join was good enough that it didn't need cleaning up. Plus as the weapons pallets cover much of it. These Pallets are from Wolfpack and are very nicely detailed.


Here was the first of the big problems I found with my approach of fitting the top and bottom pieces separately.  Fitting the lower Beaver tail first was a bad idea and certainly compounded the problem.

After a fair bit of thought I decided to press on and fill the gap. I first dry fitted the Aires Exhausts to ensure the diameter of the exhausts was
correct.

Then I glued the upper beaver tail to the lower trying to keep the contour between the 2 pieces as straight as possible .


I cut a piece of card and glued it into the void.


Unfortunately the forward piece ended up a little lower than the rear piece so some serious filler was needed to try and restore the correct contours.


A final coat of Alclad primer was used to fill small scratches and valleys. Once dry this was polished with a various polishing sponges.