Sunday, 17 April 2016

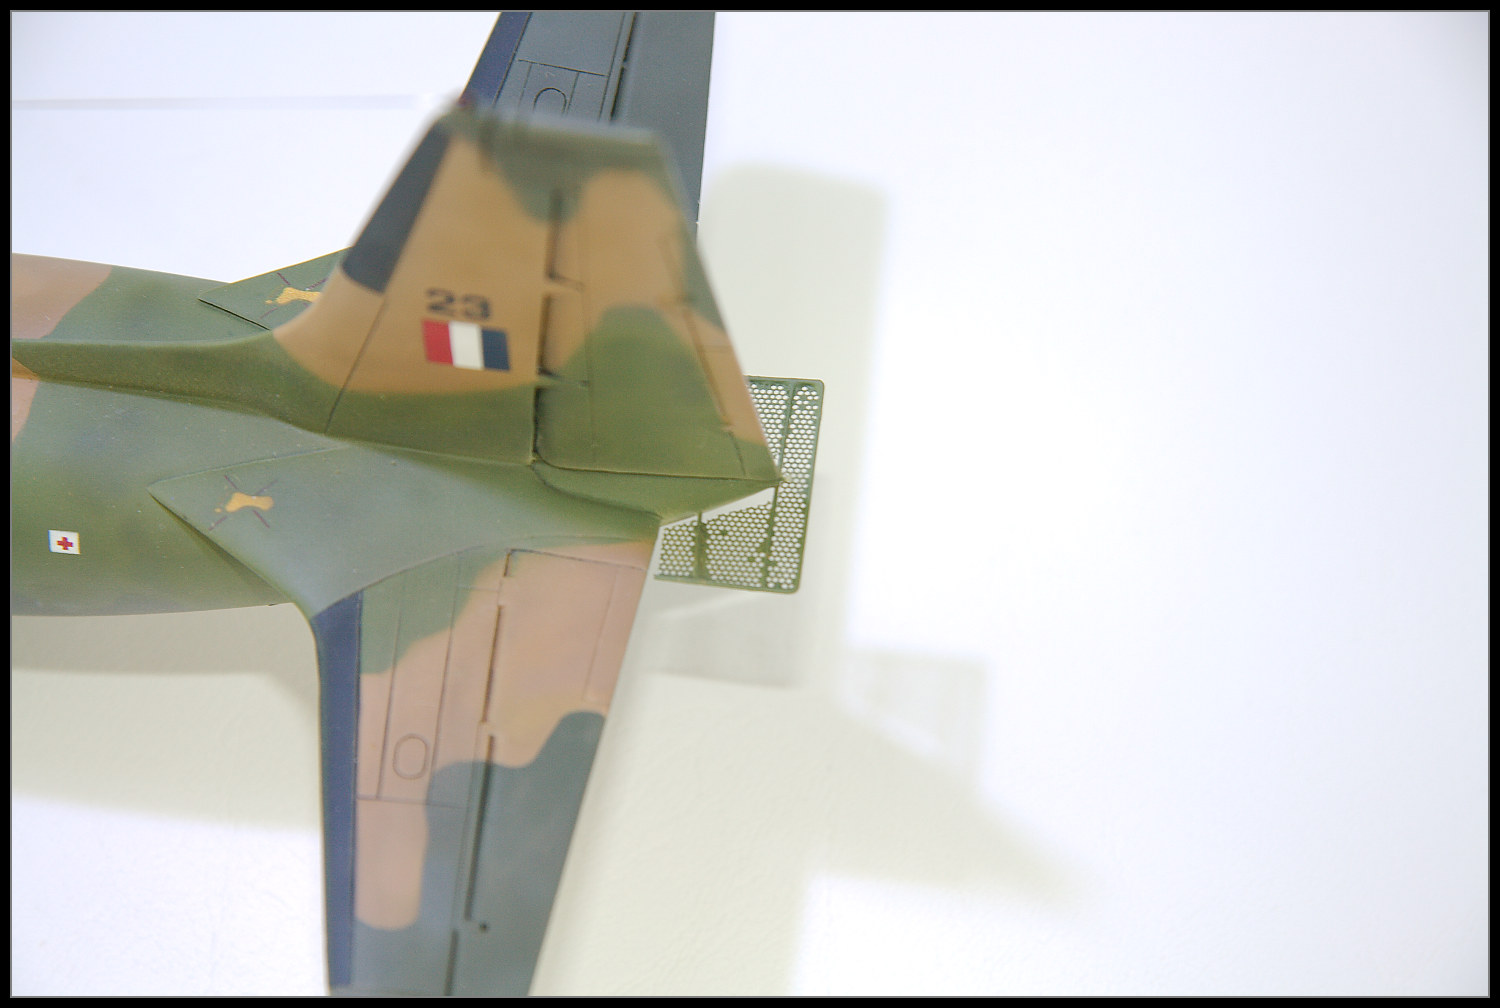
1/48 Mitsubishi A6M3 Zero - 251st Naval Airgroup - Solomon Islands 1943


Built this as a quick build to get over the long haul of the F-4EJ. 

The kit builds pretty well , the only area I had a little trouble with was the fit around the lower nose right at the front.

This aircraft was originally painted in overall grey green but then had a rough over spray of the dark green. Here's an image from Wikipedia 


I tried to duplicate this but I didn't see the above image until I'd nearly finished so I don't think I really got there. Still it's good enough for the cabinet. 

The kit comes with 5 really nice figures so I thought I'd have a go at painting 1 up. The base is a cheap $3 frame. I added the grass matt and added some mud/dirt along with bit of foliage to break it up a bit. 


The Kit

  • 1/48 Tamiya Mitsubishi A6M3/3a Zero (Zeke) Kit No 61108
Aftermarket
  • None - this is straight from the box


Painted with
  • Gunze Lacquers for the main colours
  • Tamiya Acrylics for the interior
  • Testors and Tamiya Gloss Coats
  • Testors Dullcoate 
  • Vallejo and oils for the details 
Weathered with
  • Various Oils, Pigments, Pastels and Tamiya Weathering sets

Build threads 
The Pictures 


Wednesday, 9 March 2016

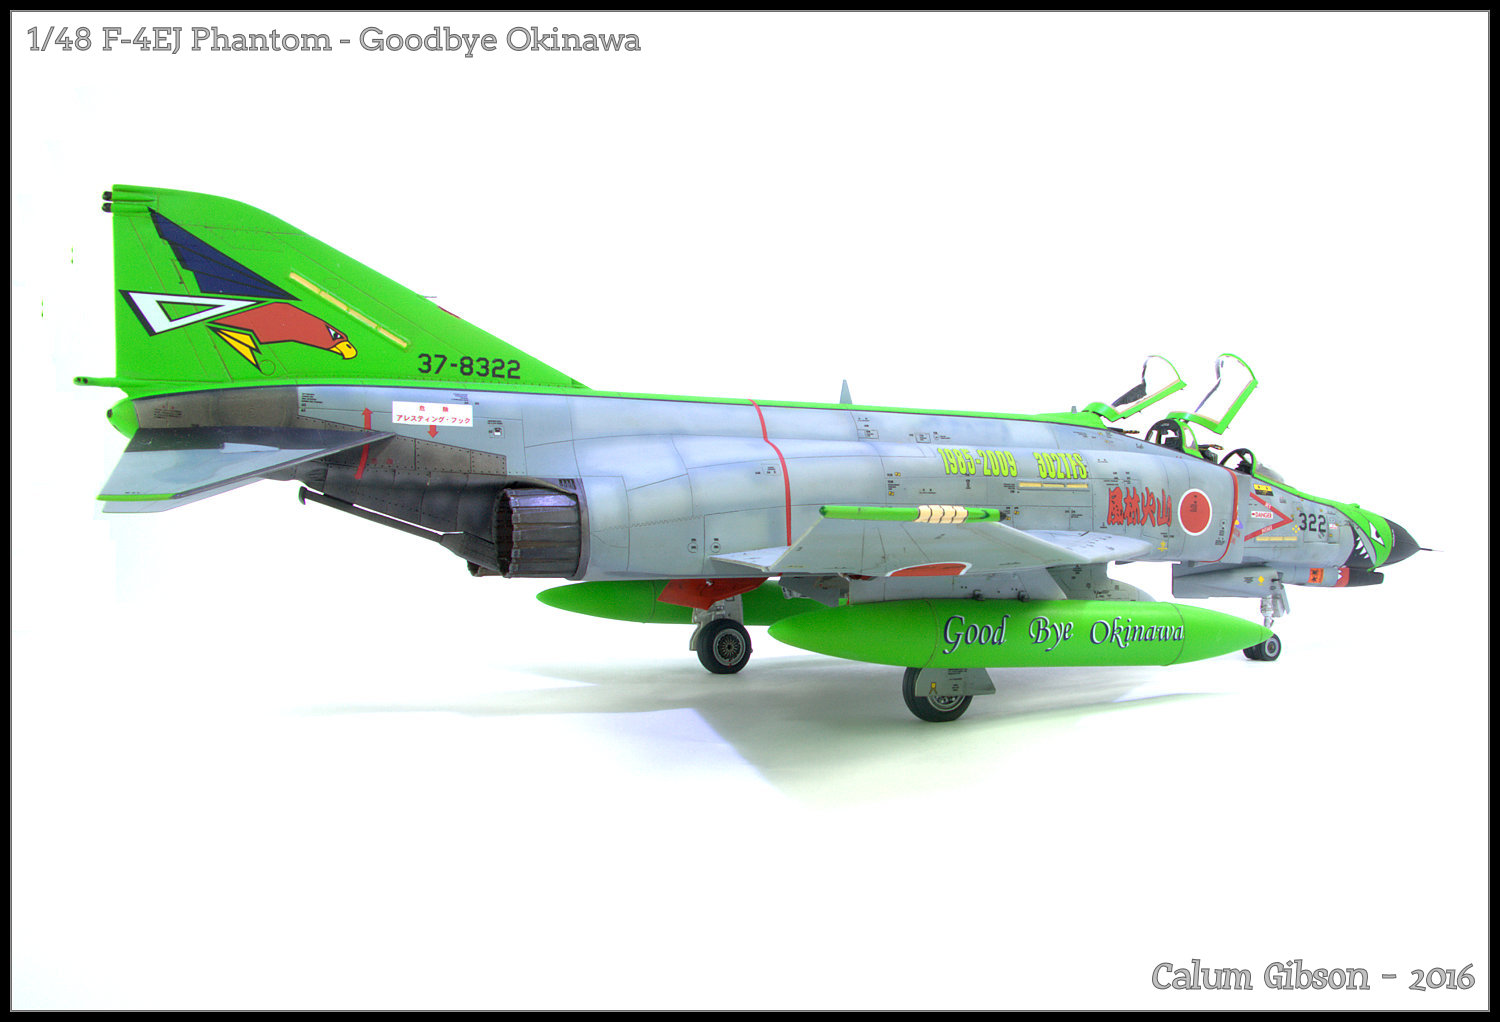
It's Not Easy Being Green - 1/48 Hasegawa F-4EJ Phantom Goodbye Okinawa


Well it's bright and it's done. 


This is my second Hasegawa Phantom depicted as a jet (37-8322) of 302 Hikotai based at Naha Okinawa in December 2008. It was specially painted to commemorate the trasnfer of the unit to Nyutabaru after 24 years on the island. The aircraft was scrapped 3 months later in March 2009.


Lessons Learnt

Not all Hasegawa Phantoms are the same. Even though the Sprues for the Wings (sprue L) and Fuselage (sprue J)are labelled the same there are 2 different versions of the same sprue depending on the boxing.  

As such I really should have used the F-4EJ Kai boxing, which has the proper fuselage and wings with the correct antennas.

My biggest disappointment was the Wolfpack resin nose. I wasn't happy with the depth of the lines /detail so I re-scribed it, and didn't do a good a job. I'm not sure what it offers over the kit nose to be honest.

A close second was the True Details Pylon's, The engraved detail in these is pretty fine (non existent) and also needed re scribing.

Thirdly was the colours chosen by Model Alliance for the bright green decal text. It's nothing like Tamiya X-15, which seems to very closely match the green on the actual aircraft.

Enough rambling, onto the details


The Kit
  • 1/48 Hasegawa RF-4EJ Recon Phantom (HSG 09923)


Aftermarket
  • Wolfpack Nose and Pitot
  • True Details Pylons 
  • AMS Resin Intake Blanks
  • Aires Exhaust
  • Eduard PE
  • Quickboost Seats
  • Royale Resin Wheels
  • SAC Landing Gear

Decals
  • Model Alliance and Hasegawa for the stencils

Painted with
  • Tamiya Acrylics and Gunze Lacquers.
  • Gaianotes and Tamiya Gloss coats
  • Winsor and Newton Galeria Matt Varnish with some Dullcoate thrown in.
  • Vallejo and oils for the details 
Weathered with
  • Oils and Pastels. This is probably a bit underdone but I'd lost interest by this stage.
Build threads 

The Photos.


Saturday, 10 October 2015

1/72 S & M Hawker Siddeley Andover C.1 42 Sqn RNZAF


The Andover was the first aircraft I worked on when I joined the RNZAF and it also flew me to recruit training all those years ago.  I've always liked the look of the aircraft as well so I treated myself to the resin S & M Andover when it came out.

The build was a real struggle from beginning to end (check out the links below if you're interested) and to be honest I'll never build another in this scale (perhaps in 1/144). But in the end I'm happy with how it turned out.

The aircraft is depicted as NZ7623 from No 42 Sqn RNZAF.  I finished this in October 2015.

The Kit

  • 1/72 S & M Andover  - All resin with white metal undercarriage and props

Decals 

  • Old Models - really thick, close to sticker-like but they worked OK
  • Ventura  - a replacement roundel

Paint

  • Mr Color and Mr Hobby for the main camouflage colours
  • Tamiya for the black
  • Gloss: Mr Hobby
  • Flat Coat: Dullcoate

Weathering

  • Not much, just a bit of oil paint for the 

Build Threads