Tuesday, 18 September 2018

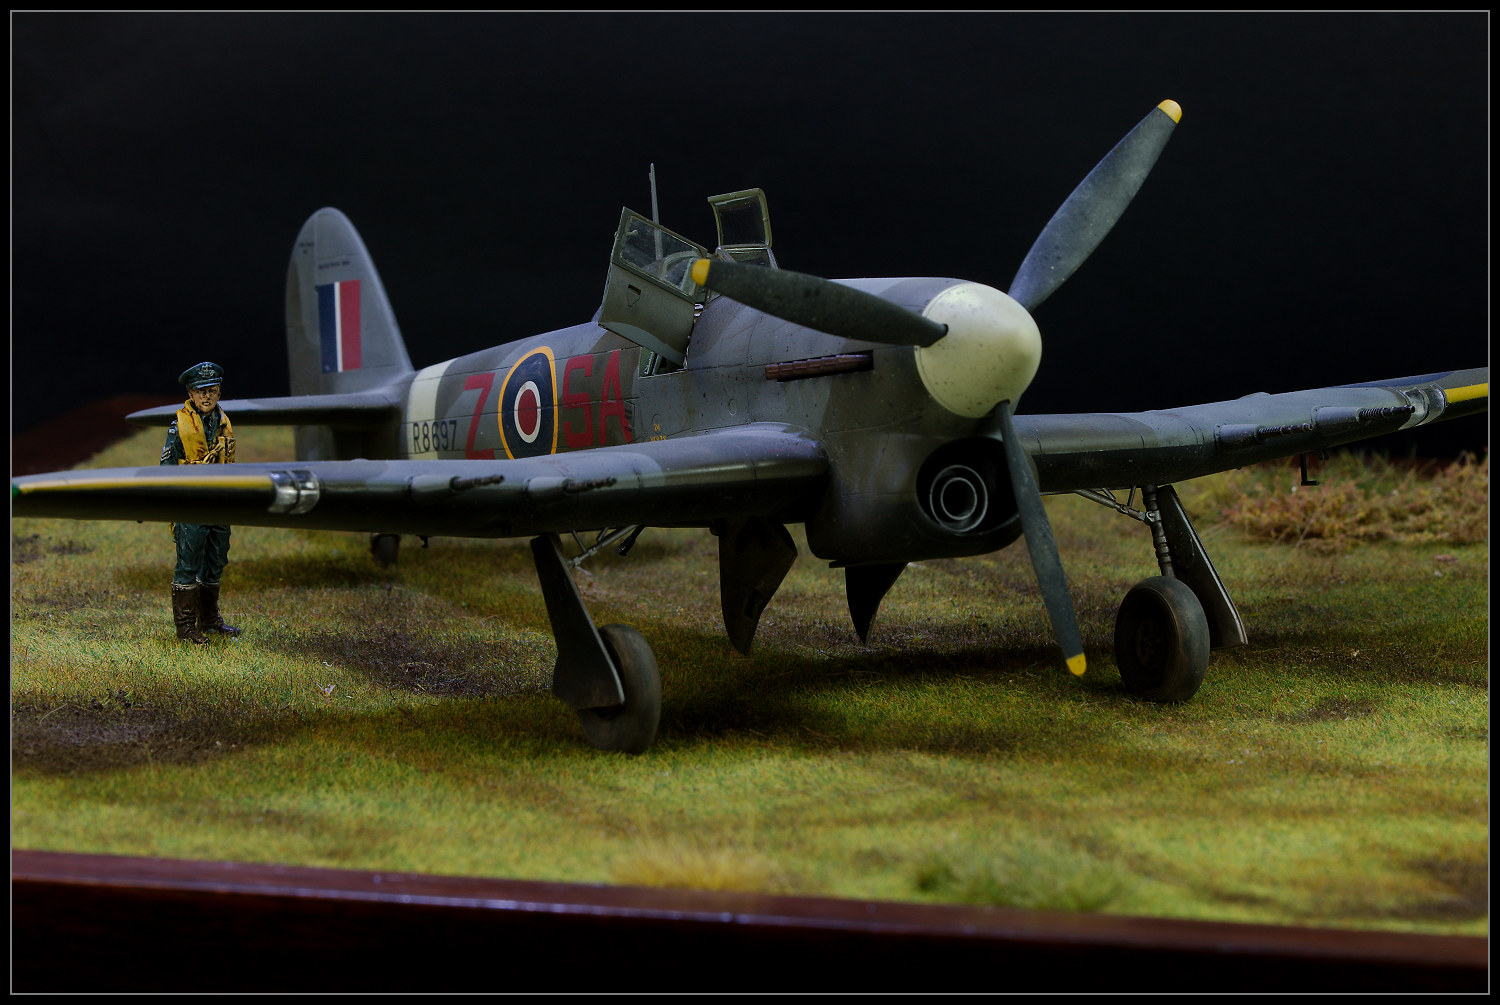
1/48 Eduard Hawker Typhoon IB - Car Door - 486 Sqn (NZ) RAF


The Typhoon has always been been one of my favourite RAF aircraft from World War II, it's such a beast.
I built the Monogram kit as a teenager and when I got back into modelling in the early 2000's I quickly built the Hasegawa bubbletop. I thought it was OK at the time but looking at the photos noq it wasn't the best, hence why it had long been scrapped.

A mate suggested we do a mini group build of the Typhoon so I figured I'd tackle the car door version as I had a Eduard Limited Edition kit in the stash.

I decided on a early Car Door variant from 486 Sqn (NZ) RAF, There were a couple of reasons for this, firstly it was a Kiwi Sqn, secondly the night fighter scheme is quite unusual and finally it is an early aircraft with no reinforcing plates on the tail and the exposed cannon barrels, which you don't see often.

The reason for the night scheme was that 486 Sqn operated with the Turbinlite Bostons , firstly with Hurricane IIc's and then for short while with the Typhoon, before they switched back to day op's.

The Kit


Eduards "Tiffy" boxing, Kit No 1131 . This has the Hasegawa plastic with Eduard PE resin and cartograph decals.
The kit goes together OK, however it does have inserts around the cockpit area (so both the bubbletop and Car door can be built with fro the same basic parts) and these don't fit well.
There are two ways to tackle this, either you remove the chance of a step by making the inserts sit flush with the contour of the fuselage. Do this and you will have a gap along the centre line, and the clear parts won't fit over the "hump" on the spine.

Or you fit the inserts so they meet in the middle, meaning you have a large step between the inserts and the fuselage parts. But the clear parts fit without modification and there is only the usual seem to fill.

I chose option 1. But I didn't find out about the clear parts until I'd finished the paint. I did manage to fix this by shaving down the insides of the clear parts so they fit over the "hump". The front windscreen seemed to fit OK

If/when I build another one I will again choose to match the inserts to the fuselage but I'll reduce the the width of the hump so the clear parts fit without having to attack them.

If building the bubbletop you won't have the hump to deal with and if you decide to leave the canopy open you should have no real issues using option 1.


Aftermarket

  • Ultracast seat. Eduard supply a PE seat but it seems rather over scale. The Ultracast Seat looks more correct scale wise.
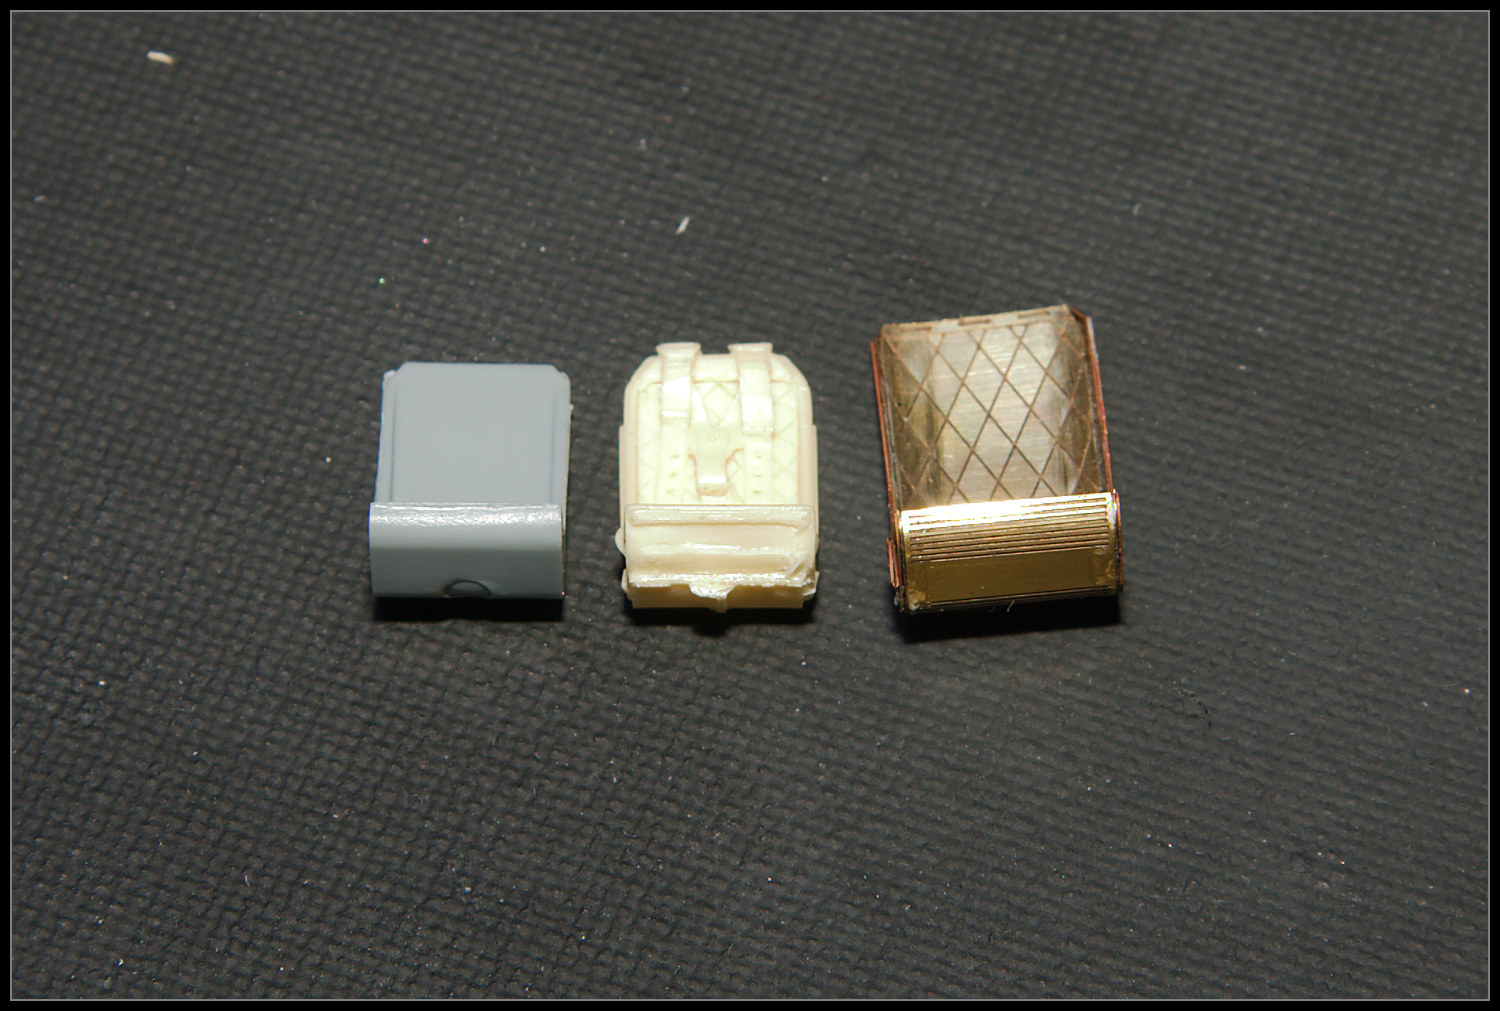


  • A lot of the other PE is a bit to fiddly for my taste. Next time I'll use the panel and that's it.


The Figure

  • The figure is from Plus Models. I really like the pose and he is quite nicely cast. He was painted with Vallejo Acrylics with a simple wash used to bring out the facial features.

Paint

  • Dark Green  - Mr Color Dark Green C361 and Tamiya XF81. Darker and light shades from various Mr Color greens.
  • Ocean Grey - Tamiya AS 10. Darker and lighte shades from various Mr Color/Mr Hobby
  • Black underside - Gaianotes German Grey
  • Sky - Mr Color Sky
  • Yellow - Mr Hobby RLM yellow
  • Other various Mr Color/Mr Hobby greens and greys for weathering
  • Various Vallejo Acrylics for details

Clear Coats

  • Gloss - SMS Clear Gloss
  • Flat - SMS Clear Flat

Weathering

  • Oil paints
  • Pigments
  • Tamiya Weathering Sets

Build Threads

Sunday, 26 August 2018

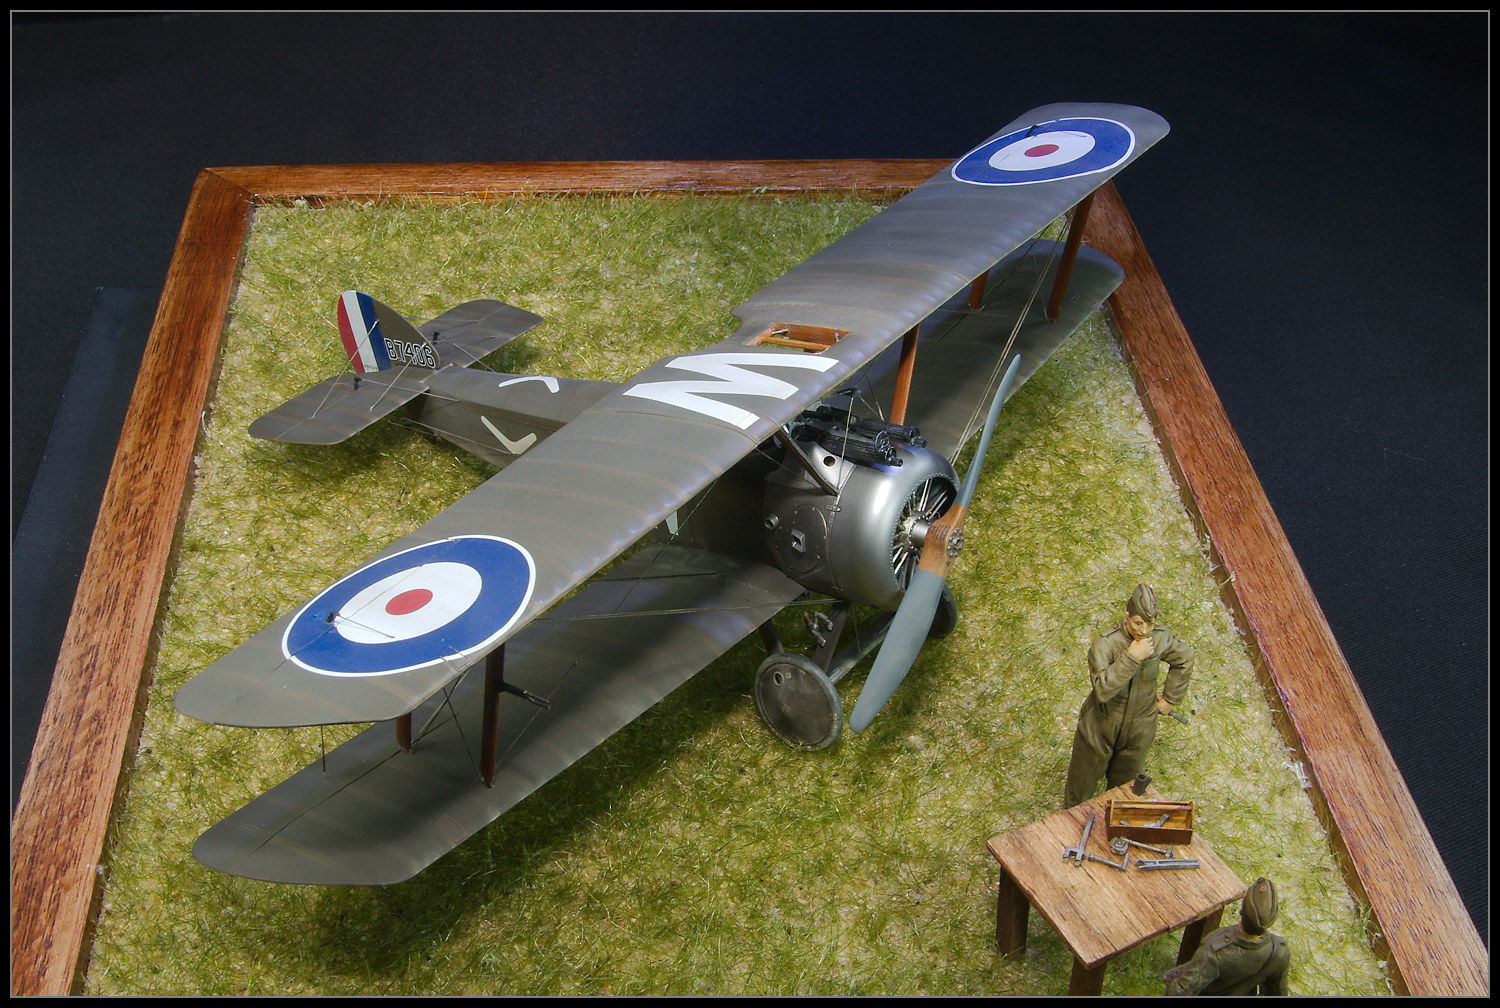
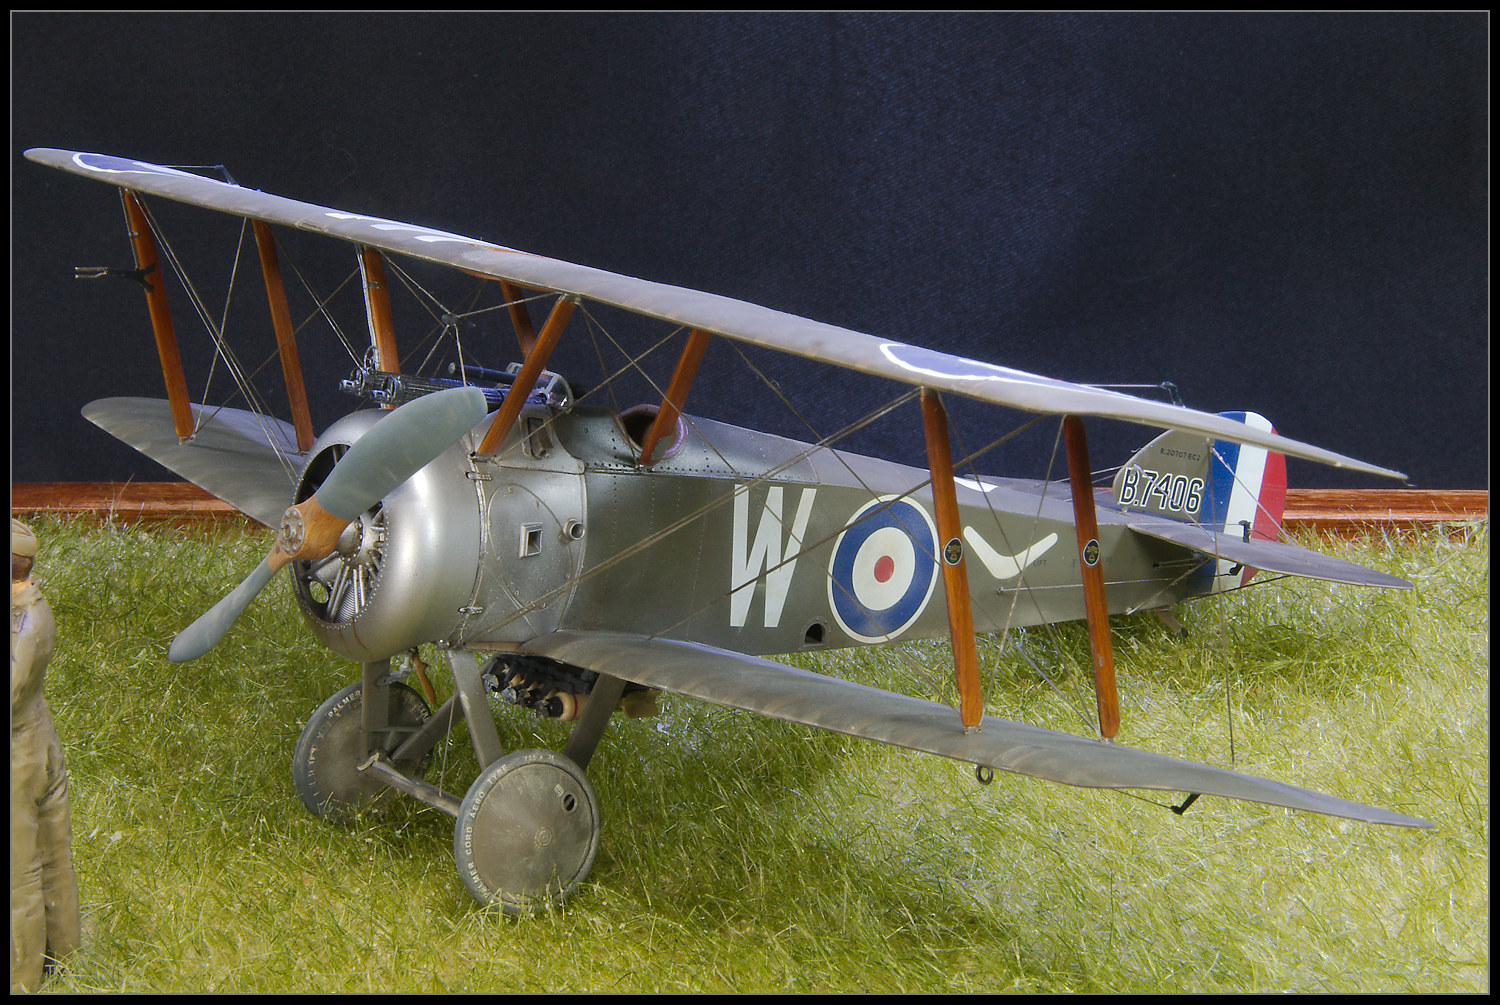
1/32 Wingnut Wings Sopwith Camel F1 No. 4 Sqn AFC


The Sopwith Camel has always been my favourite World War One aircraft. perhaps it was all those Biggles books I read as a kid. So when Wingnut Wings (WNW) finally released a Camel (or 5) I figured it was time to build one.

I chose the "Clerget" boxing of the kit, primarily as it had a Kiwi option in the box. But in the end I decided an aircraft flown but H.G. Watson C Flight 4 Sqn Australian Flying Corps in March 1918.  The main reason for this was that it will be easier to sell when I decide to get rid of it (being an Australian subject).

Herbert Gilles Watson was born in New Zealand but was in Australia when war broke out. He scored 14 victories with the AFC and was awarded the Distinguished Flying Cross. If you want to read more about him go here 

The Kit

  • Wingnut Wings 1/32 Camel F1. Clerget Kit No 32074

Aftermarket

  • Barracuda Studios Wicker Seat
  • HGW Seatbelts

References

  • Windsock - Building the Wingnut Wings Sopwith Camels & LVG C.VI

    It is quite expensive for the size of the book but I found it quite useful. 

Paints

  • Main Colour - Mr Paint PC10 late
  • Clear Doped Lien  - Tamiya Deck Tan
  • Tamiya AS12 for silvers with various Aclads for shadings
  • Various Vallejo Acrylics for details

Wood Effect

  • Tamiya Deck Tan for the base 
  • Burnt Umber, Raw Umber, Burnt Sienna, Raw Sienna , Yellow Orche Oil paints
  • Tamiya Clear Orange as an overcoat.

Rigging

  • Knitting in elastic for the rigging lines
  • Ezy Line for the control lines


Clear Coats

  • Tamiya X22 For the gloss
  • Mr Color Semi Gloss for the area around the cockpit
  • SMS flat

Weathering

  • Oil paints
  • Tamiya Weathering Set
  • Pigments

    Not knowing much about WW I aircraft I had no idea how these things weather. Most of the ones I've seen built seemed clean. I figured there would have to be a bit of dust on the underside so I used the weathering set and some pigments to add some dust.

    The underside weathering was based on an image from the Windsock book.


The Figures

  • Blackdog RFC Pilot
  • Blackdog RFC mechanic

    These were base coated with Tamiya Khaki then the details and shading were done with Vallejo Acrylics. Outlines were done with oil paint.

    These are the first 32 scale figures I've painted and I'm pretty happy how they turned out. 


The Table and Tools

  • The table was made from balsa wood and painted with thinned oil paints. The tools are bits and pieces from the spares box

The Base

  • The surround is made from cheap skirting from Bunnings. I've made it so the ground section can be changed depending on the model.
  • The Grass is from J's Modelworks. The grass probably needs a mow.

Build Thread

  • There is a full build thread here

Conclusions

This build was a number of firsts for me, first 1/32 kit, first Wingnuts wings kit, first time rigging something and first time doing some large figures.

Overall the fit was good but there were some areas where it didn't live up to the the hype. Whether that was down to me or the kit, who knows (the build thread has details). Getting the decals to bend over right angles for the ailerons was also bit of a struggle. 

I can't say I enjoyed the rigging process, I found it quite frustrating, with the CA glue either not sticking when I needed it to, or sticking when I didn't want it to. There are a couple of other WW I aircraft I like, the Bristol Fighter, DH-2 and Fe-2B in particular but after this it will be a while before I tackle another kit that needs rigging.

I did waste a fair bit of effort on the inside. It seems to be the thing to do in WW I modelling from what I saw online, and being the follower I am I just played along. Next time (if there is one) I will probably skip detailing parts that can't be seen.

The instructions are excellent, probably the best in the business IMHO.  The inclusion of photos of the actual aircraft (albeit a restoration) are very useful

Still, it's finished and in the cabinet. 

The Photos