
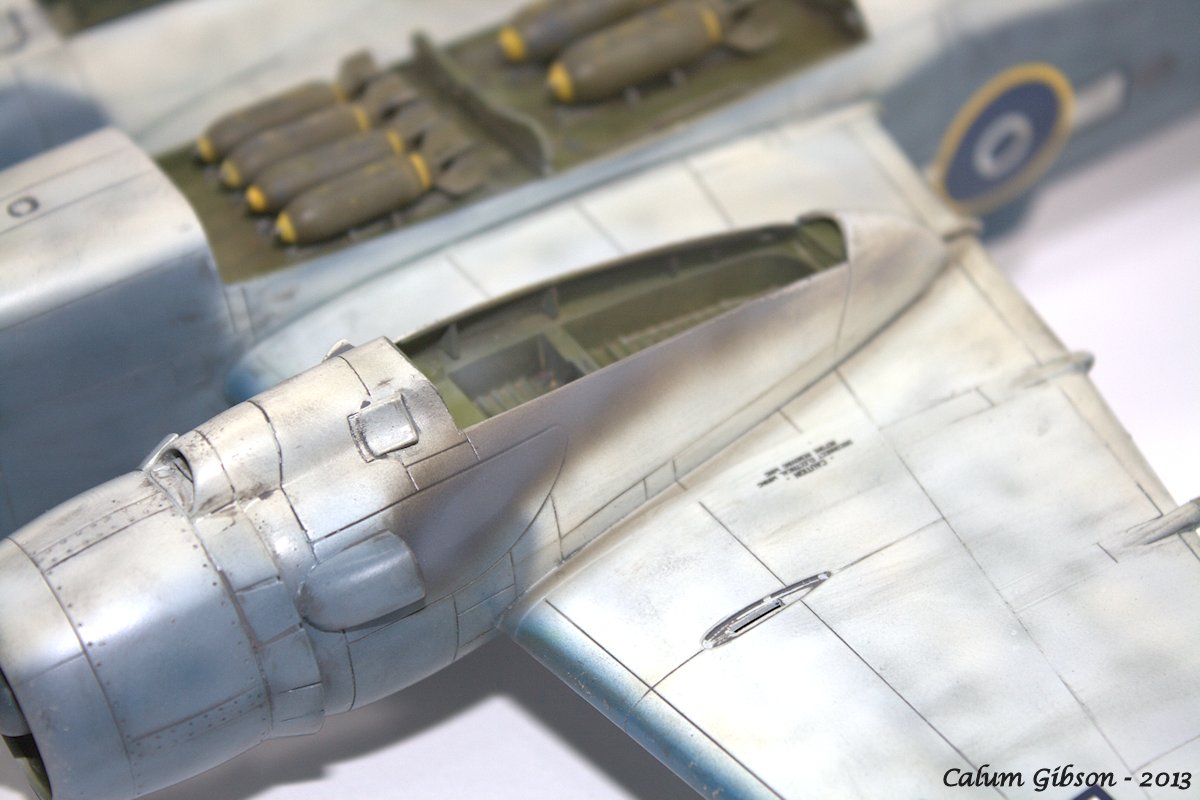
I weathered the bombs a bit. There was discussion on this on Hyperscale a few months back and I agree with those who believe that World War II bombs were rarely pristine. These were then fitted into the bomb bay

Using thinned enamels I applied some exhaust staining, The initial colour was a mixture of black and brown. I then applied some grey down the centre. Not sure how accurate this is bit I like the effect.
The beauty of using Enamels over Dullcoate is you can easily remove it if you don't like by simply wiping it off with white spirits. I had about a dozen goes on one side before I got the pattern I was after

Next was the bomb days. Now I know why I haven't seen a build with these open. They were a bit of pain to fit. After about an 30 minutes I managed to get the lower doors on - why is it that super glue only bonds fingers in seconds, and not the bits you want to stick? The trick I found was to removed the triangle shaped bit that you glue tot he centre hinge and attach it after the lower doors are on.
I moved onto the upper doors but after an hour of struggling I really hadn't made some progress so I took the rest of the night off. The next day things went a bit better and the upper doors went on OK. to ensure alignment I had to tack them in a few places with CA. Again the slow drying CA proved annoying.
Finally I inserted the main gear legs, these were a doddle to fit. However the doors were a bit bit more painful. I used CA gel here as it provided some working time but was tacky enough to hold the doors in place.
The tail wheel assembly was inserted and and main wheels added. A bit of finagling was needed to ensure the wheels were aligned correctly.
The lights were painted and the pitot probe added. Then I set it aside to dry overnight..


No comments :
Post a Comment