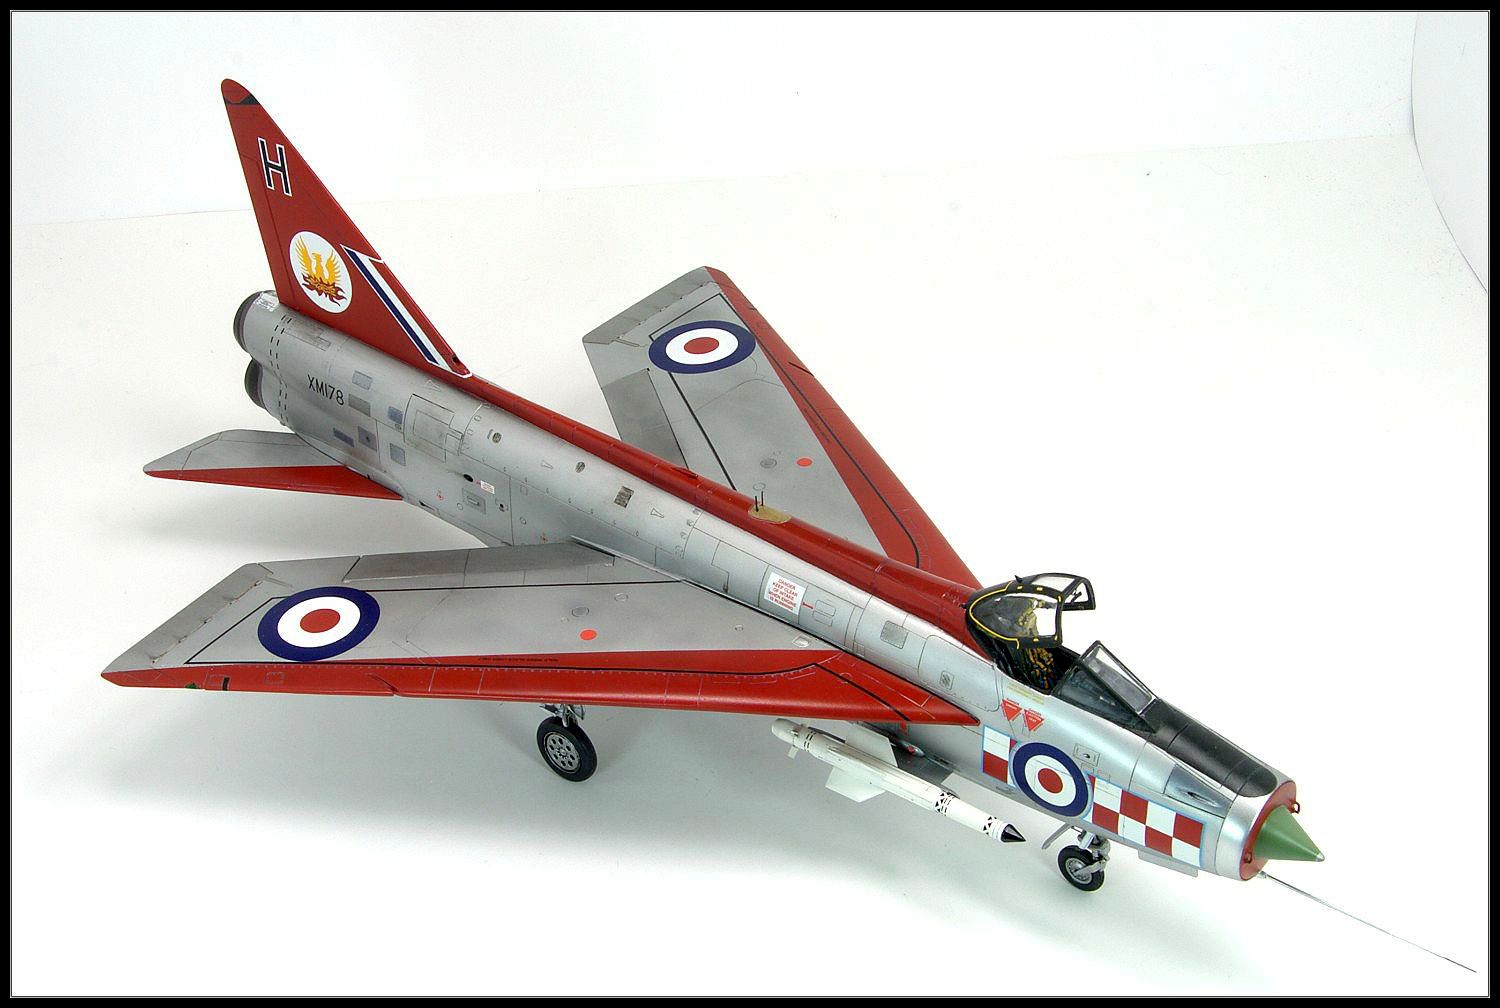
Depicted as an aircraft flown by the Royal Air Force Aerobatic team "Firebirds" in 1963-64.
The team was formed from No. 56 Sqn and hence the name Firebirds as this is the Sqn's emblem.
This is the second of my Airfix Lightning's (the first can be seen here). This time I wanted to try a silver machine and the box art suckered me in to doing this scheme.
The Kit
Aftermarket
- Aires Cockpit - for the F2/F6. A waste of time because you can't see anything when the seat and combing fitted
- Aires Exhausts - Drop fit, beautiful detail
- CMK Undercarriage Set - barely worth it as my set had a lot of broken parts and 2 left wheels and but no right one .
- Two Mikes Blank - This proved more difficult to get a good finish upon then I expected. Still it looks good
- SAC undercarriage - for strength not detail
- Eduard PE - Well worth the investment for this kit IMHO
- Hobby decal Pitot probe - worth the investment
- Quickboost seat - Great detail , although I wonder about it's accuracy. Thankfully it fits in the Aires Tub because t doesn't fit in the stock kit
Decals
- Aeromaster - Lightnings Part 1 (should be called Error Master)
- Barracuda Studios (Stencils
The Build
I started with the main undercarriage wheel wells and immediately broke the top surface of the CMK parts so decided to replace it with the PE parts.
Pretty simple to remove the resin by sanding on a sheet of sandpaper on a my glass work surface
I added some 0.005" card for extra support for the leading edge slat. I did have to scrape some material away from the inside of the upper wing to get a good fit.
All done, this was easier than I thought and took about 2 hours.
Next is the worst part of this kit, the intake and nose wheel bay assembly. This whole assembly, in particular the intake simply doesn't line up, and it's not buy a little either (more on this in later posts)
But for now back to the nose bay, as you can see the kit upper wheel bay is oval shaped whereas the area in the intake (lower wheel bay) which attaches to the fuselage is rectangular. The CMK piece looks much better in shape and internal detail.
Unfortunately the CMK piece has the top fairing broken off. In fact, a lot of the CMK set was broken, I've had it for years and it was bought second hand but the packaging isn't that great.
Here you can see the upper wheel bay after I tried "stretch" the sides of the wheel bay to make it line with the lower wheel bay. This worked at the back but the front is just way to far out for this to work. I don't really understand why Airfix got this so wrong.
I decided to cut the front edges of the wheel bay and bend them out a bit. Not accurate but close enough. I added putty to smooth the step created by bending the edge.
This looked good enough. I added putty to smooth the step created by bending the edges out.
Here's a shot that shows the issue with the intake, the gap between the nose ring and intake assembly.
Another problem is that the nose ring doesn't quite match the profile of the fuselage (and no I'm not squeezing the fuselage halves together to hard). I could never conclusively determine out if this is actually how the aircraft is or if this another issue with the kit. I lean towards it being a kit issue.
I did try to fix the gap between the nose ring and intake but after a couple of ideas didn't really pan out, and as I was in a bit of a hurry to finish this I decided to resort to a simpler method.
I did some work on the cockpit. Not sure why I bothered as none of this nice detail will be seen.
I'm using the Quickboost seat (which doesn't fit in the kit Tub) as I can't be bothered with the PE seat belts on the Aires set.
Details were picked out with Vallejo Acrylics.
A bit of dry brushing with Vallejo Sky grey to enhance the detail (that will never be seen again).
After losing patience with the intake and nose gear bay an as the CMK bit was broken I wondered if I could still use it's nice undercarriage bay.
Off comes the bullet and in it goes. I had trouble with the cockpit tub although other people report it's reasonably easy to fit. I think I made more of a meal of it than was necessary.
I fitted the engine and exhaust parts to give some support to the fuselage, otherwise it will be very easy to squeeze to hard on the fuselage when it's together and break the glued join.
Fuselage buttoned up and the Twomikes Nose blank fits nicely. Black pigment is used to check the panel lines are ok.
I made a bit of meal of the wing to fuselage join. I use CA to make this join so I could re-scribe where needed.
After the CA, Perfect Plastic putty was used to fill the remaining gaps.
Painting and Finishing
The model was primed with Alclad Primer, then polished with Micro Mesh and a T shir.
All masked up after Tamiya AS12 was applied . This was decanted and sprayed through the airbrush. The Black on the nose ring is Tamiya Gloss. It is an undercoat for the chrome that will be applied later.
After a week of back and forth to the paint shop it's done. The red is Tamiya gloss red, the black is Tamiya NATO black and the Silver Tamiya AS 12. Flaps and Ailerons were painted Alclad Dark Aluminium.
A few panels on the lower fuselage were picked out with Alclad Duralumin and Stainless Steel.
The Alclad Chrome nose ring gave me a lot of trouble but looks good now.
Decals
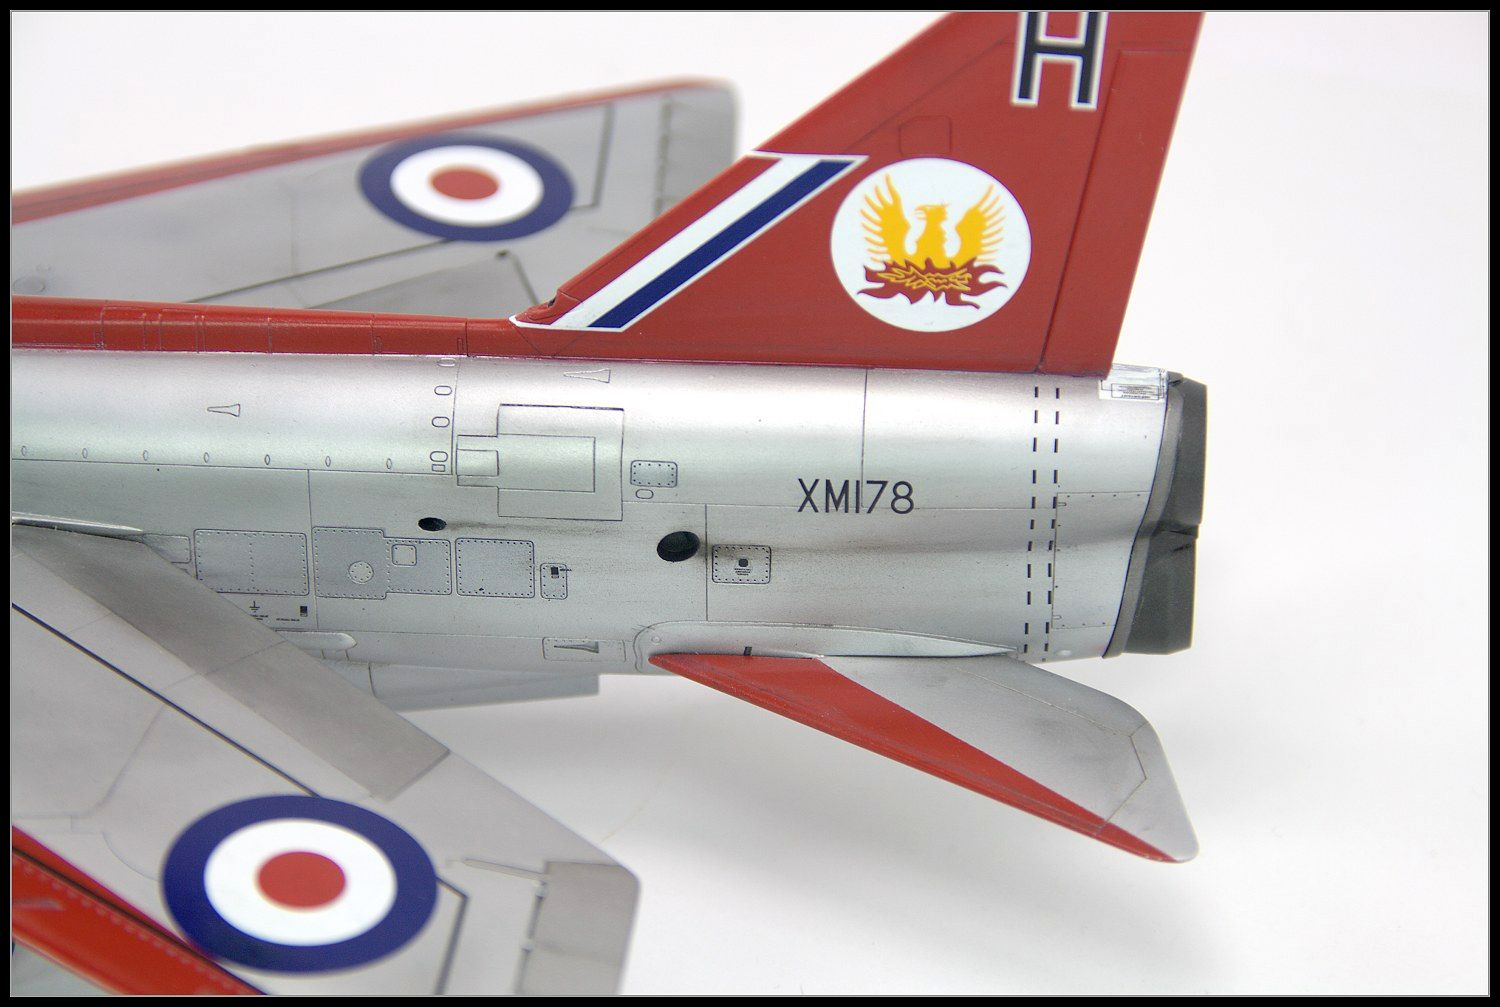
Unfortunately Aeromaster lived up to their nickname of Error master. The Tail identification letter seems to large and the Firebird on the tail should, according to my references, have a black outline around the white circle and the yellow bird. Another thing I disliked was that a lot of them were 2 part decals. Mind you it was an old sheet so this is to be expected.
As for the Airfix decals, well they were from the late 1990's so while they looked correct they were seriously of register and had extremely thick carrier film so in the end I decided to use the Inaccurate Aeromaster set.
The Stencils however were Roy Sutherlands excellent BarracudaCals. These are Cartograph printed and were went down perfectly.
Final Steps
Undercarriages, well I hate them. These are the SAC white metal gear. Detail
nowhere near as good as the plastic but I worry how the kit nose leg in particular will hold up over time. I added some hydraulic lines / electrical looms with 0.020" wire. Aluminium tape was used to hold the wire on.
Undercarriage on. I hate this part as it's always a faff to get things secured and aligned correctly.
I thought about using the ladder but in the end decided against it.
Some final weather was done with oils for the panel lines but I'd lost interst in this build by then so not a lot more was done.
Conclusion
This is my second Airfix Lightning and the same issues I struck with the first kit were also apparent on this one. If not for the nose gear bay / intake issues this would be a pretty simple build. But that area really lets the kit down despite the kit being a mid 1990's design.
Overall I am happy enough with the outcome but the scheme didn't look as good on the model as I'd thought it would. Still it's in the cabinet now and that's all that matters.
The Photos


