

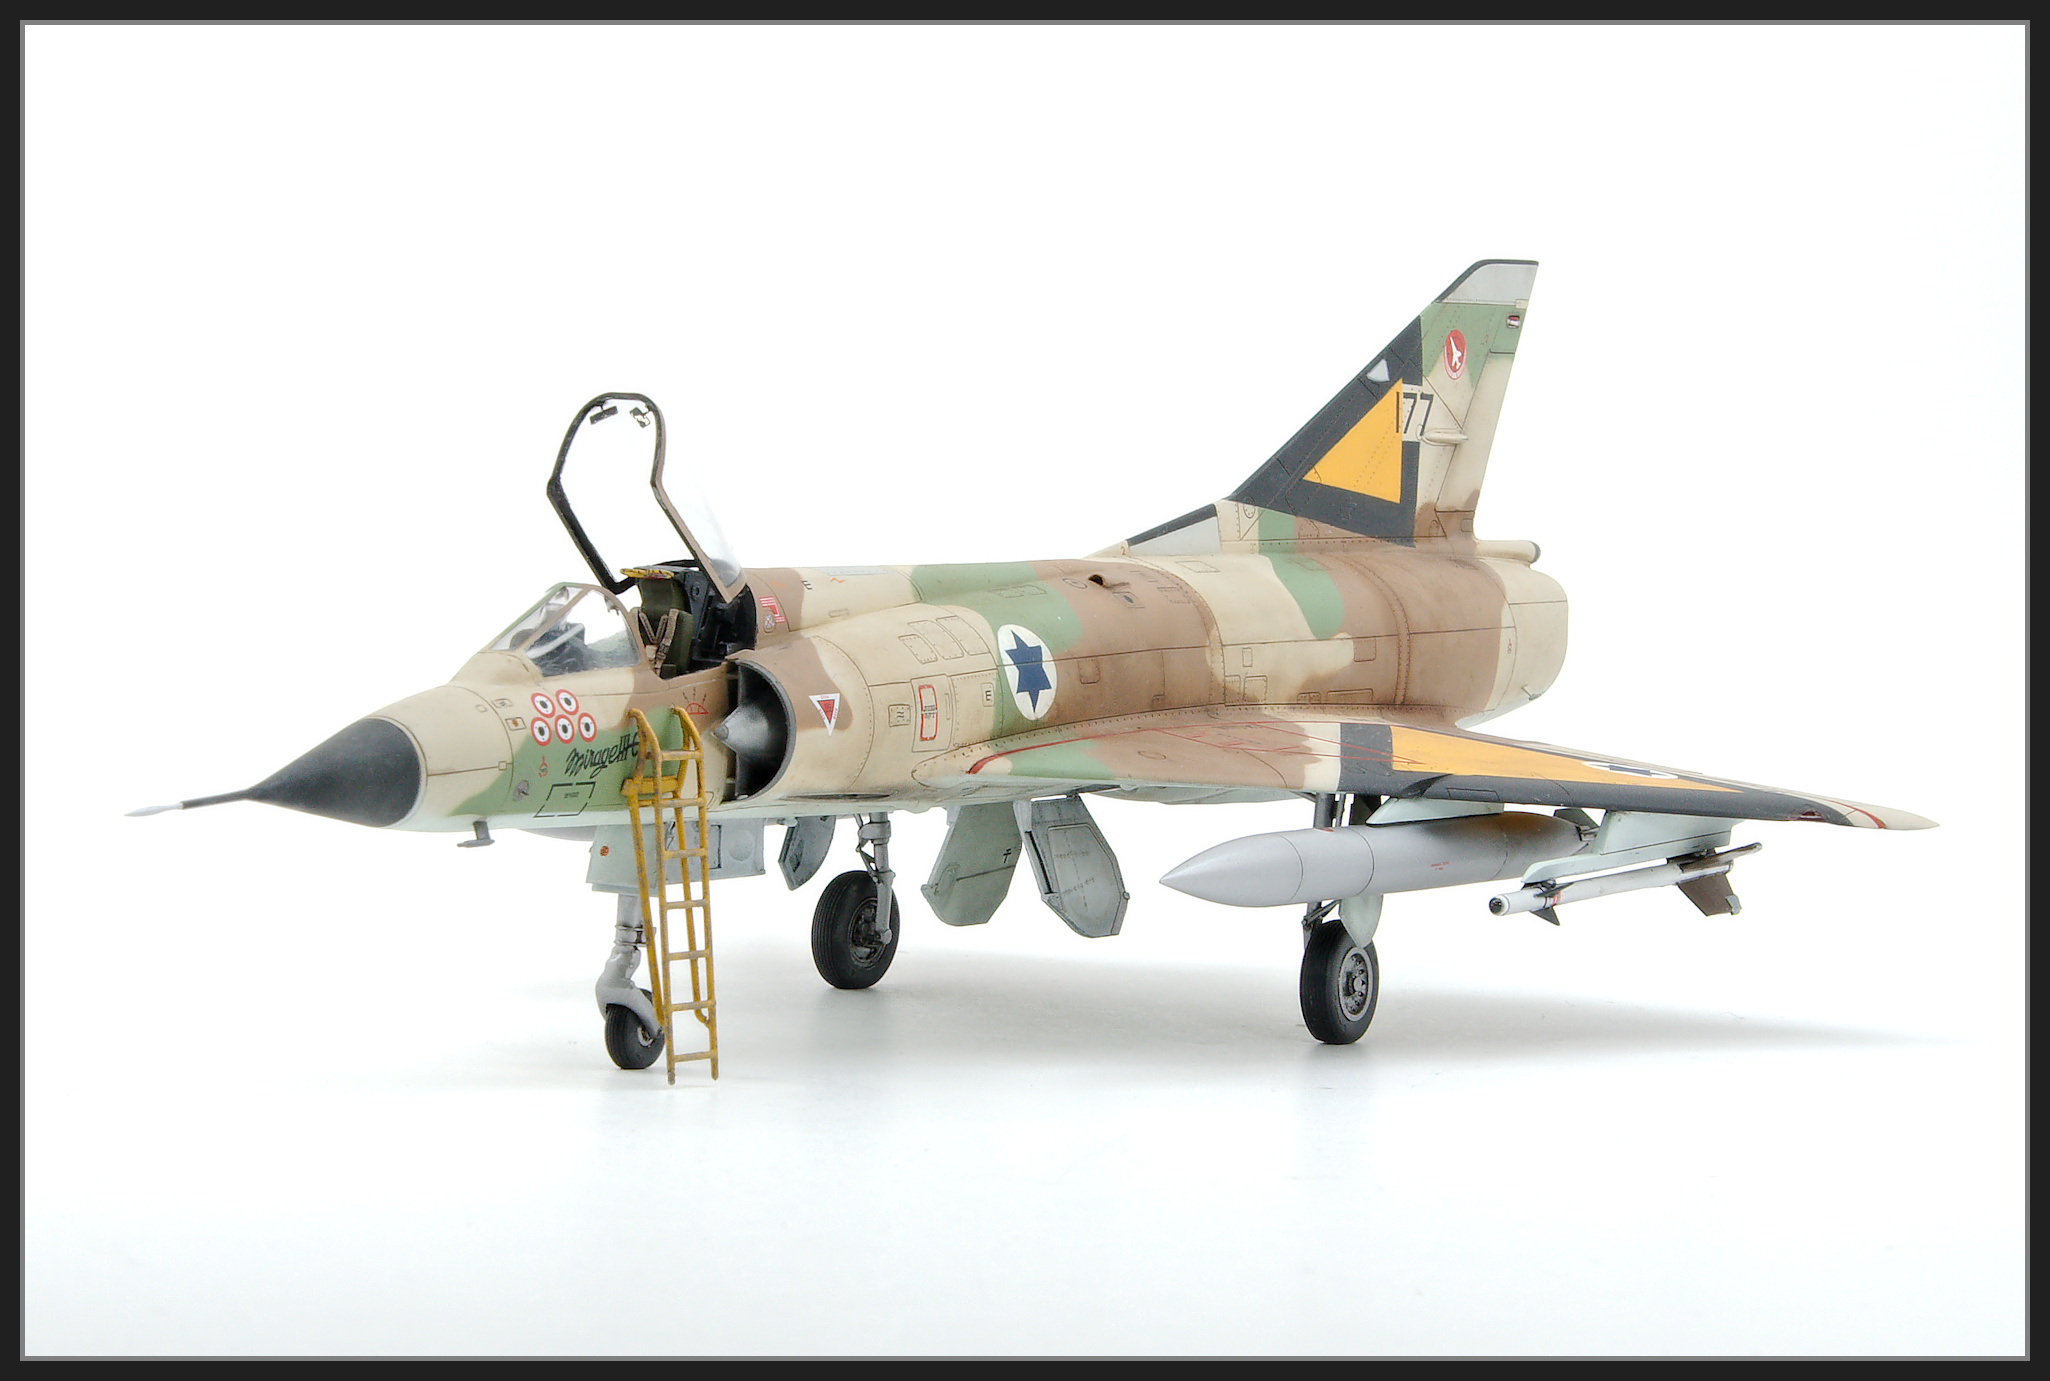
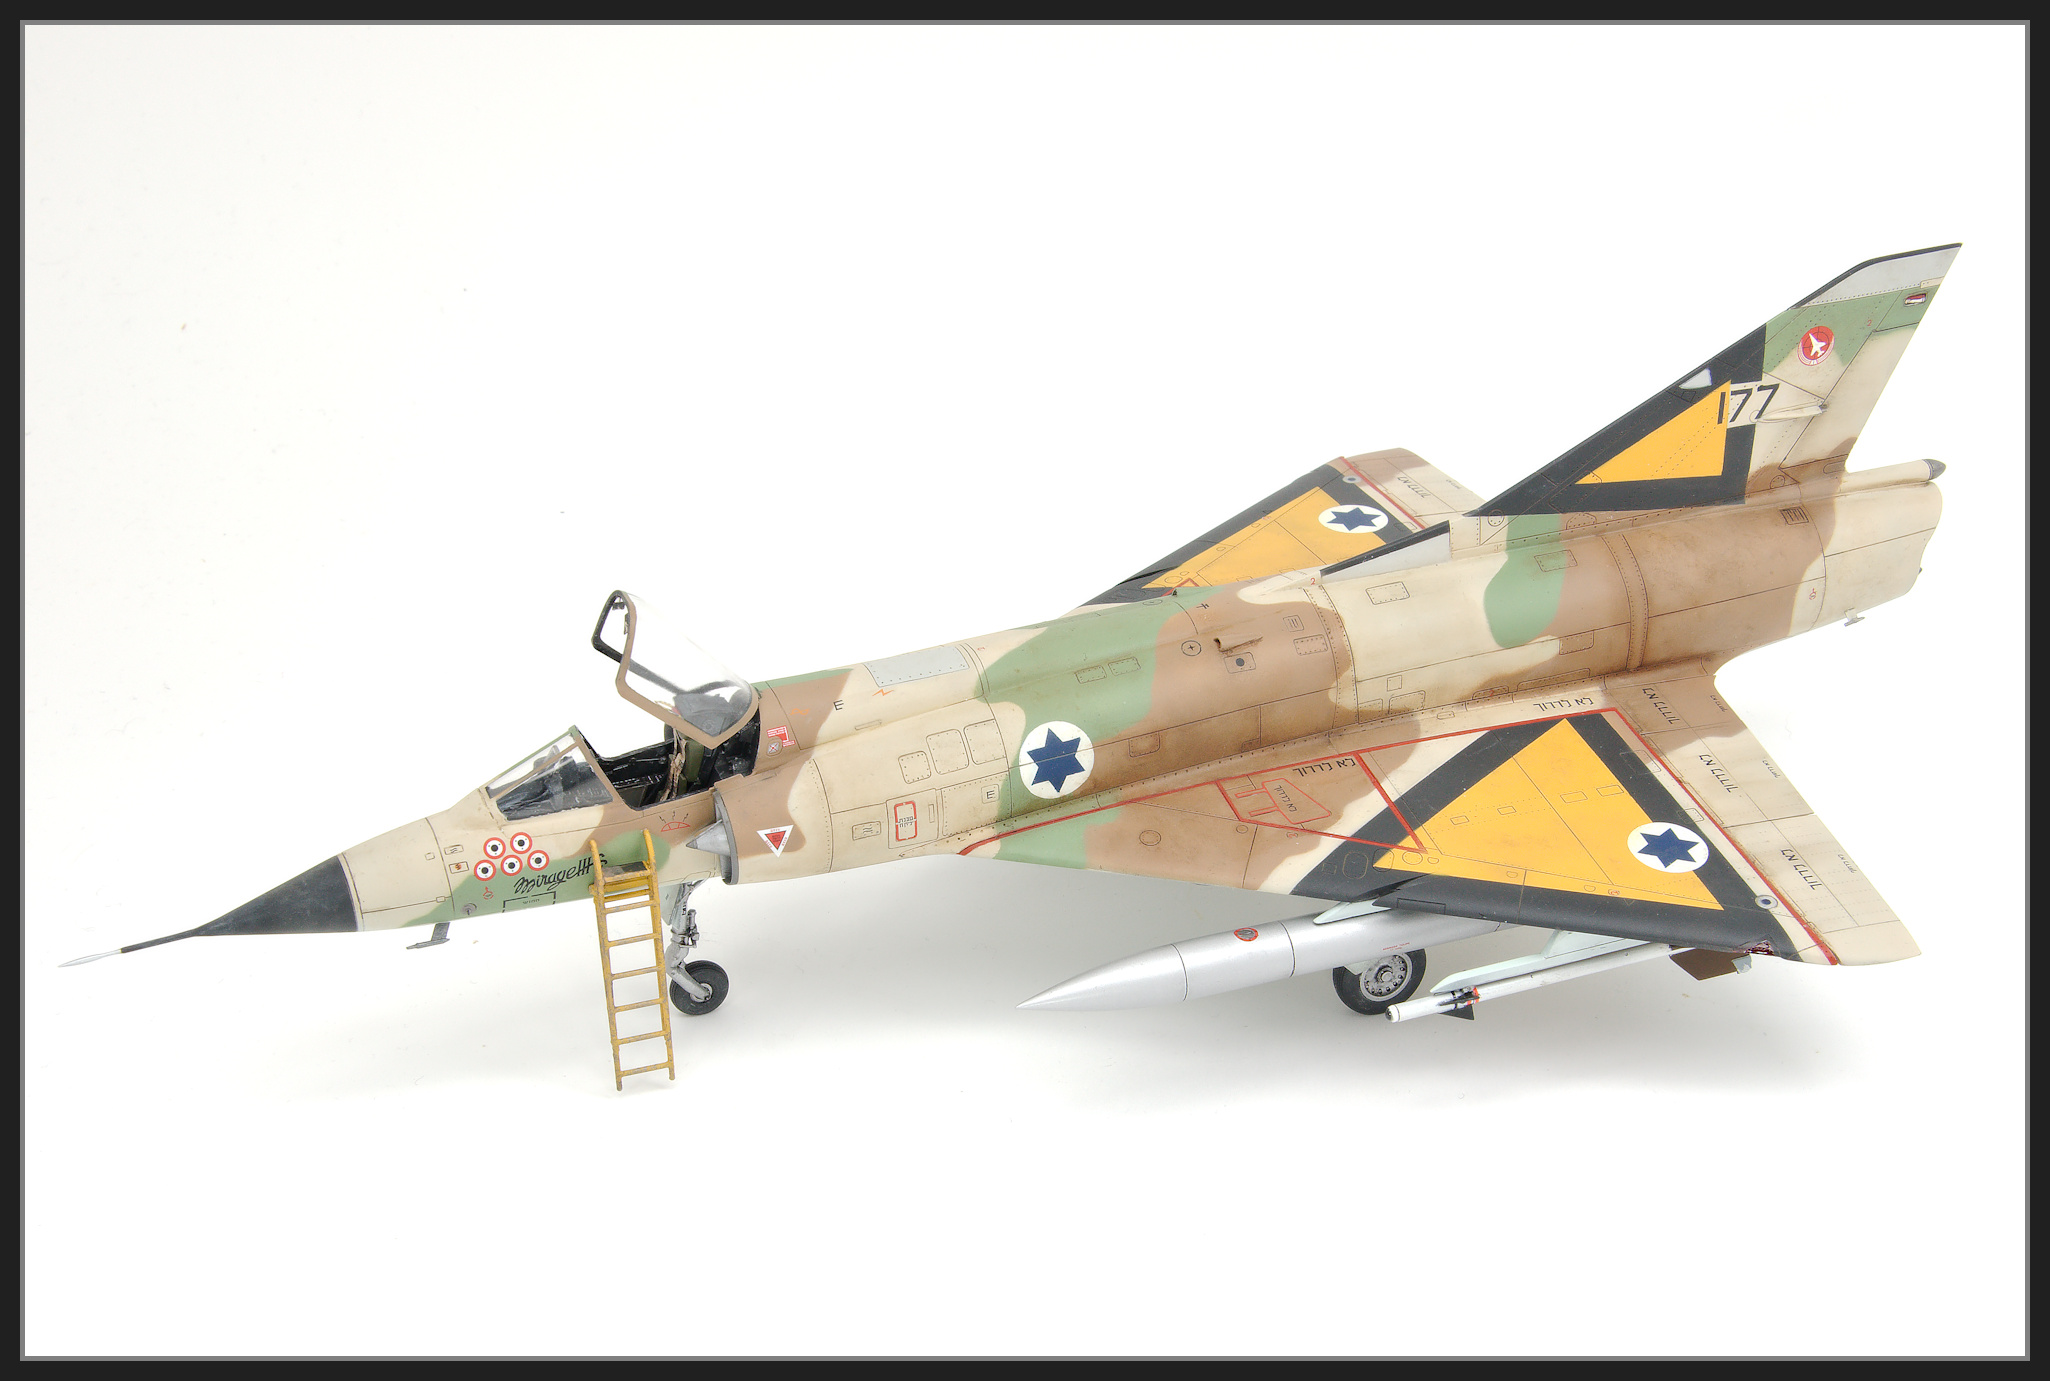
Depicted as Shahak No. 177 from 117 Tayset based at Raymet David in 1977.
From the Eduard Instructions "Of interest are five kill markings of the Syrian aircraft painted under the canopy (three stars in the white ring). Actually, the Israeli pilots at the controls of this airplane shot down 5 Egyptian aircraft and one Syrian aircraft. Egyptian aircraft kill was marked with two stars in the white ring. Reason for swapping the symbols remains unknown."
As a kid I had a aircraft magazine with a fold out of an Israeli Mirage or Nesher with those big yellow triangles so it was inevitable that I'd want to add one to the cabinet. Despite hearing not so great reports about the Eduard Mirage III I grabbed the Shahak special boxing when it came out.
I have a separate blog post with a full build thread here if you are interested.
The Kit
- 1/48 Eduard Shahak - Limited Edition - I think Eduard have spelled Shahak wrong on the box, they spelt it Shachak
Aftermarket
- Reskit Wheels
- Quickboost Cannon Barrels
- Master Models Pitot
Paint
- Yellow Triangles - SMS trainer Yellow
- Black - Gaianotes German Grey
- Red - Mr Color C068 Red Madder
- Light Sand - Mr Color C313 Yellow FS 33531
- Brown - Mr Color C310 FS 30219
- Green - Mr Color C312 FS34227
- Underside Light Blue - Mr Color C314 Blue FS35622
- Roundel Blue Tamiya Flat Blue
- White - SMS Insignia White
- Various Vallejo paints for detail painting
Clear Coats
- Gloss - Gaianotes - Pre weathering and decals
- Semi Gloss - Mr Color C182 - Post decals, tanks and missiles
- Flat - Mr Color GX114 - Main flat coat.
Weathering
- Mr Weathering Color. I mix the various colours to get the shades I want.
- Various Oil paints.
- Magic wash (Future and Tamiya paint) for the undercarriage bays and legs.
Conclusion
The fit wasn't as bad as I'd been led to believe. Being forewarned I did a lot of dry fitting and deviated from the instructions (as usual) where I thought I saw a better way. I think this resulted in a smoother build. Getting the instrument panel to fit was probably the worst part.
The biggest problem with the kit wasn't the fit, it was the amount of clean up required due to some significant misalignment of the moulds on some sprues. On those parts this added a lot of time to the build process. Here's an example showing how bad the misalignment was.
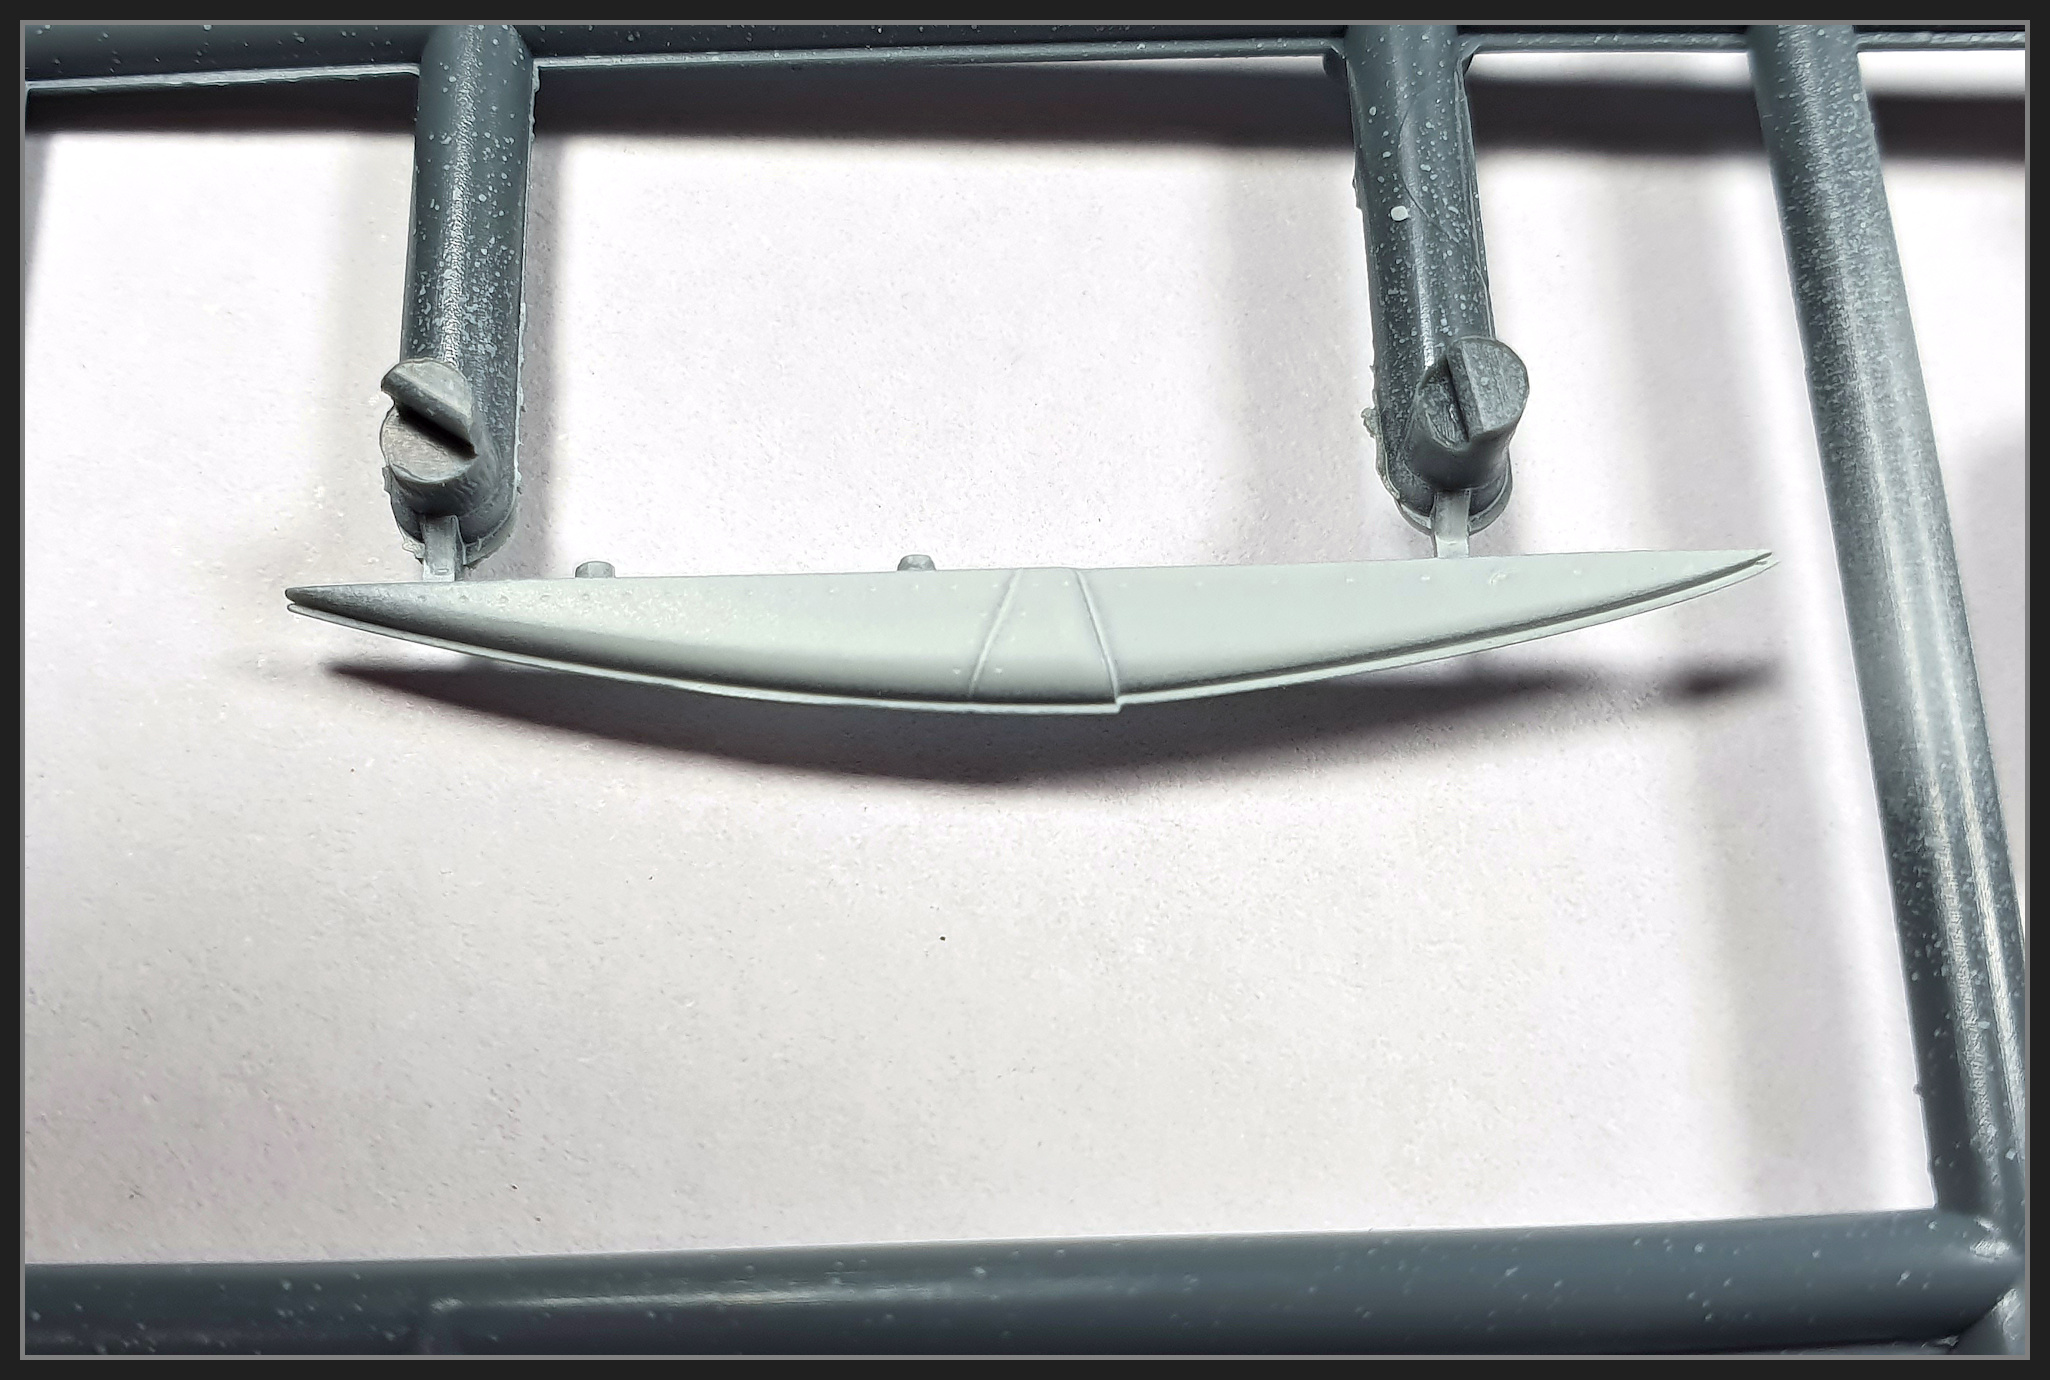
Detail wise the kit is quite nice. Panel lines are deep and crisp so they take a wash well. The PE in the Pit looks OK , mainly as it's not that visible. The rails and missiles are pretty average but I didn't care enough to get better looking rails
Would I build another ? Probably not. There are not mainly early Mirage Schemes that interest me. The later Mirage III, from the IIIE onwards, along with the Mirage 5, have more varied schemes. There's the Kinetic kit for many of those, although it's not without its issues. If you are interested I have built on of those - click here.
The Photos


No comments :
Post a Comment