

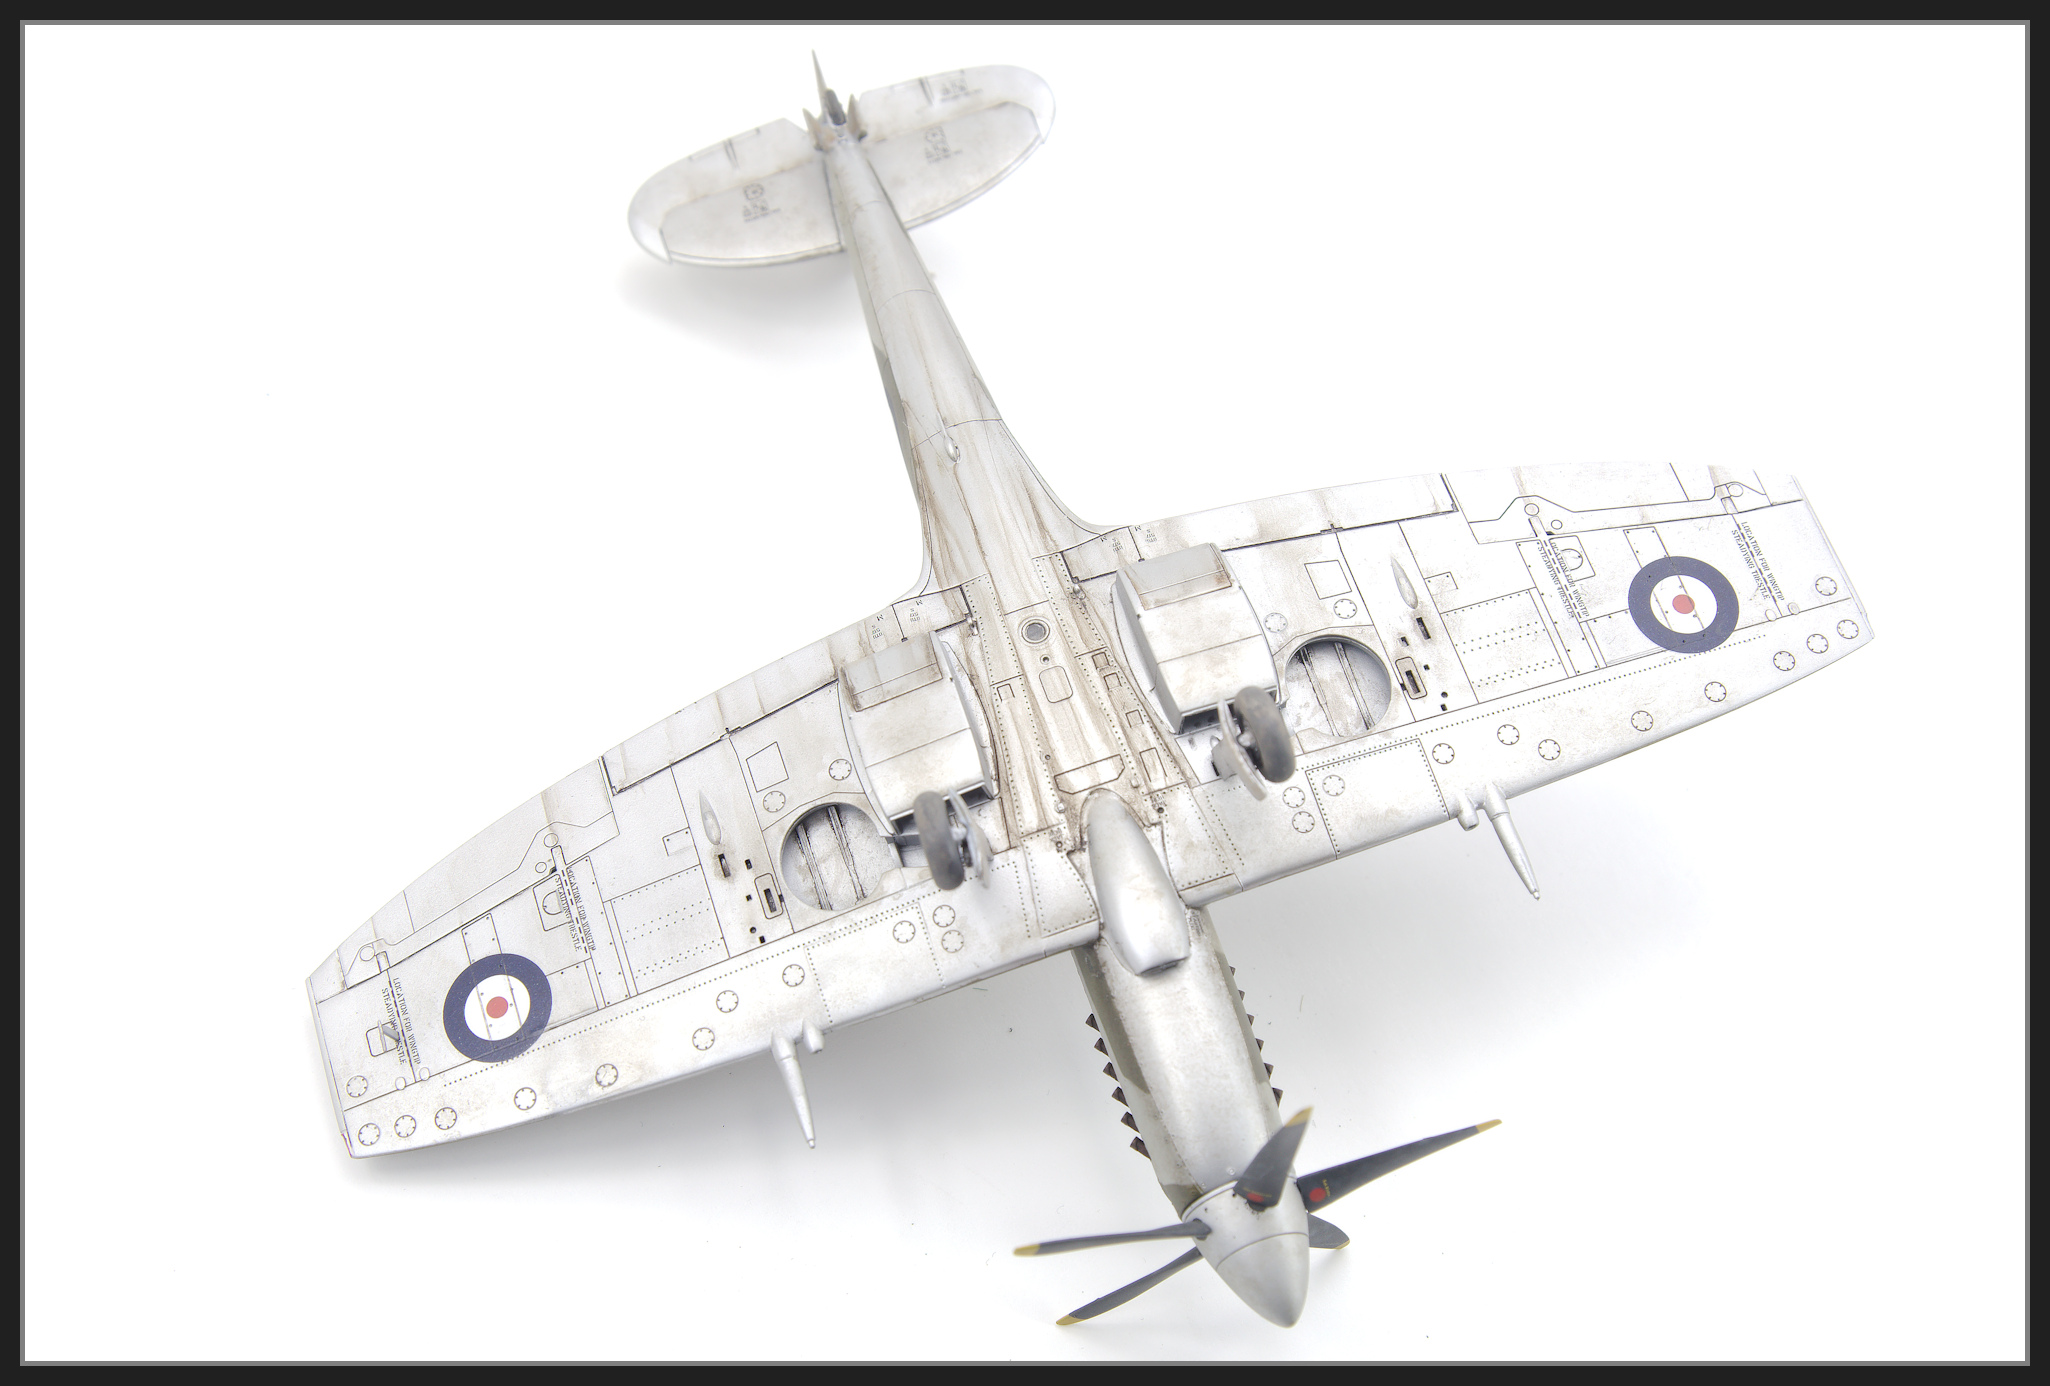
Depicted as an aircraft operated by No. 17 Squadron Royal Air Force based at Mino, Japan in 1946.
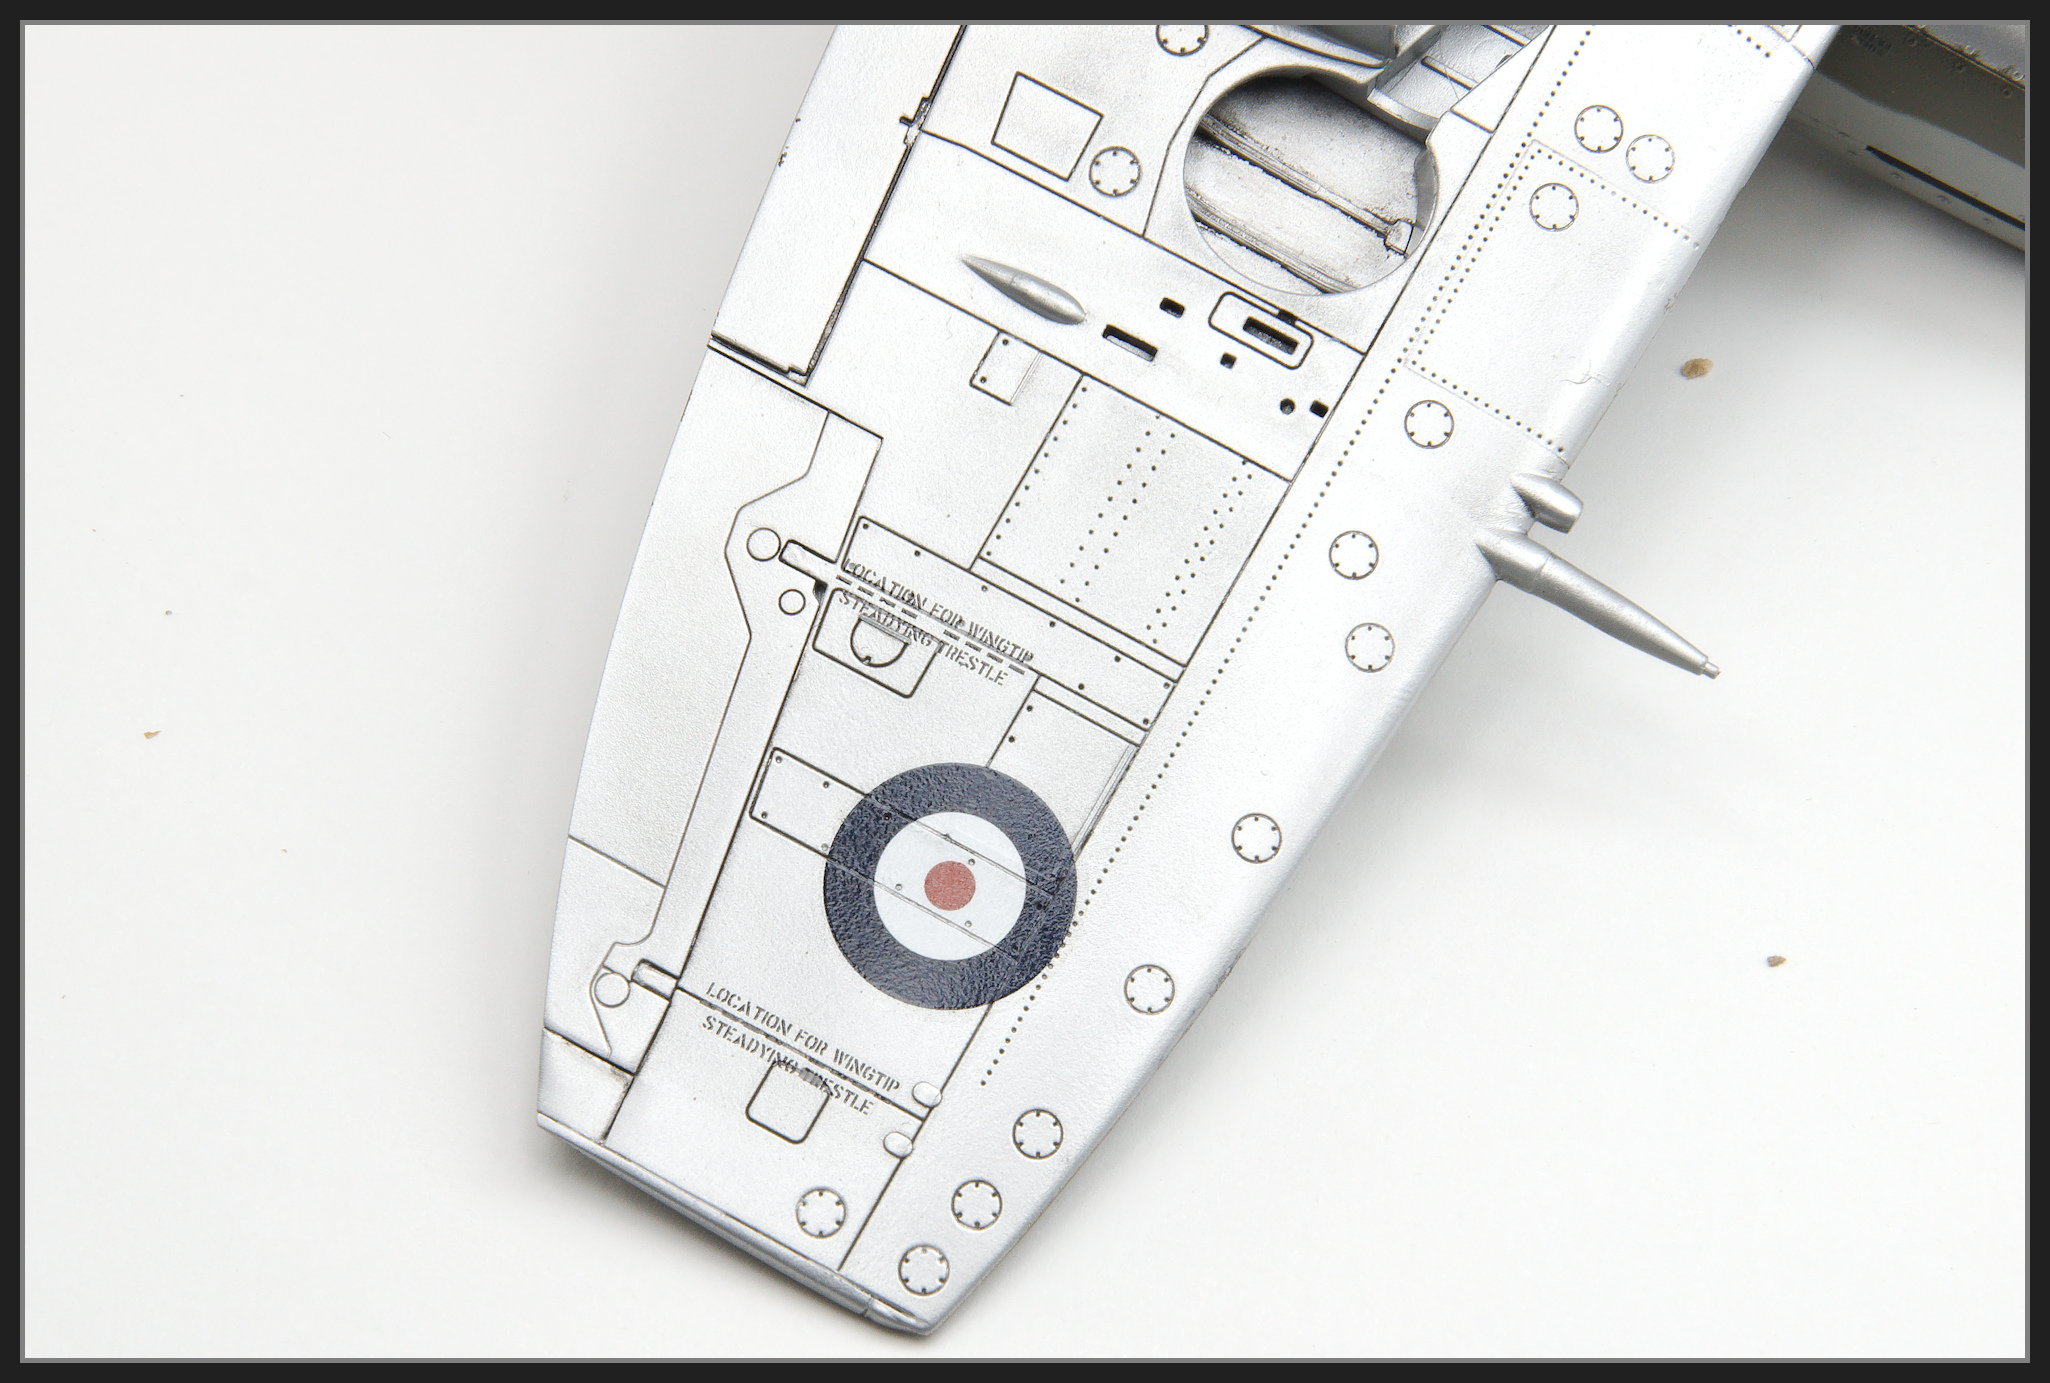
The Japanese based Spitfires were painted in an unusual (to me at least) scheme of Dark Green, Medium Sea Grey over a Silver underside. I figured this would like a bit different in the cabinet next to my other Spitfires.
The Kit
- 1/48 Airfix Supermarine Spitfire FR MK XIV Kit No. A05135
Aftermarket
- Eduard Exhausts
- Eduard Wheels
- Eduard Seat Belts
- Eduard Gun Barrels (from the Mk IX kit)
- Quickboost Spinner and Prop Blades (for the Airfix Mk 22 kit)
Decals
- Freightdog FSD48-001 - Brits Abroad (Immediate Post-War RAF)
The Build

The fuel tank cover is about 1.5mm to small in width. I figured I’d be smart and add some card to the forward end to fill the gap. I didn’t add it to the rear as it has part of the windscreen assembly and I didn’t want to upset the fit of the clear part.
As the edges of the fuselage halves aren’t square and I didn’t take enough care, I ended up with the nose not being quite round. Some Tamiya white filler was needed re-shape the nose


The wing gaps were the worst I’d seen in quite a while.

I filled the gaps with a Talc / CA mix and sanded that flush. After leaving that overnight I re-scribed the lines using an old Airbrush needle. A couple of touch ups were required but the final result was probably as good as it gets (for me at least).

Paint
- Primer Mr Surfacer 1500
- Interior Green - SMS
- Seat - a Vallejo Model Air Rust tone
- Dark Green - Tamiya XF81
- Medium Sea Grey - Tamiya AS11
- Silver -Tamiya AS12
- Gloss - Gaianotes
- Flat - Winsor & Newton Galeria Flat Varnish (post decals)
- Semi Gloss - Mr C0lor C181
- Flat - Mr Color GX 113
Looking at the few reference photos I found online the camouflage demarcation looked quite hard. For some reason I can’t explain I ignored that and tried to get something a bit softer using paper masks stood off with a little therapy putty. Therapy putty was also used where the paper masks wouldn’t meet.

Once I removed the masks I felt like I’d had a bet each way and wasn’t happy with the outcome. I then tried to freehand some softer edges. Result - more failure.

So I re-masked the whole model using Therapy putty. I sprayed tight against it to get a hard line. The green used was initially Mr Color Dark Green C361. But I decided to go over most of the model with Tamiya XF81 RAF Dark Green 2. I keep coming back to this for RAF dark green, either as main coat or a highlight.
Why Therapy putty and not Blue or White tac, or another of modelling type Putties like Panzer Putty?
Well it doesn’t leave a residue like I found Blue tac or even White Tac does. And as I’ve chosen the extra firm type, it holds its shape much longer than Panzer Putty does.
Panzer Putty seems like a less firm version of the same material. The stuff I have doesn’t hold its shape very long at all which is annoying on vertical surfaces. Finally it’s half the price of Panzer Putty

Decaling


Weathering


Finishing Steps
I hate the geometry of Spitfire undercarriages. Fit on this
one wasn’t the worst I’ve dealt with but it still needed more thought than I
liked. From looking at the parts I could
understand how the designer wants you to fit the leg. The leg has a pin that mates in a hole on the
fuselage and there are two surfaces that the leg needs to butt join to get the
right angles. A tiny of bit of force was
needed to get everything aligned correctly.
I used CA glue on the pin that mates to the fuselage, and on one of the
butt joins, Once this grabbed I applied normal cement on the third position and
then over the other mounting point. Once
the normal cement set Thin CA was then applied over two butt joins - just to be
sure. One of my modelling weaknesses is
that I am a compulsive over gluer.
To set the Eduard wheels I first glued in the tail
wheel. This fit like a glove. Using a liberal dollop of Hypo cement in the
wheel mounting receptacles I pushed on the wheels.
To line things up I place the model on its wheels on a shelf
at eye level and adjust as required . I use Hypo cement as it is slow setting
but very tacky so you have a lot of working time to adjust the wheels to get
the flat spots on the ground and the angles correct.

The green looked a bit monochrome so some scuffs were added with a couple of green pencils.
The propeller is the Quickboost one for the Airfix Mk 22/24 Spitfire. The blades look nicer than the kit one so I figured I’d use it. It was simply butt joined to the fuselage, not ideal I know. I could have used the kit mounting arrangement but I’d already painted and weathered it before I released I should have removed more of the casting block. It was good enough for me so on it using Hypo cement to allow me to position it as I wanted.
The cockpit door is another Quickboost item. The Kit one isn’t to bad but the Quickboost one is next level better. It was attached with some blobs of white glue.
A hole was drilled for the VHF whip antenna which was a broom bristle
All that was left was to remove the masks, unusually for me there virtually no contamination on the clear parts. The canopy is attached with a few dabs of white glue.

Conclusions
This isn’t one of Airfix’s better kits. The fuel tank cover, rocket cover, and wing roots being the things that really should have been done better considering it was released in 2019.
Still with a bit of patience it can be built into a nice looking model without too much effort. Would I build another? Pat some stage, yes. I do need to do a Spitfire in the SEAC scheme. I’d also love a high back MK XIV.
The Photos


No comments :
Post a Comment