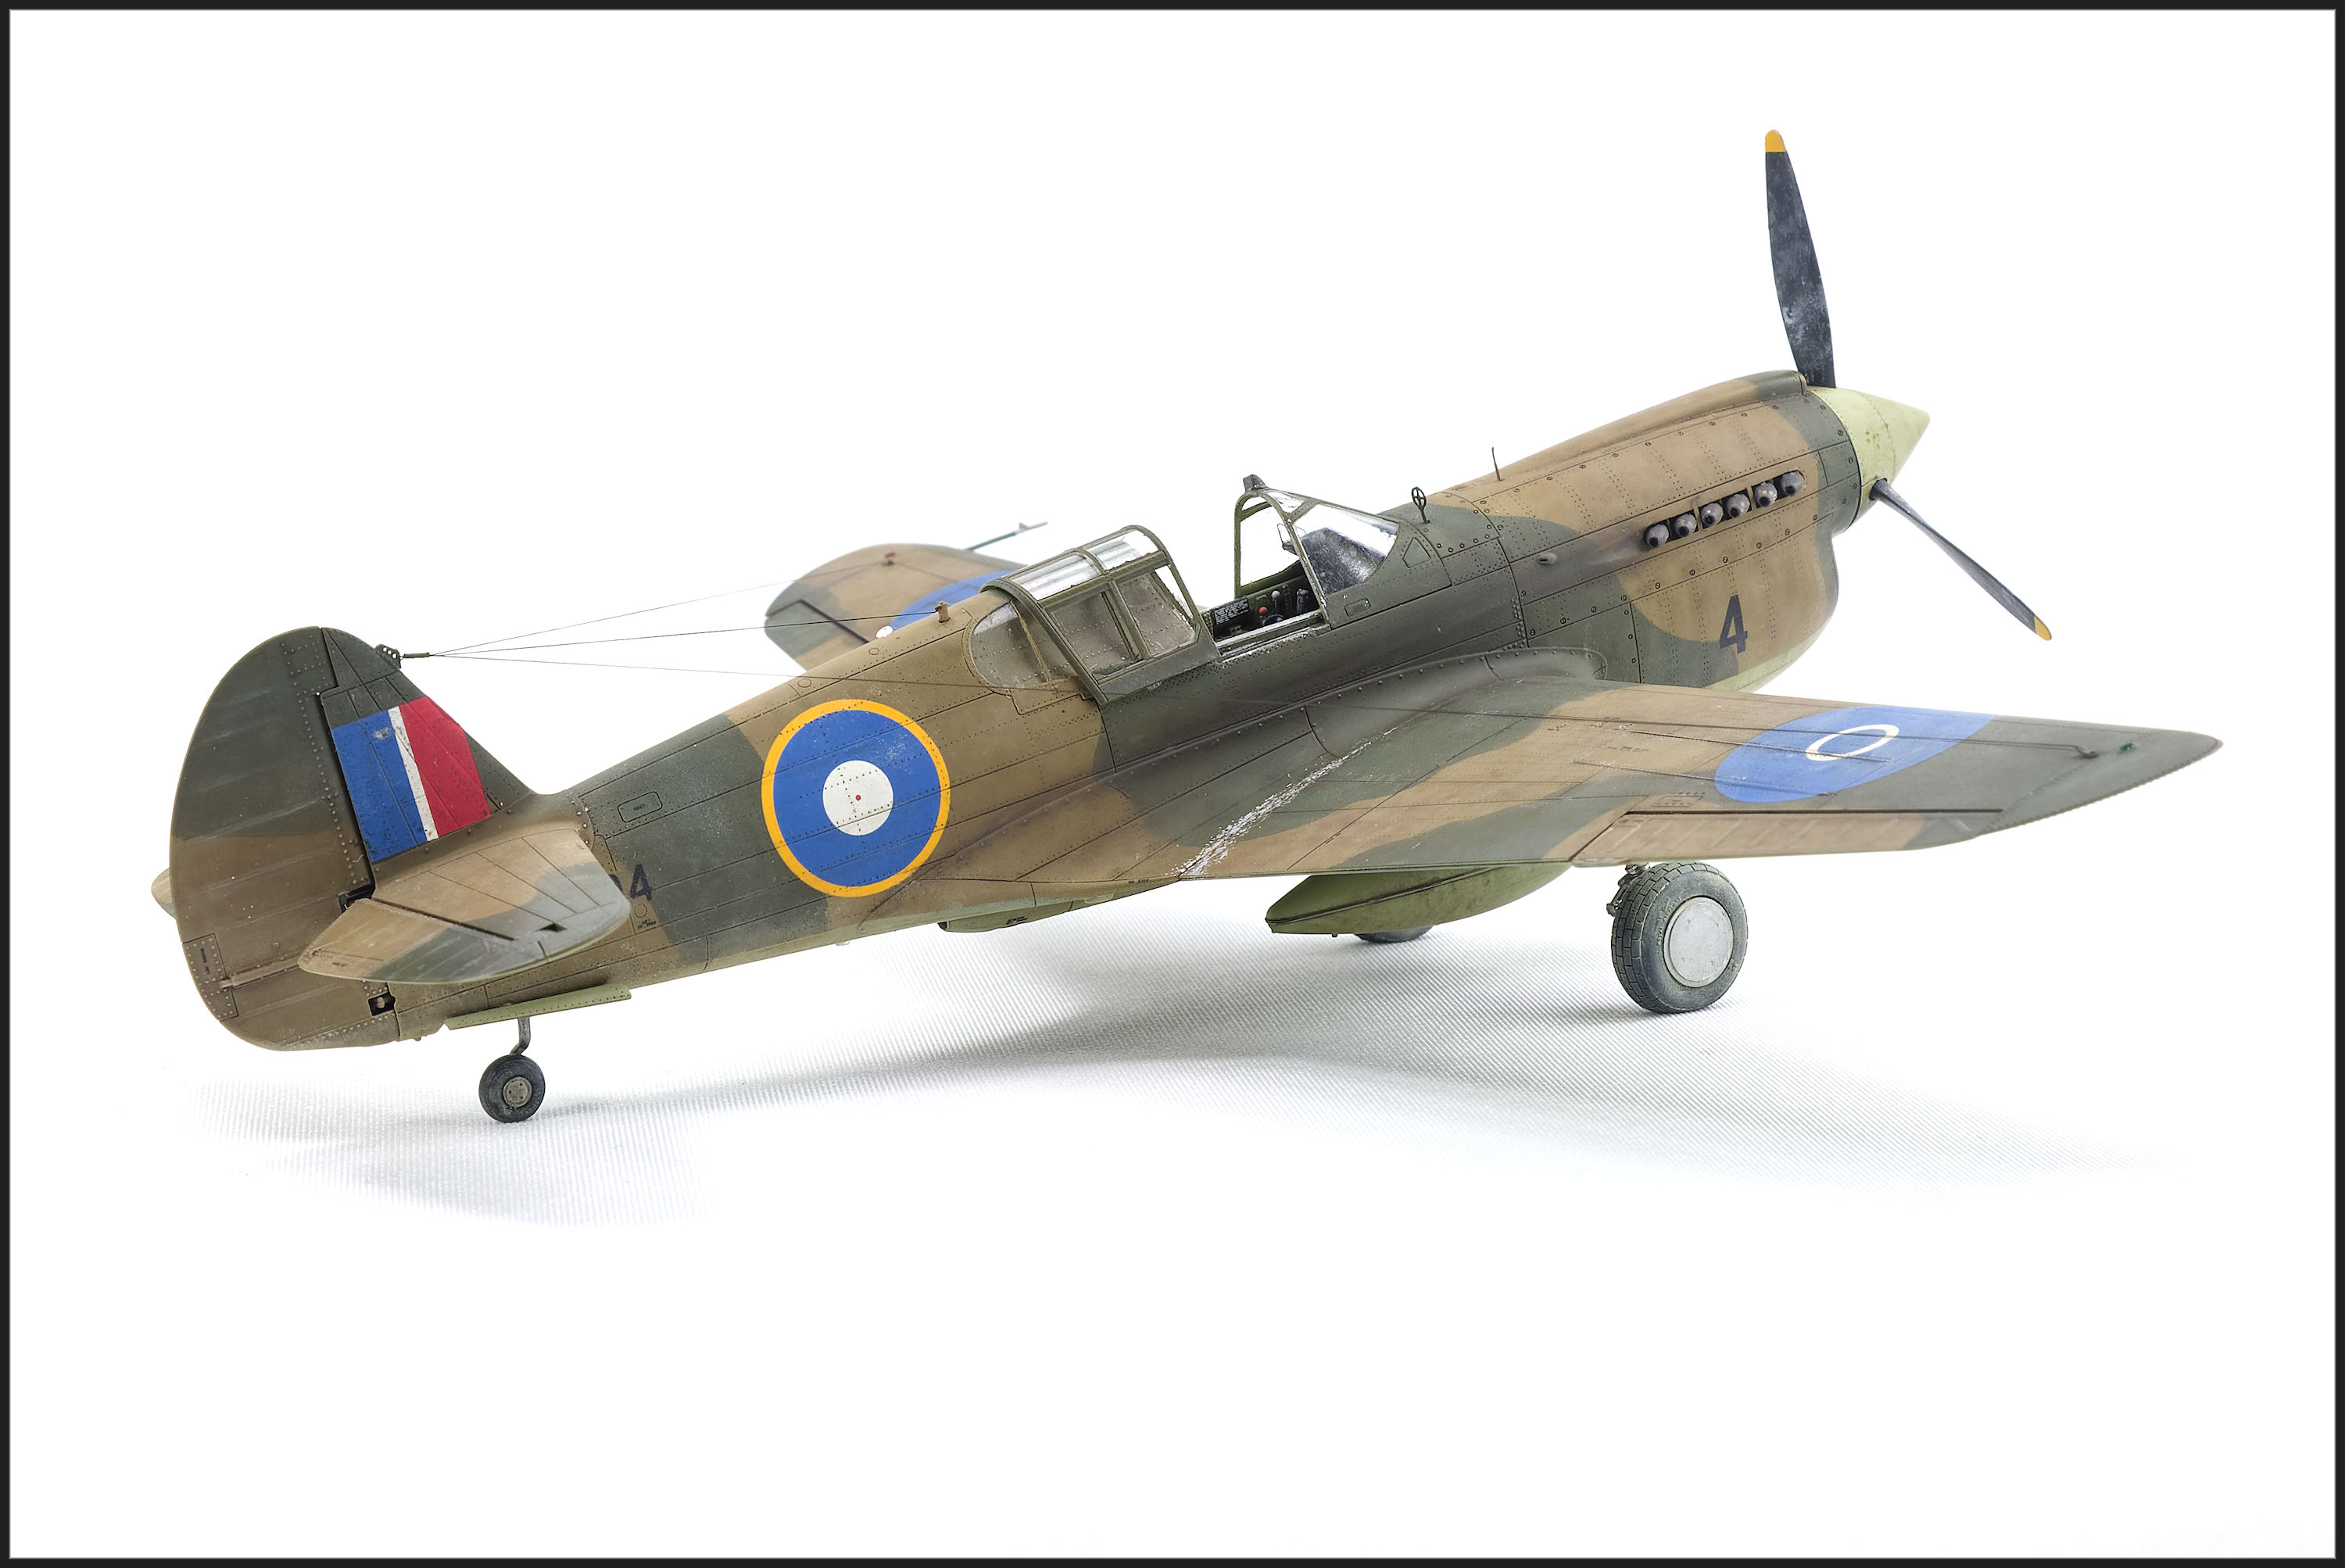
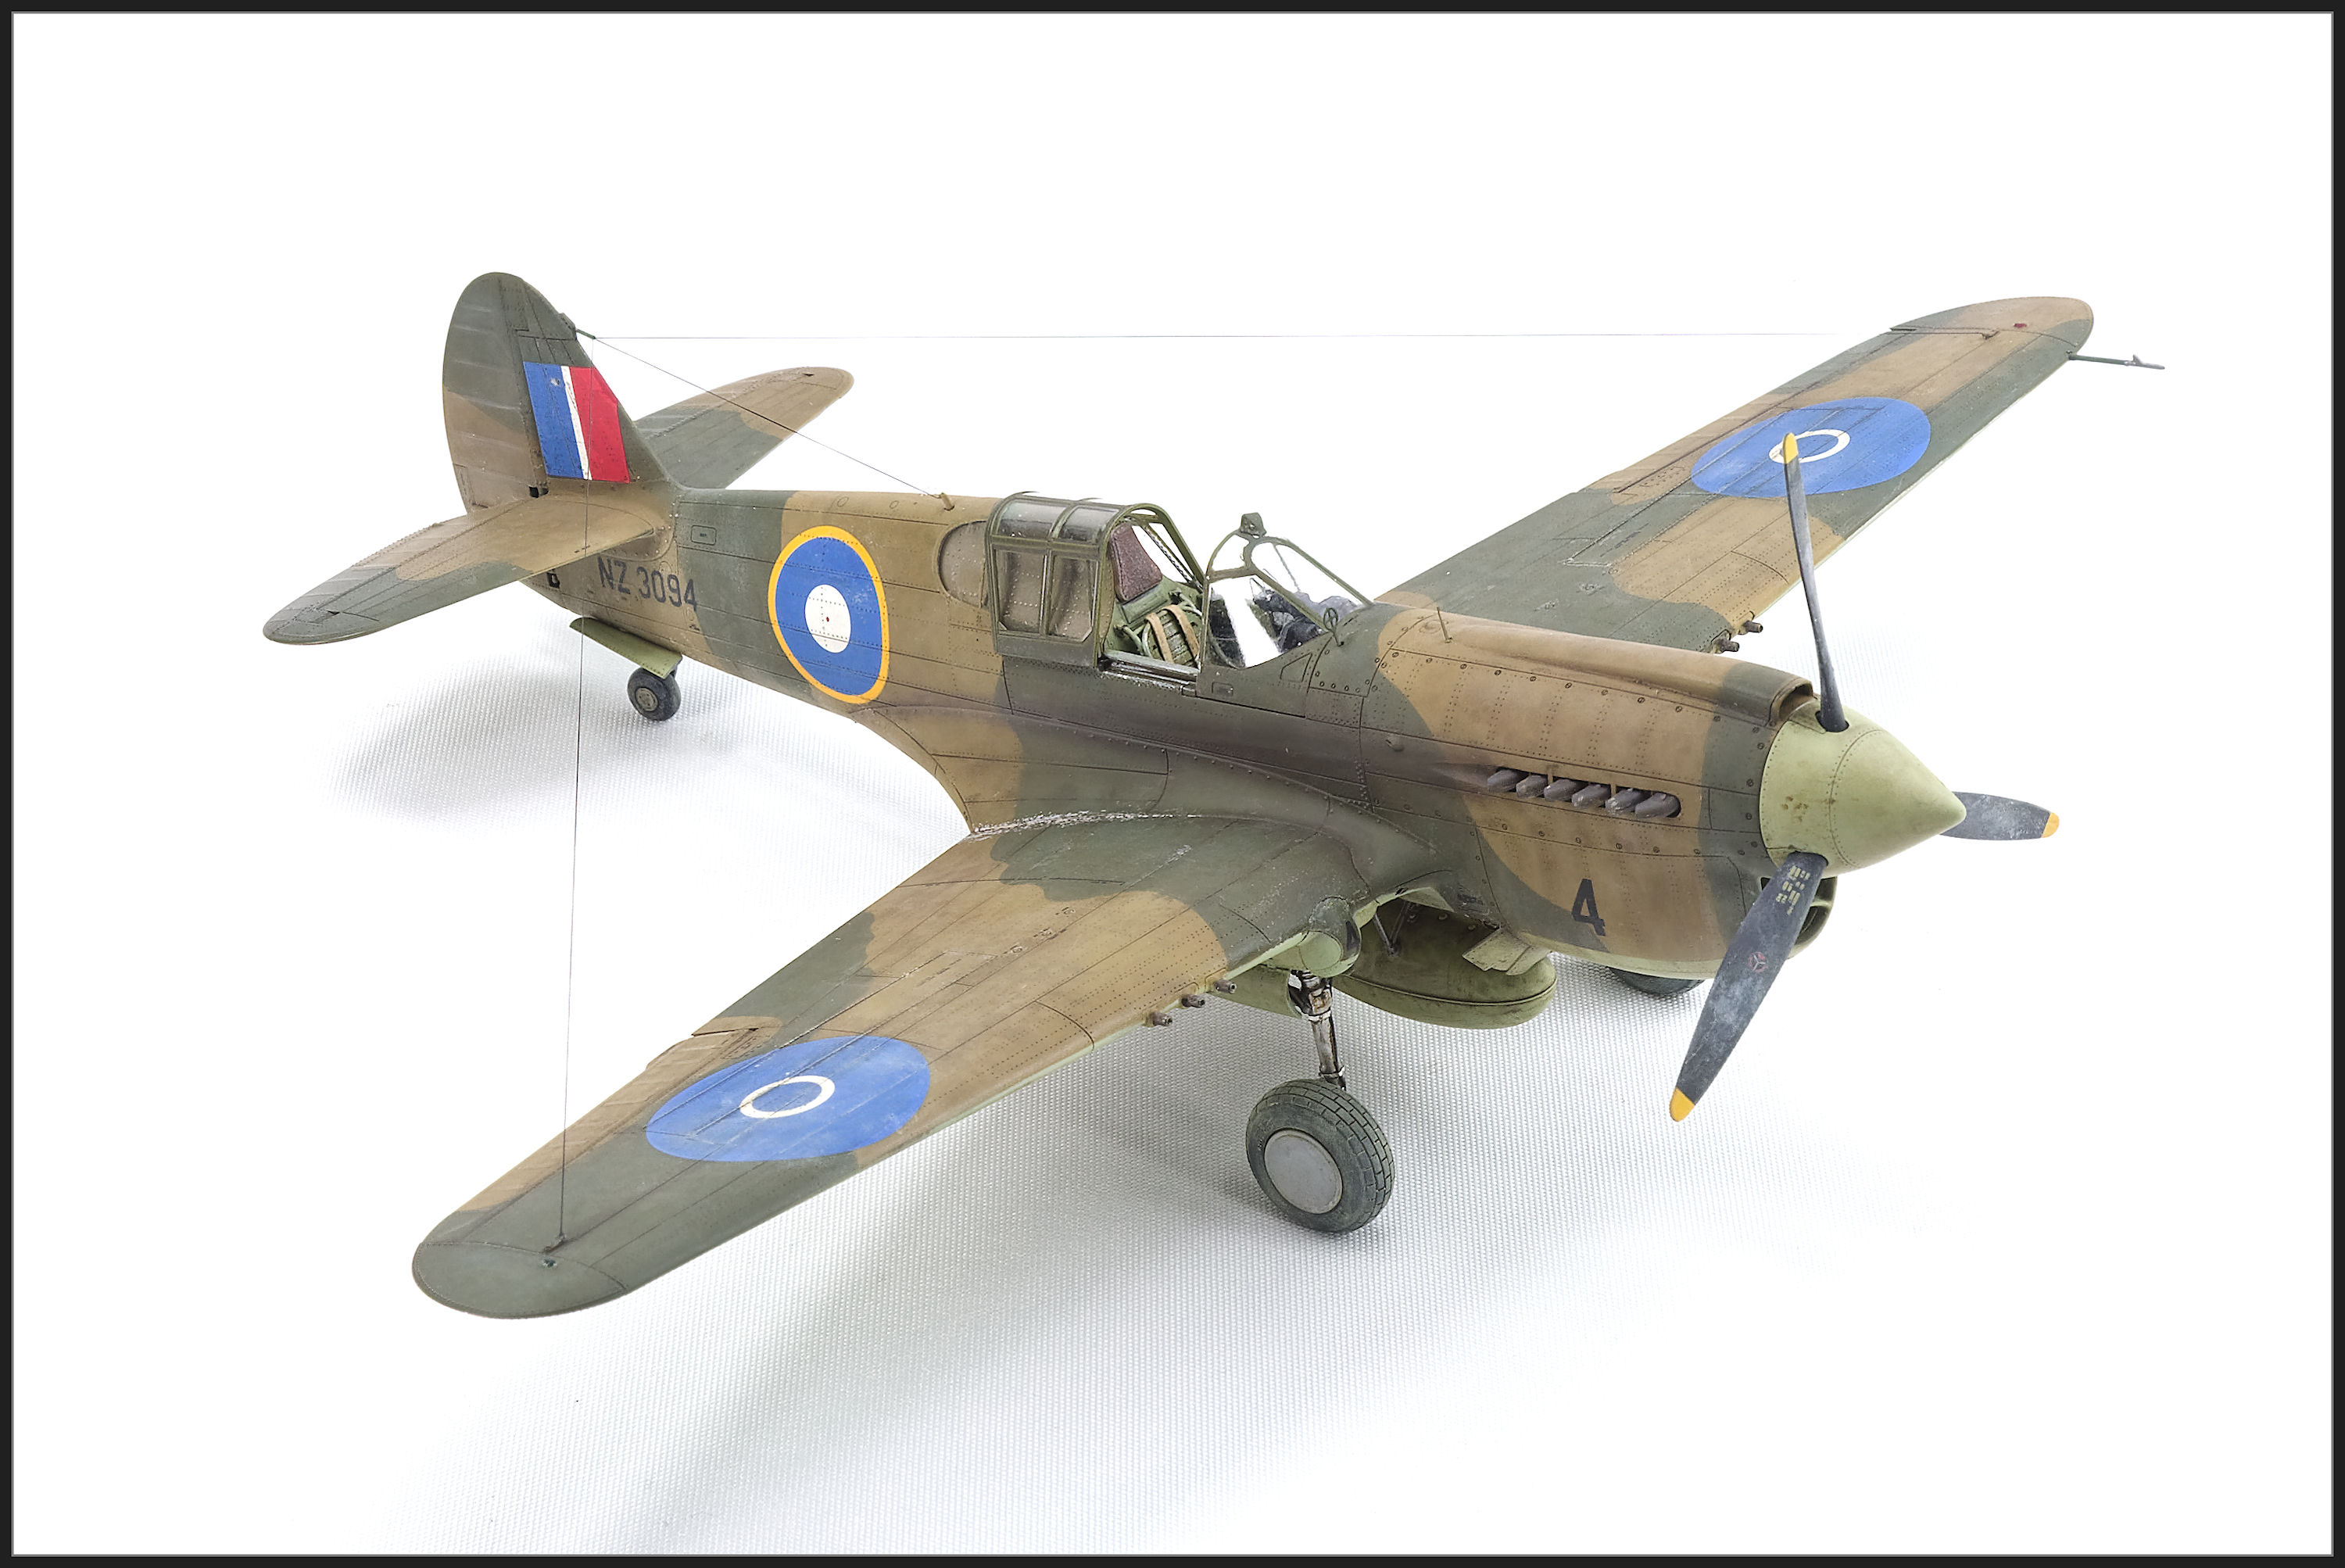
Depicted as NZ3094 one of the P-40E-1's taken over from the 68th Pursuit Group USAAF by No. 15 Squadron RNZAF at Fuamotu, Tonga on 27 October 1942.
This is the second of the kits from Eduards P-40E Royal boxing. You can see the first one here. I decided on an RNZAF aircraft for the obvious reason.
The Kit
- 1/48 P-40E Warhawk - Royal Class (Kit No. R0023)
Aftermarket
The Royal Class boxing came with 2 sets of the 3D printed extras which I used on this build. They were:
- Round and Squared topped Seats . I used the squared topped seat on this build.
- Wheels
- Tubular exhausts
I also designed and printed antenna attachments for the wings, tail and fuselage.
The Build
I built this kit at the same time as the USAAF one. You can read my build notes here
 |
| Kit Cockpit |
Paint
Most of the paint used was per the instructions. The main colours used were as follows:
- Dark Green - Mr Color C330 Modern RAF Dark Green
- Dark Earth - Mr Color C369 Dark earth, some yellow, and some radome tan
- Underside Sky - Tamiya XF21 Sky - This was because I read somewhere
that the RNZAF P-40E's had a slightly greener shade on the underside. As this aircraft
was taken over from the USAAF this was probably the wrong decision.
- Interior Green - Rather than the mix from the instructions I went for a colour similar to RAF's interior green. This was because I read somewhere that the RNZAF aircraft had lighter green interiors. Like the underside , as this aircraft was taken over from the USAAF this was probably the wrong decision.
Part of my normal painting process is the extensive use of splatter masks to break up the colours. Thinned darker and lighter shades of the base colours are used to add variation to the finish.
 | |
|
 |
| Pre Decals - Underside |
Decals
Being a New Zealand company Ventura Publicationsspecialise in decals for New Zealand subjects. I'm not entirely convinced of the roundel colours but Malcolm has been doing this for ages so I decided to go with his colours this time.
The decals went down without any problems. I used Microsol and Set and they settled down relatively well into the detail. I did use a toothpick the next day to work the decal in detail where required.
 |
| Ventura decals |
 |
| Ventura decals |
 |
| Ventura decals |
Weathering
Weathering was done primarily with oil paints The main colours used were Sepia, Raw Umber, Industrial Earth, Buff, Faded Grey and Faded White.
Wing root chipping was done using a sponge and Vallejo Model Air Aluminium. Silver and coloured pencils were used for other chipping/marks.
Dust was added with one of the Tamiya Weathering Sets.
 |
| Underside weathering |
Finishing Touches
Fitting the fiddly bits on this one followed the same path as the previous build. I even managed to make less balls ups on this one so the process was completed a bit quicker.
If you want some details on that or how to thread the antenna wire check out that build here.


No comments :
Post a Comment