Saturday, 9 March 2013

1/48 Revell Ventura Part VIII - The End is Now


The last issue was the antenna arrangement, which is quite complicated. After requesting some help on Hyperscale I received a couple of helpful emails. Thanks Doug and Pete. (As an aside Pete has an excellent RNZAF in Pacific Modelling World War II website).

Armed with this I built a little scratch built triangular antenna attaching plate for the 3 antennas coming from the  mast. A 0.080" inch micro drill was used to drill the 4 holes. Ezy Line was used for the antenna. I like this because, although it flat and not round it is very elastic, and thus tolerant of clumsy handling.

The Ezy line was threaded through the holes in the plastic antenna attaching plate, 1 piece for the centre antenna, and 1 piece looped though the holes for the 2 tail antennas. These were cut a bit shorter than the required length. The antenna attaching points were drilled in the tail and just forward of the turret. The Ezy line was then inserted and secured with a drop of CA. The loop from the forward hole of the plastic spreader was then placed over the mast.


Another short piece of Ezy line had a loop formed in the end, CA being used to secure the loop. The end of the Ezy line (without the loop was secured into it's hole just aft of the cockpit. The loop was placed over the mast and secured with a drop of CA.

Finally the antenna fly leads glued to the 2 tail antennas. Once dry the other end was inserted into the aircraft.  A quick touch up of these areas with the airbrush carried out to hide the glue marks.

Vallejo Oily steel paint was used for the antenna and guy wire tensioners. This paint is really thick out of the bottle so I just layered it on in the appropriate places.


The aft turret was then secured with a couple of drops of CA


The Loon Propellers were painted silver then black, I then tried to rub of the black to expose the silver. This didn't work as well as I'd hoped. I resorted to using the sponge technique to apply some metallic paint to the leading edges. These were positioned on the aircraft and secured with CA.


Finally she is ready for the cabinet (After I take some photos of the completed model)

Friday, 1 March 2013

1/48 Revell Ventura Part VII - Bottoms Up

Getting close to the finish line now. I have finished the underside, although I am considering a bit more weathering in few select places.

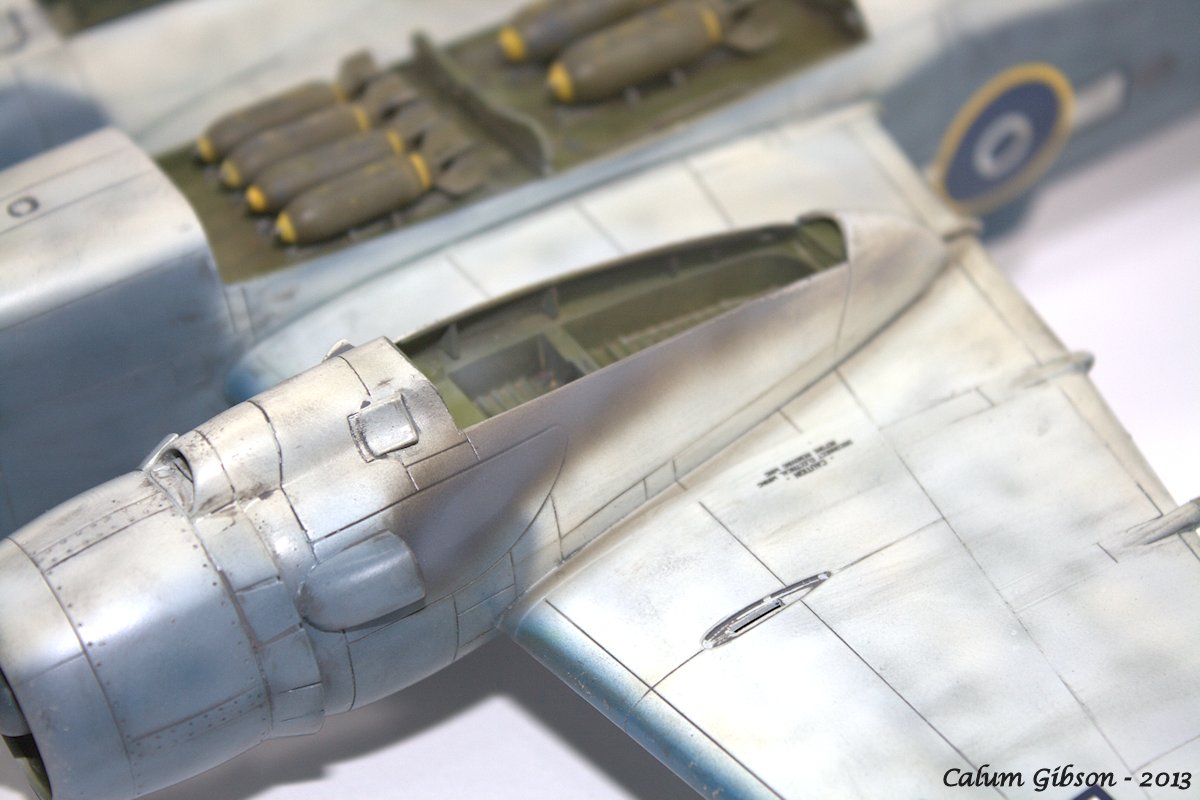
I weathered the bombs a bit. There was discussion on this on Hyperscale a few months back and I agree with those who believe that World War II bombs were rarely pristine. These were then fitted into the bomb bay


Using thinned enamels I applied some exhaust staining,  The initial colour was a mixture of black and brown. I then applied some grey down the centre. Not sure how accurate this is bit I like the effect.

The beauty of using Enamels over Dullcoate is you can easily remove it if you don't like by simply wiping it off with white spirits. I had about a dozen goes on one side before I got the pattern I was after


Next was the bomb days. Now I know why I haven't seen a build with these open. They were a bit of pain to fit. After about an 30 minutes I managed to get the lower doors on - why is it that super glue only bonds fingers in seconds, and not the bits you want to stick? The trick I found was to removed the triangle shaped bit that you glue tot he centre hinge and attach it after the lower doors are on.

I moved onto the upper doors but after an hour of struggling I really hadn't made some progress so I took the rest of the night off. The next day things went a bit better and the upper doors went on OK. to ensure alignment I had to tack them in a few places with CA. Again the slow drying CA proved annoying.

Finally I inserted the main gear legs, these were a doddle to fit. However the doors were a bit bit more painful. I used CA gel here as it provided some working time but was tacky enough to hold the doors in place.

The tail wheel assembly was inserted and and main wheels added. A bit of finagling was needed to ensure the wheels were aligned correctly.

The lights were painted and the pitot probe added. Then I set it aside to dry overnight..


Saturday, 23 February 2013

1/48 Revell Ventura Part VI - Weathering

The RNZAF Venturas were very heavily weathered and I wanted to try and depict this.

I've also been reading a few armour modelling mags and I tried to incorporate some those techniques on the Ventura.

After applying a layer of Testors Flat coat (not Dullcoate) . This is first time I've used this and whilst it flattened down nicely it took a couple fo days to dry. Unlike dullcoate which I find dries to the touch in about 5 minutes

I started with a filter of a blue and then some oil dot filters to try and get some tonal variation on the wings in particular. I wasn't particularly successful, and I'm not sure why. Perhaps I didn't leave the enamels and oils long enough to dry, or perhaps the flat coat wasn't flat enough for the oils and enamels to stick. I did use the sponge technique for the chipping on the wing roots. I noticed this chipping on a image of a Ventura  taken from for aircraft flying above.

Losing interest in this I sealed results with Dullcoate this time and returned to my usual weathering methods using ground up pastel chalks. These were applied to the model and rubbed in with a brush and my fingers.  Once happy I sealed them again with dullcoate.

The next step, and the one I fear the most, was removing the masks from the clear parts. For once I'd applied the masks well enough to protect the clear parts

Anyway, enough crapping on here are the pictures


Now onto the remaining 20% of the build -  which seems to take 80% of the time.