
From the Eduard Instructions
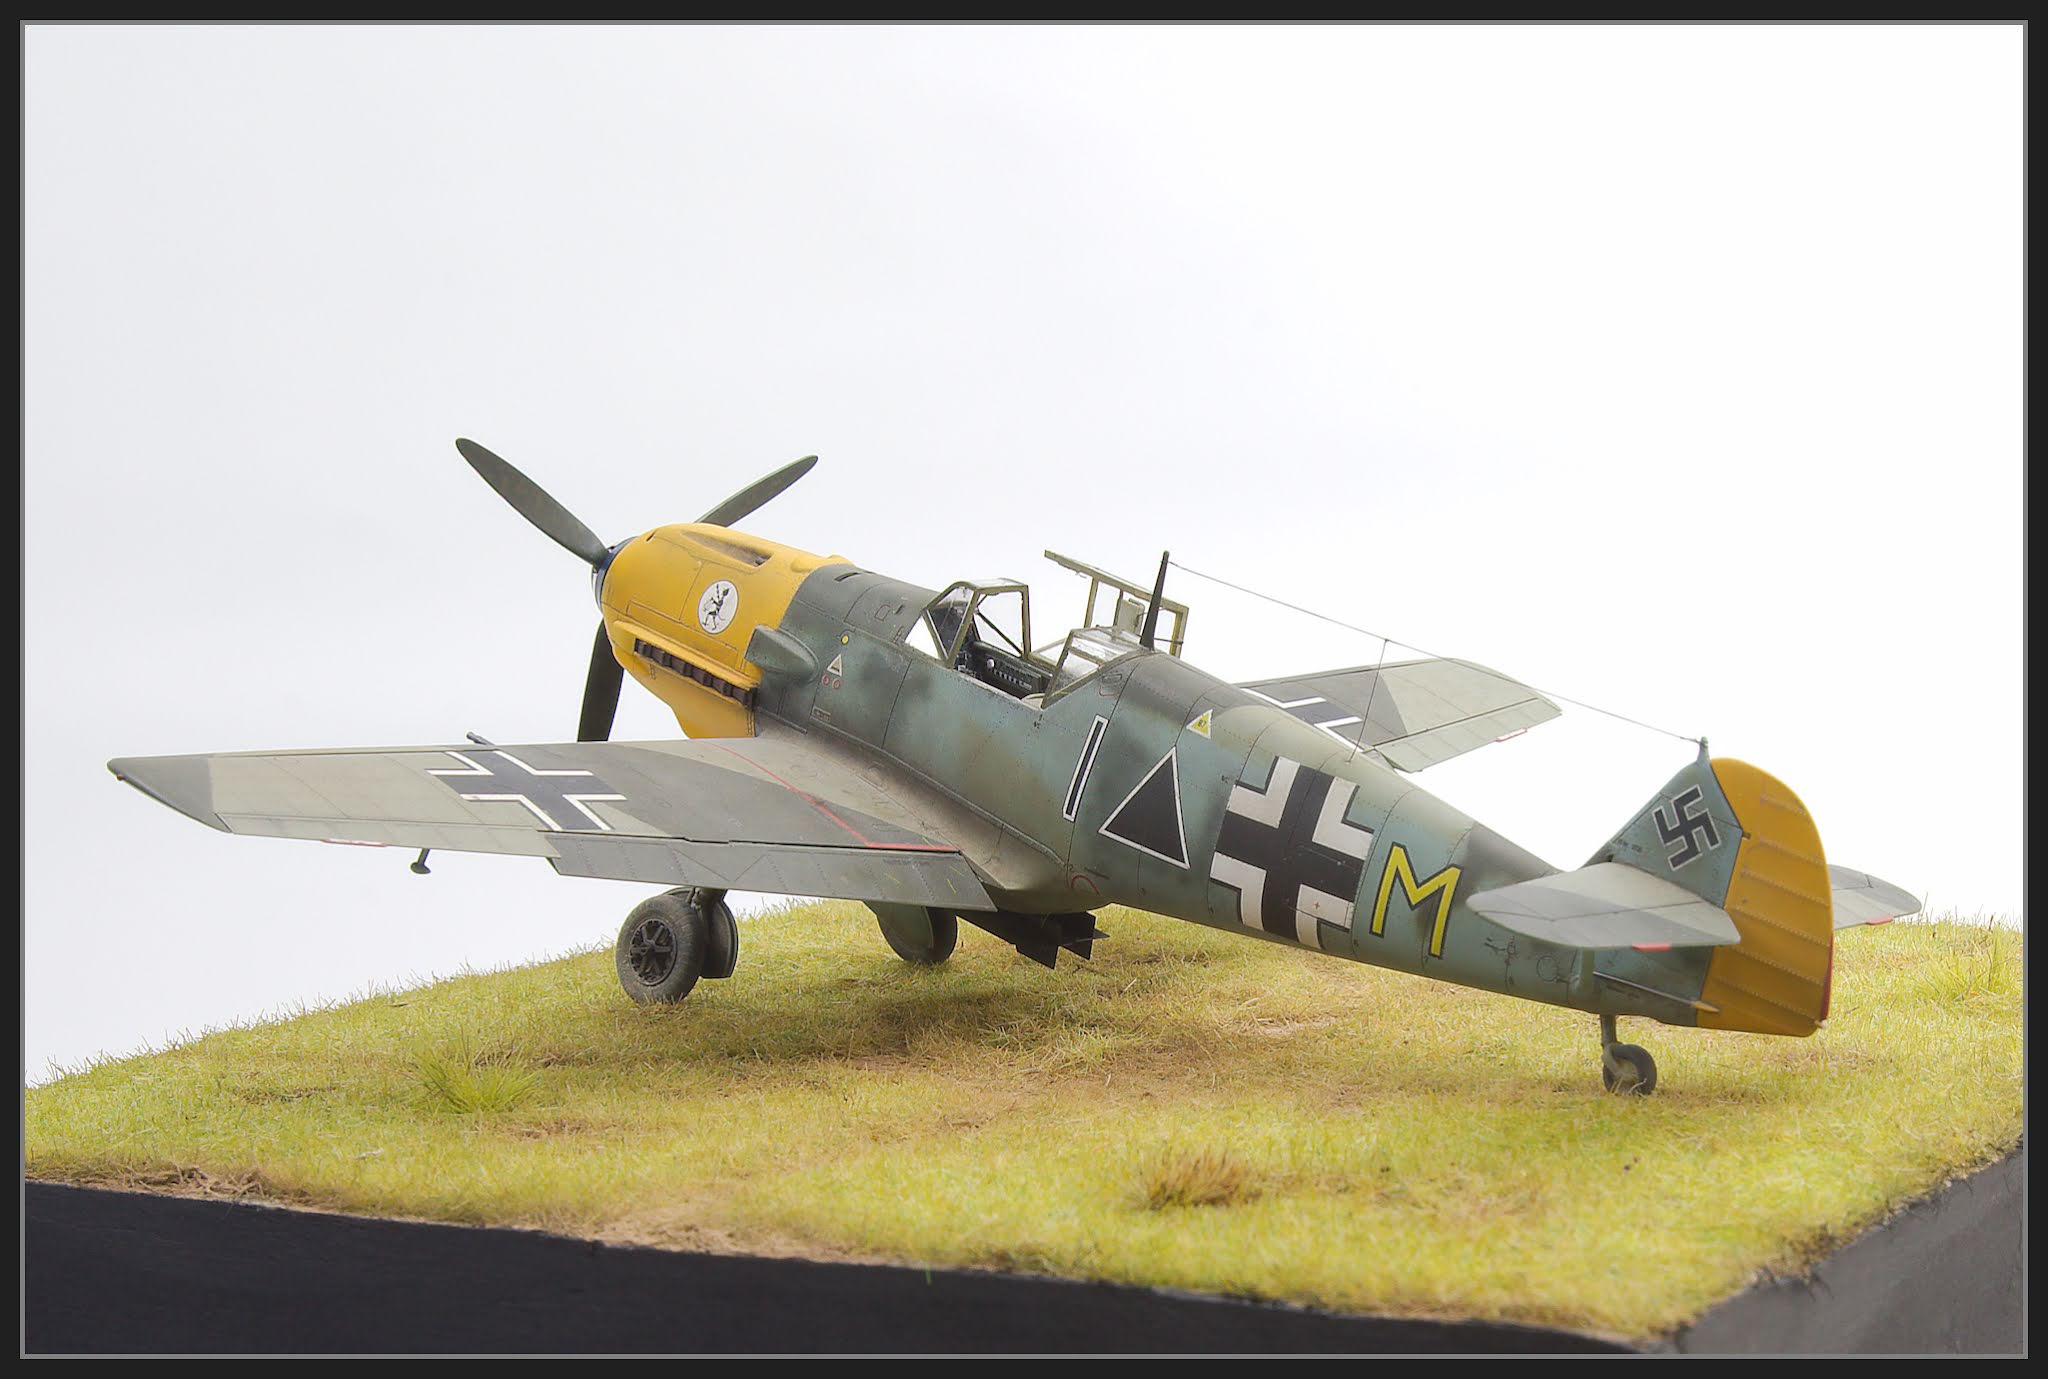
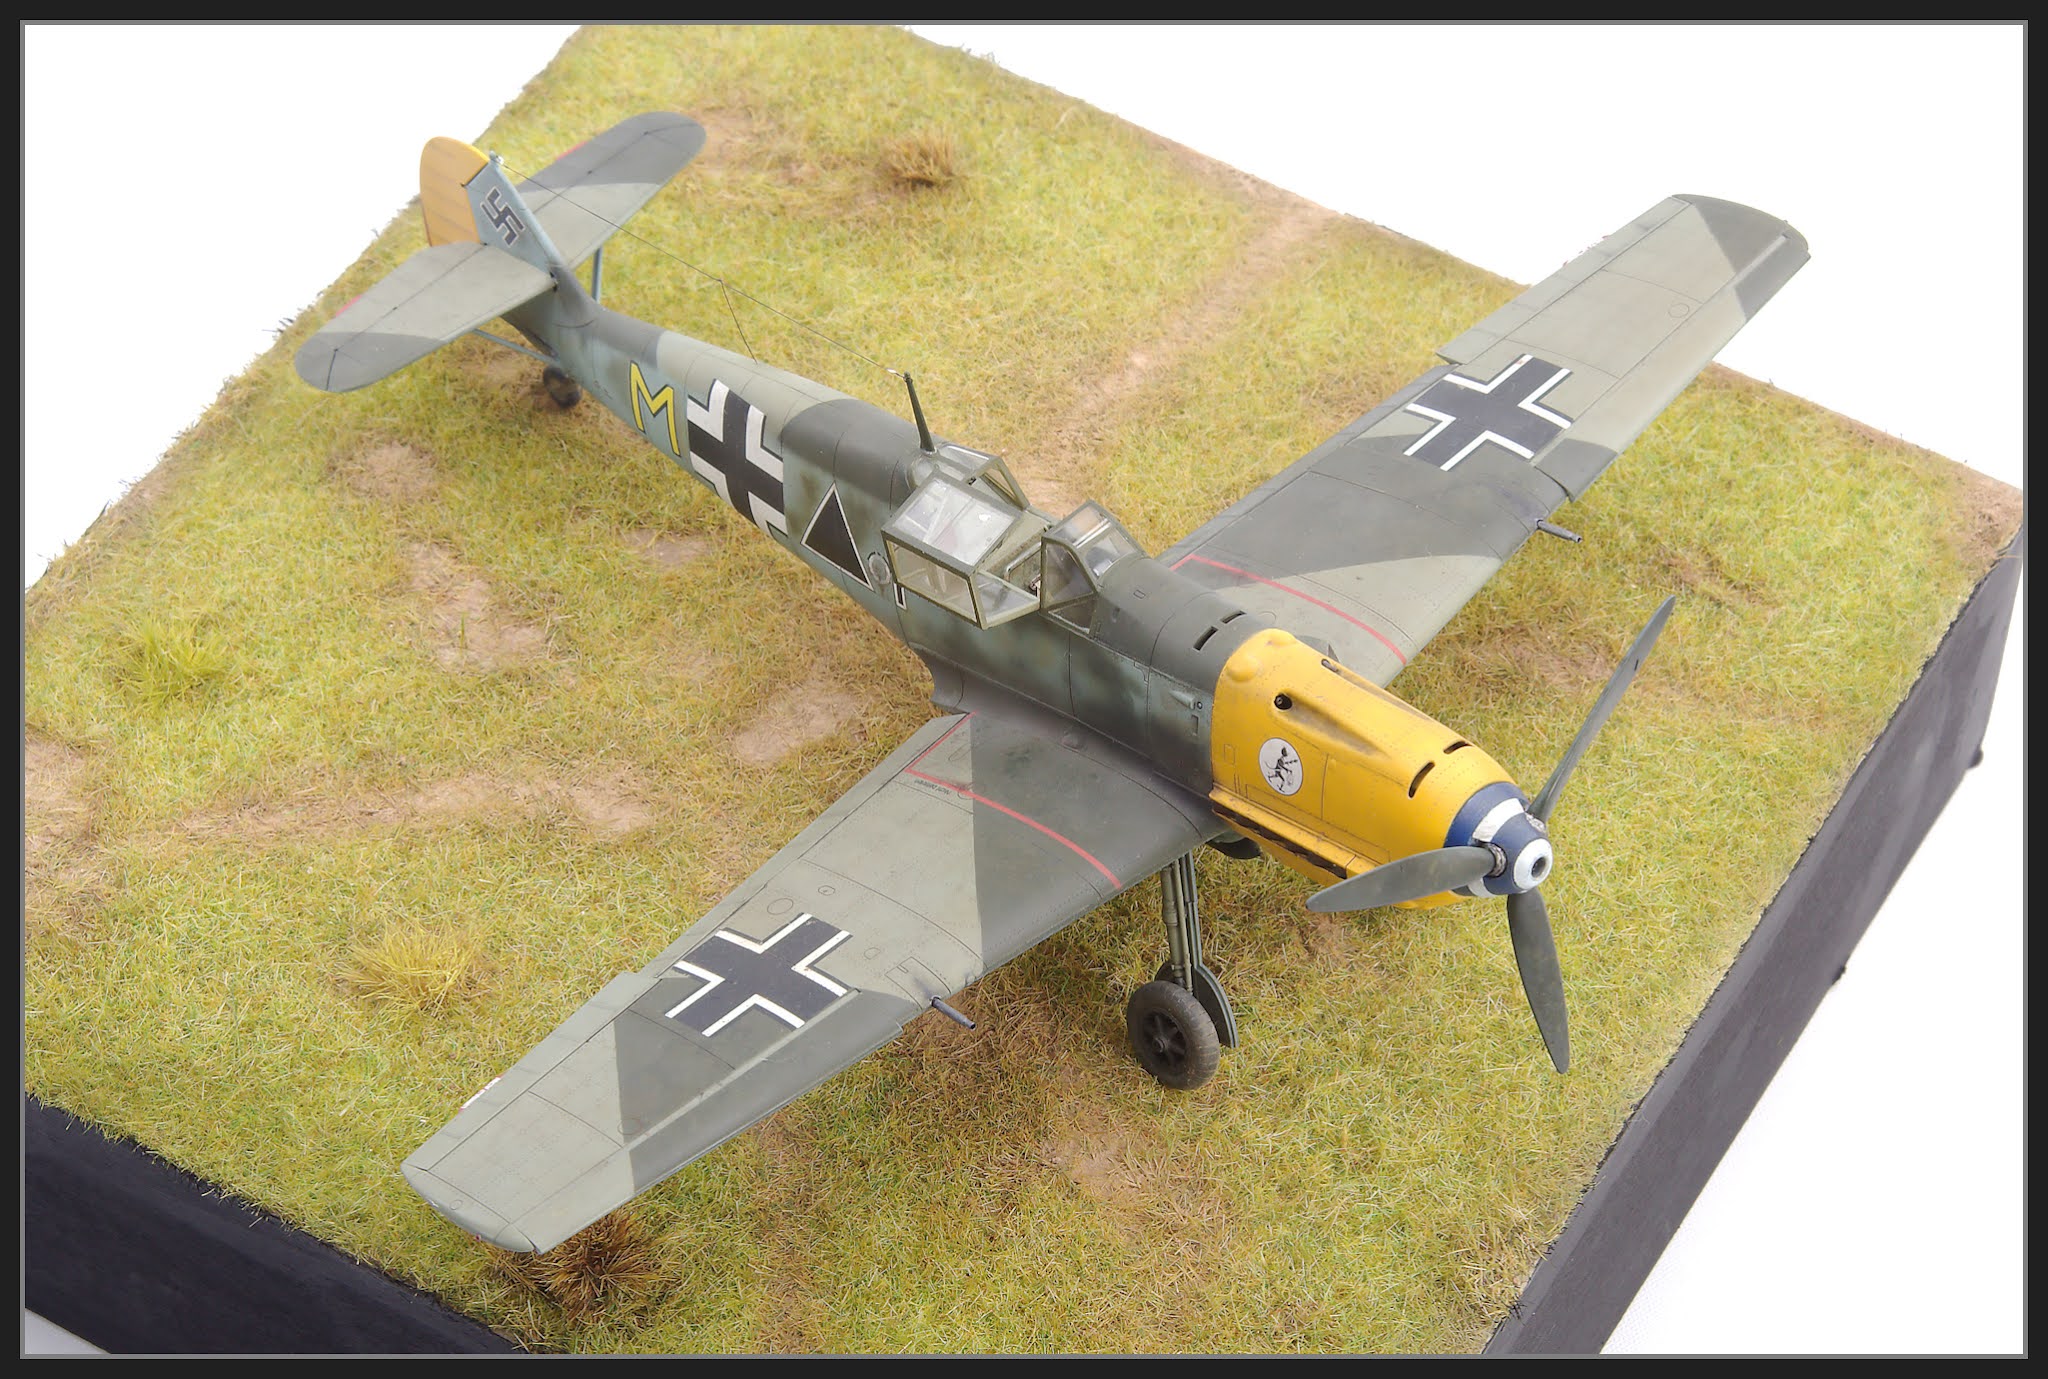
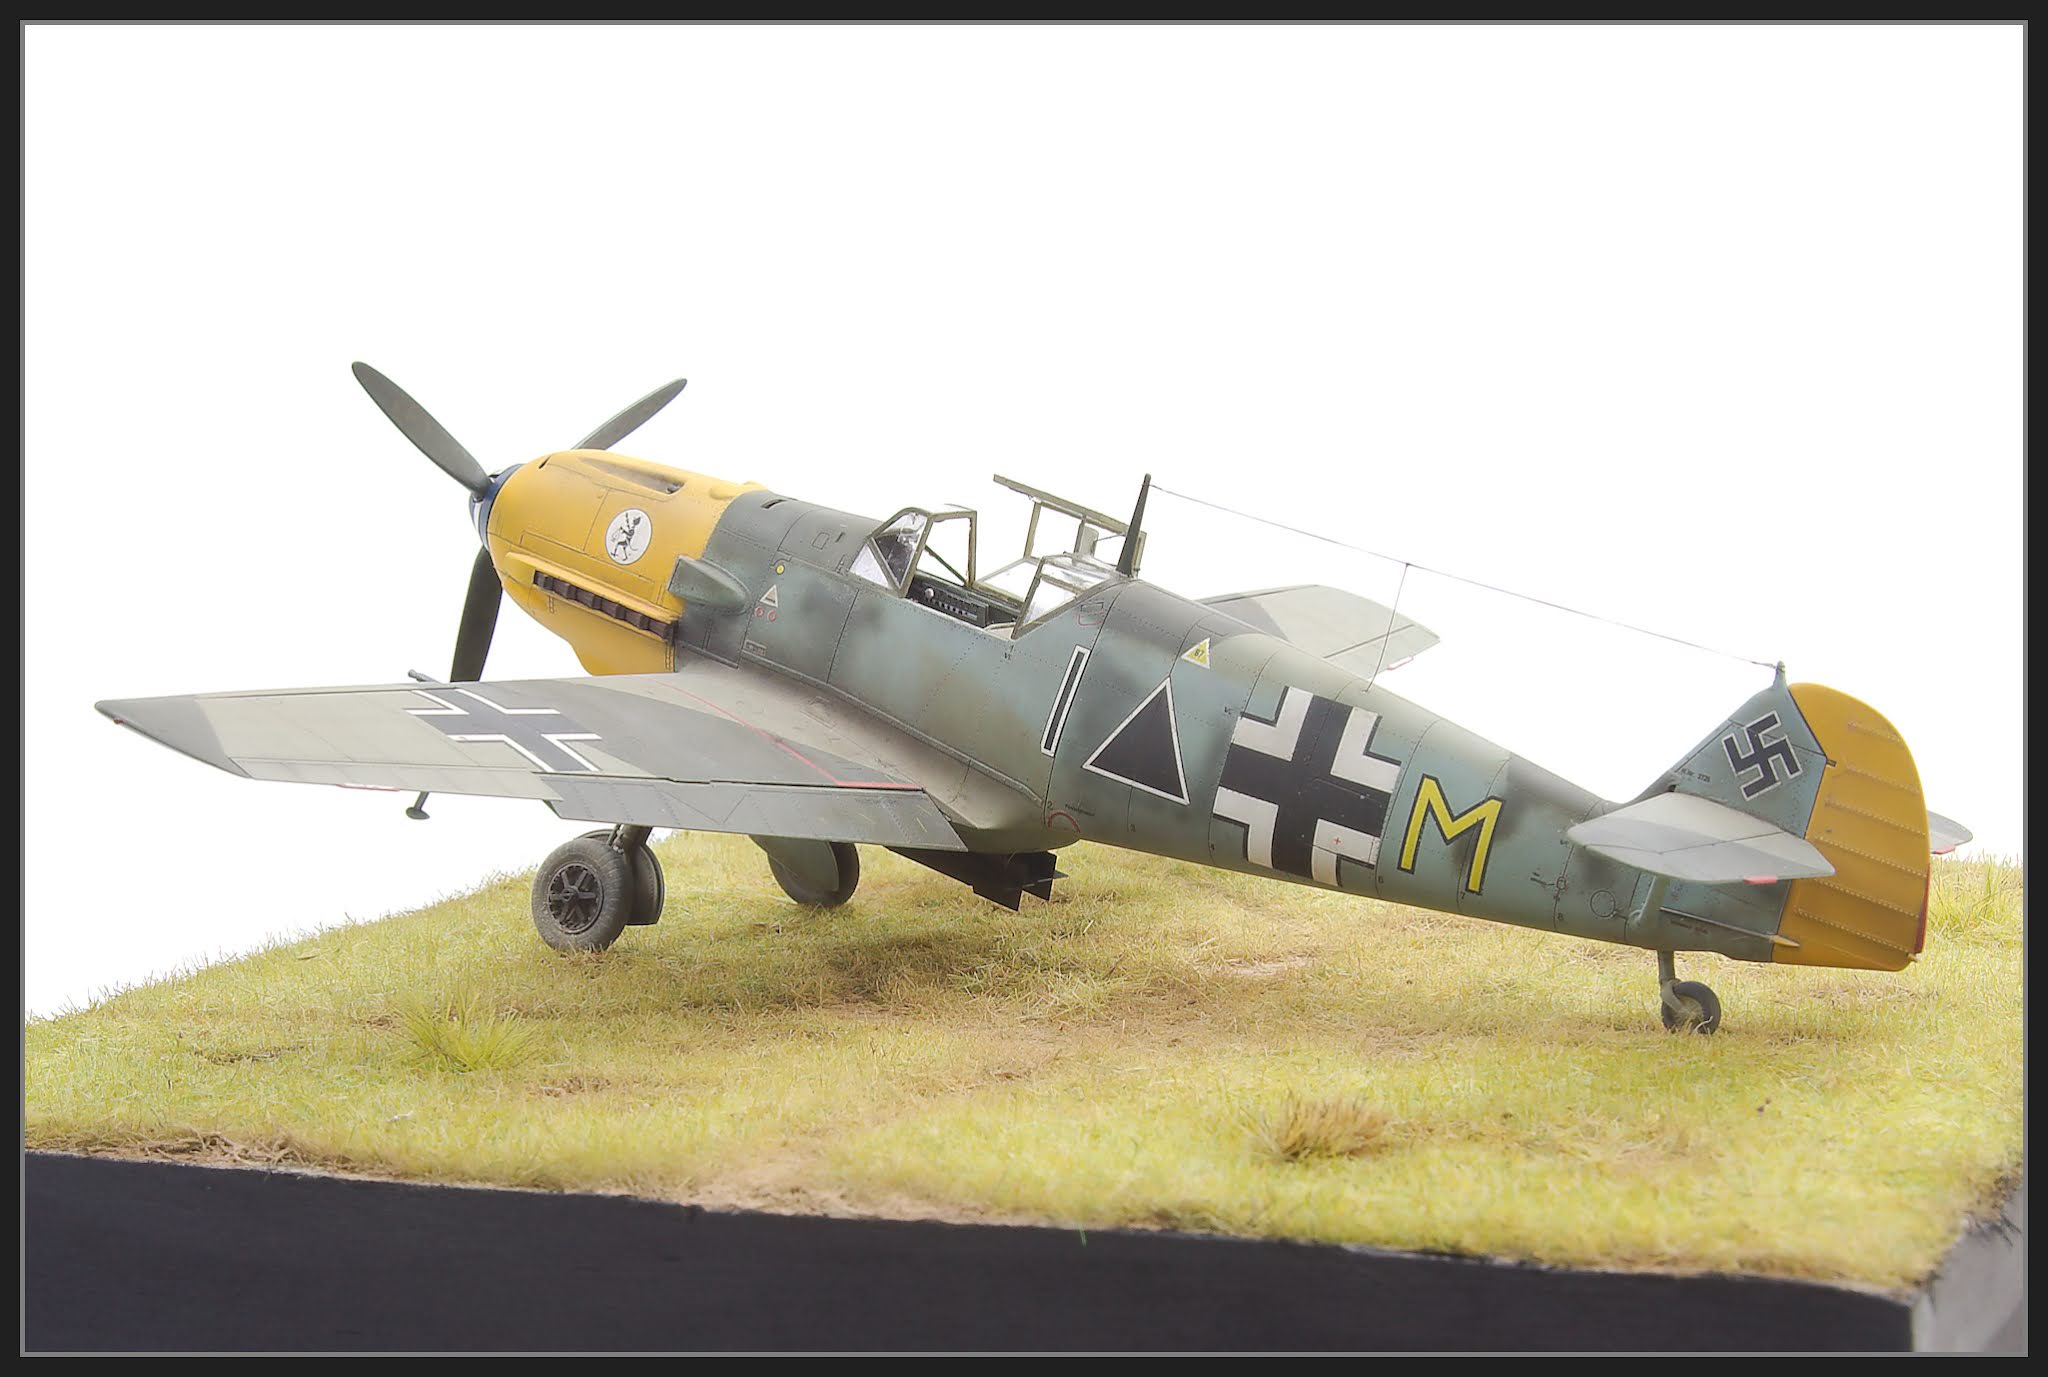
The Bf 109 E-4 WNr. 3726 was lost on October 5th, 1940 with Fw. Erhardt Pankratz at the controls. He was flying near English coast at a height 12,000 feet when he was attacked by No. 603 Sq. Spitfires.Both of his petrol tanks were hit, he tried to return to France, but his engine seized. He performed a successful forced landing near Peasmarsh, Sussex. A steel helmet was found during examination of the Bf 109. This airplane was shown to British public later on. Staffel emblem of the 6.(S)/LG 2 with Puss in Boots (Gestiefelter Kater) with lantern was used from 1938 till 1942. The black triangle is marking of ground attack aircraft, the "M" is individual marking of aircraft within Staffel and yellow color is attributed to 6. Staffel.
The Kit
- 1/48 Eduard Bf 109E-4 from the Alderangriff Limited Edition Dual Combo . Kit No ED11144.
Aftermarket
- None
Decals
- Kit Decals
Paint
- Dark Green - RLM 71 - Mr Color 17
- Grey Green - RLM 02 - Mr Color 60
- Light Blue - RLM 65 - Mr Color 115
- White - SMS Insignia White
- Yellow - SMS Trainer Yellow
- Blue - Tamiya mix for RAF Roundel blue
- Black - Gaianotes Black Grey
- Clear Gloss - SMS Clear Gloss
- Flat Coat - Mr Color GX 113
The Build


When joining the fuselage and fitting the cockpit make sure the instrument panel is sitting correctly - ie not as per this image. it should sit right down on the fuselage.

I applied some liquid glue to re-activate the joints of the cockpit tub in as many places as I could and then I pushed the panel down so it sat as close to flush as I could it. The cowl now fitted.
I did need some clamping to hold everything place while the glue went off.


The wing to fuselage joint is excellent. Not issues here. I spot primed a few joints to see if the glue had upset the panel lines.

Painting


Decals


Weathering
Weathering was kept pretty light as I wasn't interested in
doing too much on this build. I just
applied a basic wash of tinned oil paints. Oils were also used to apply some bits of
grime / dirt in some areas where I assumed the ground crew would be working
I did have a good look at early war 109 photos and most didn’t exhibit much in the way of exhaust staining - this bit of confirmation bias , just a wash a meant that the Exhaust staining was also kept light. Oils were also used for this.


The Base
Insulation foam from the hardware store was used for the base. It was covered with air dried clay then texture paste then base coated with Tamiya Flat earth. The whole thing is lined with balsa wood.


Static grass was applied into thinned PVA glue using a static grass applicator.


At this stage the transition from the bare areas to the grass was a bit stark. More static grass was applied by dropping it onto some blobs of PVA. A mixture of pigments was liberally applied in these areas as well.
More worn areas were added by rubbing out the grass with my finger and pigment applied.

The Photos


..very impressive!
ReplyDeleteThanks . I'm happy with it
Delete