Sunday 23 December 2018

2018 - A Year in Review

Well it's that time of the year again, the time when I post what I've completed in this calendar year and wonder why it was not as many as I'd hoped for.

This year I've started to try to incorporate bases and even some figures into some of my builds to add a bit more visual interest in the subject. I have made some generic bases I now use for the photos, hence why you may notice some similarity.

Anyway onto the builds.

First was the new tool 1/48 Airfix P-51D Mustang. This was built for the NSW Model Show's "Airfix Cup", which to my surprise it won.

This is a terrific little kit that I really enjoyed building.


Full build report for the Mustang is here

Next was the 1/48 Tamiya M-10 Tank destroyer. This was built to take part in the NSW Model Shows "Panzer Tracks" trophy, no winner here but I was pretty happy with the result. This was done as Kiwi vehicle used in Italy.  I continue to enjoy these armour kits in the proper scale of 1/48 😄


Full build report for the M-10 is here

Next completion was my nemesis.. A 1/48 Sikorsky S-70B2 Seahawk from Italeri with a Hawkeye models conversion. This kit was the only thing still languishing on my "shelf of doom". So late in 2017 I decided it had to be finished. It's far from my best work but I'm happy to have it done and in the cabinet.


Full build report for the Seahawk is here

The Tamiya P-47 is a great palette cleanser (TM). I needed one after the Seahawk and as I was well into the Wingnuts Wings Camel. I built this in about 4 weeks and am quite happy how it turned out.


Full build of the P-47D is here

The 1/32 Wingnut Wings Sopwith Camel F1 "Clerget" was next. This build was notable few firsts for me, first 1/32 kit, first bi plane (as a adult) and first figures of a decent size. It was pretty tough going at times, especially the rigging but I did learn a  few things along the way , mainly I'm not that into rigging so that Fe2B isn't going to get built 😃 . That said I was happy with the final result, and particularly happy with the figures considering it was my first go.  


Full build report for the Camel is here

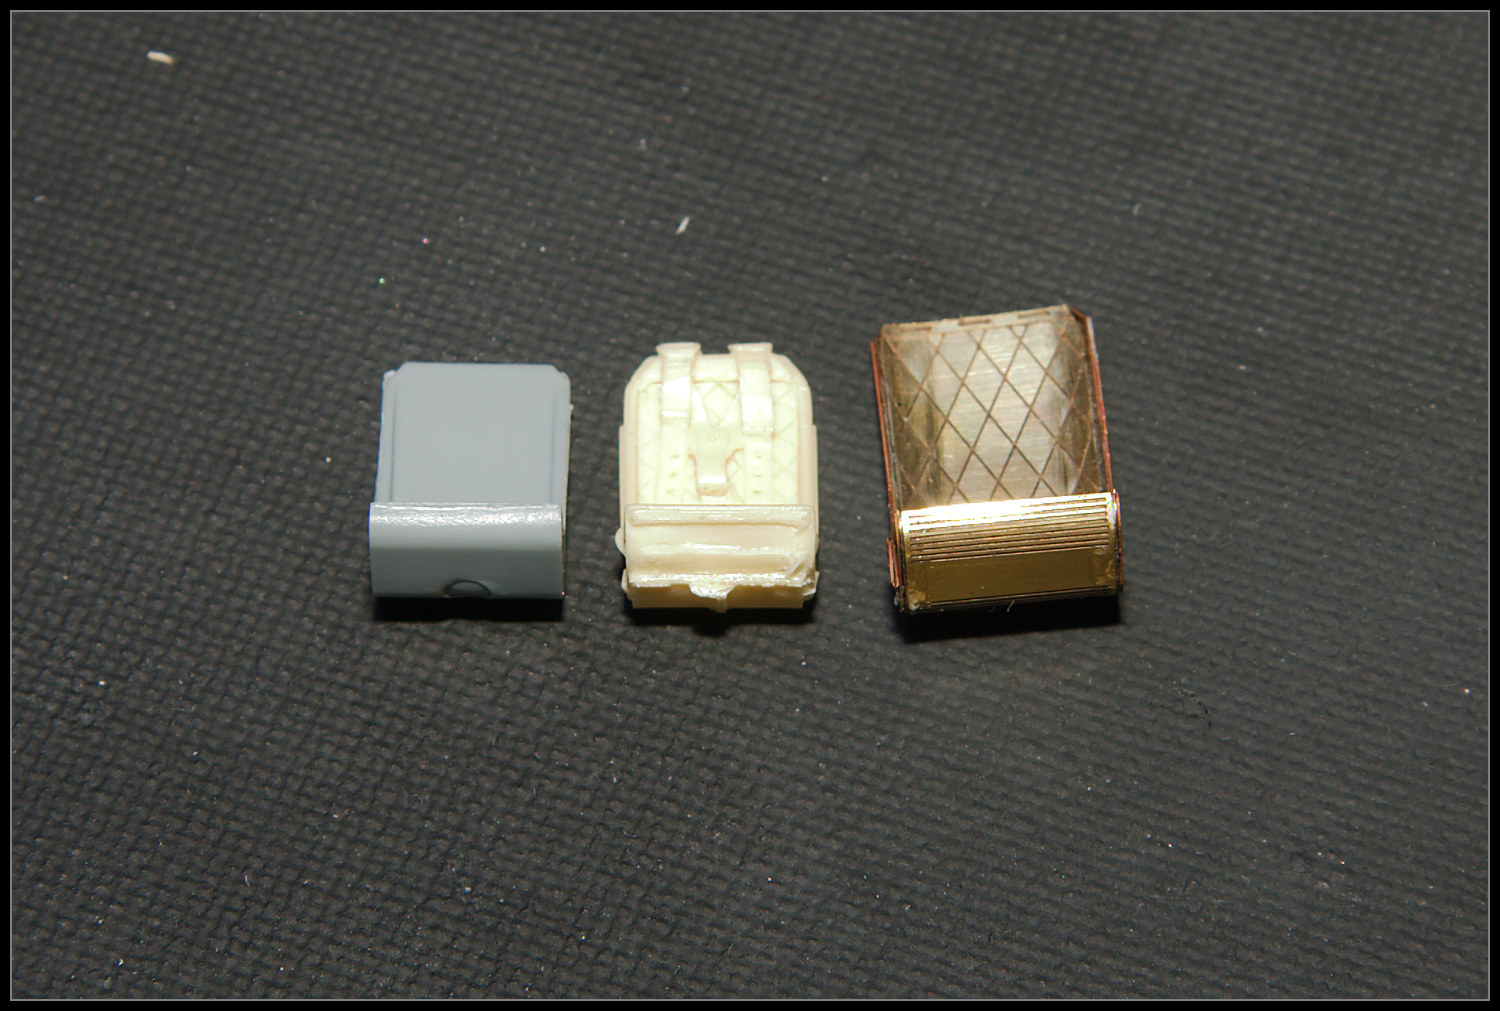
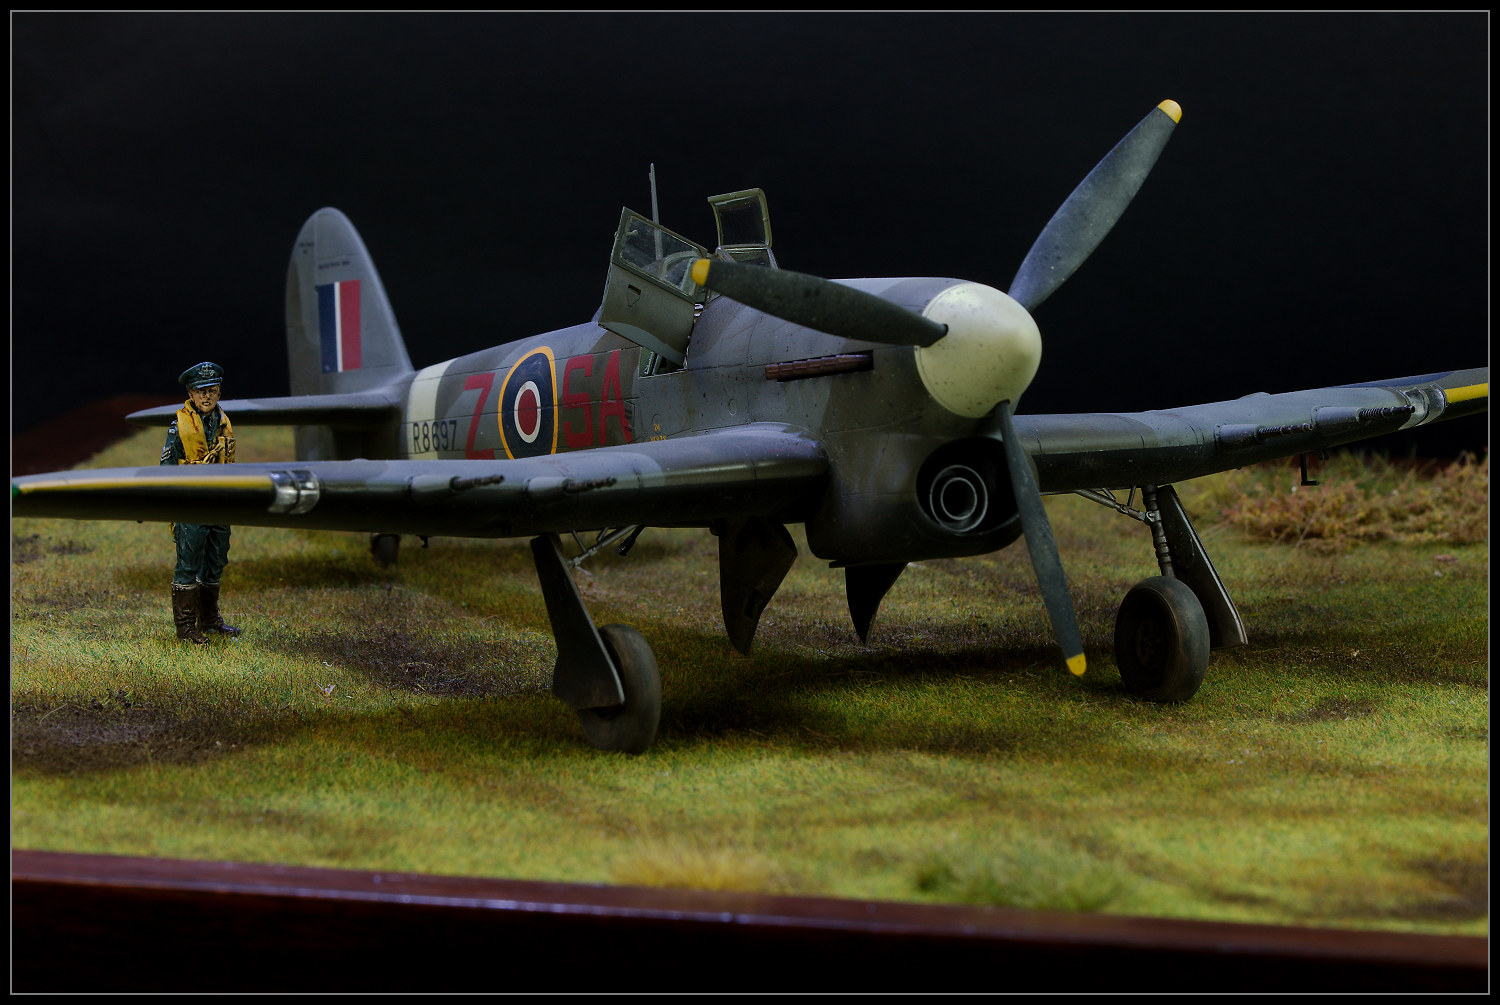
Last completion for the year was one of the Eduard boxing's the Hasegawa Typhoon. This was built built as part of a mini group build with a club mate... he hasn't started his yet 😂 . I like the unusual night fighter scheme on the Typhoon, added with the fact it was a New Zealand Squadrons aircraft. Again I'm happy enough with the result.


Full build report for the Typhoon is here

Well that's all for 2018. First completions of 2019 should be the 1/48 F-15E Strike Eagle, along with 1/48 Sea Fury and 1/48 Jagdtiger, for the Airfix Cup and Panzer tracks Trophy respectively.  

What's after those.. who knows, my plans seem to change weekly. But I'm thinking of a 1/32 Tamiya Spitfire, 1/48 Firefly Mk 1 and maybe even a 1/72 RAF bomber.

Tuesday 18 September 2018

1/48 Eduard Hawker Typhoon IB - Car Door - 486 Sqn (NZ) RAF


The Typhoon has always been been one of my favourite RAF aircraft from World War II, it's such a beast.
I built the Monogram kit as a teenager and when I got back into modelling in the early 2000's I quickly built the Hasegawa bubbletop. I thought it was OK at the time but looking at the photos noq it wasn't the best, hence why it had long been scrapped.

A mate suggested we do a mini group build of the Typhoon so I figured I'd tackle the car door version as I had a Eduard Limited Edition kit in the stash.

I decided on a early Car Door variant from 486 Sqn (NZ) RAF, There were a couple of reasons for this, firstly it was a Kiwi Sqn, secondly the night fighter scheme is quite unusual and finally it is an early aircraft with no reinforcing plates on the tail and the exposed cannon barrels, which you don't see often.

The reason for the night scheme was that 486 Sqn operated with the Turbinlite Bostons , firstly with Hurricane IIc's and then for short while with the Typhoon, before they switched back to day op's.

The Kit


Eduards "Tiffy" boxing, Kit No 1131 . This has the Hasegawa plastic with Eduard PE resin and cartograph decals.
The kit goes together OK, however it does have inserts around the cockpit area (so both the bubbletop and Car door can be built with fro the same basic parts) and these don't fit well.
There are two ways to tackle this, either you remove the chance of a step by making the inserts sit flush with the contour of the fuselage. Do this and you will have a gap along the centre line, and the clear parts won't fit over the "hump" on the spine.

Or you fit the inserts so they meet in the middle, meaning you have a large step between the inserts and the fuselage parts. But the clear parts fit without modification and there is only the usual seem to fill.

I chose option 1. But I didn't find out about the clear parts until I'd finished the paint. I did manage to fix this by shaving down the insides of the clear parts so they fit over the "hump". The front windscreen seemed to fit OK

If/when I build another one I will again choose to match the inserts to the fuselage but I'll reduce the the width of the hump so the clear parts fit without having to attack them.

If building the bubbletop you won't have the hump to deal with and if you decide to leave the canopy open you should have no real issues using option 1.


Aftermarket

  • Ultracast seat. Eduard supply a PE seat but it seems rather over scale. The Ultracast Seat looks more correct scale wise.


  • A lot of the other PE is a bit to fiddly for my taste. Next time I'll use the panel and that's it.


The Figure

  • The figure is from Plus Models. I really like the pose and he is quite nicely cast. He was painted with Vallejo Acrylics with a simple wash used to bring out the facial features.

Paint

  • Dark Green  - Mr Color Dark Green C361 and Tamiya XF81. Darker and light shades from various Mr Color greens.
  • Ocean Grey - Tamiya AS 10. Darker and lighte shades from various Mr Color/Mr Hobby
  • Black underside - Gaianotes German Grey
  • Sky - Mr Color Sky
  • Yellow - Mr Hobby RLM yellow
  • Other various Mr Color/Mr Hobby greens and greys for weathering
  • Various Vallejo Acrylics for details

Clear Coats

  • Gloss - SMS Clear Gloss
  • Flat - SMS Clear Flat

Weathering

  • Oil paints
  • Pigments
  • Tamiya Weathering Sets

Build Threads