This kit was built as an entry for the 2022 NSW Scale Model Show's 40th Anniversary of the Falklands Conflict category. It was also built to take part in the Model Geeks Podcast's A-4 Skyhawk Group build.
The Kit
1/48 Hasegawa A-4B/C Skyhawk - 'Falklands'
This was a "rescue kit" - by that I mean I bought it from a mate who still thinks he's a modeller but is now really a kit hoarder. It has been rescued and built.
This kit can be built as an Argentine Navy A-4B (A-4Q) or Argentine A-4B (A-4P) or A-4C.
Hasegawa include resin for the various antennas specific to the Argentine variants. Sadly these aren't accurate.
For some reason Hasegawa have rarely released the B model so as I going to build the A-4C I passed the B nose onto a mate.
Aftermarket
I've got a bit of aftermarket for this build. at this stage I wasn't sure exactly what aircraft I was going to build hence the multiple decal sheets, MK 82 bombs and SBS Expal BRP-250 Bomb sets. From what I gather the Argentine AF used these whereas the Navy used the MK 82s. I was to learn more about the BRP-250 bombs as the build progressed.
The Cat4 resin antenna set is a must if you want to build a Argentine A-4 as it has the correct antennas for the various variants. And yes there are differences between the A-4P/Q and C . I didn't bother with the intakes as I couldn't be bothered with the work required to fit them.
Since the aircraft is going to be built "inflight" I decided to tackle the undercarriage doors first.
This kit is designed to be built with the wheels down so a bit of finagling is needed to get the doors to fit. The Master Tools rotary tool with a burr is handy for this.
I've also added a piece of 1/4 inch box for the supporting rod. I cut out the rear section of the undercarriage leg bay and stuck in the box section then I'll flare it in with magic sculpt.
On the inside I like to pack magic sculpt around the box section to make sure it remains secure.
The slats almost fit without modification... But only almost. So you do need to spend some time adjusting them to get them to fit .
I usually take some material from the inboard edges of the slat as well as some from the underside of the slat. I also use Tamiya white cap glue in the centre of the panel. I don't run any extra thin or such into the join between the slate and the wing so those lines remain sharp.
Underside view with the Slats fitted.
I added the missing lines to the upper wing to depict the wing spoilers.
The wing spoilers were on every aircraft based on the A-4F onwards. This means the F/G/H,/K/M,N,Ku, AR needs them added, as well as every two seater (so all TA-4’s, OA-4 etc). They were also added the USN A-4L’s , which was based on the A-4C.
They were also on a lot of the A-4E's (AFC 442 is the Modification no.), so check your references. And many of the foreign variants based on the A-4B and A-4C/A-4L had the system added as well (so A-4P, Q , L etc). The Argentine A-4C’s had it added prior to delivery.
The line in blue is the existing panel line. The lines in red are the ones you need add for the spoilers. On the underside of the wings you can see a cut out on the flaps. This is mark you transfer to the top wing and scribe from.


The next thing to address is the speedbrakes. Hasegawa want you to have them open but they
are rarely open - either in flight or on the ground. On the ground it was only for maintenance or
when the aircraft was landing. At times
they would creep open a bit after Hydraulic power comes off. But not every jet and not all the time.
The kit parts do not have the same contour as the aircraft fuselage so if you want them flush you have to do some surgery. And they have some fine panel line detail (for the RATO attachment) on the lower edge of the brakes I like to get the flush and sort out the top. I also try and bend them a little. Another thing I did on this build was drill some holes into the speed brake bay from the fuselage so I can use a stick from the inside to push them out if need be.
I also used magi sculpt on the inside and pressed the speedbrake onto it to get it positioned where I wanted it. I didn’t use and plastic cement around the edges to keep the lines sharp and am relying on the Magic Sculpt to hold the brake in.
A better suggestion came from a mate, he adds some cuts longways across the speedbrake on the inside and them bends them to match the curvature of the fuselage. I will definitely be trying this next time.
Another thing I do is to nip of the end of the speedbrake
arms. If you look at a real jet you’ll
see there is a bit of hole there. There
is a scribed line on the model part that I use as a guide. If you are having the speedbrakes open don’t
do this.
Here you can see the top of the speedbrake sitting
high. Some sanding and polishing is all
that can be done here.

The other side is slightly worse but not that bad.
Because I'm doing this in flight virtually nothing will be seen in the cockpit. That said the Hasegawa decal over the IP has always looked good to me (where the IP is correct for the jet).
A heap of setting solution and some patience and you end up with as good an IP as you'll get (IMHO).
With a bit of effort the side consoles can also be made to look quite good with the kit decals. Effort was in short supply the day I did the side consoles.
I like to re-scribe a bit of the detail on the tail as it is super fine and easy to fill with paint.
Everything in is place ready and to go together. Zero weathering done to the cockpit as nothing will be seen with the canopy closed.
Fit of the intake duct is definitely better on the A-4C kits. There is no annoying gap between the duct and the fuselage as there is on the A-4E/M TA-4 kits as the intakes are flush with the fuselage.
Fit was pretty good, My last A-4E/F kit was badly warped but this one is nice and straight. Started filling the seams and those few panel lines that Hasegawa wrongly included around the fuselage /fin insert with CA and metal pigment
A tip for those building the TA-4. Hasegawa's instructions have you fit the blank in the hole in the upper fuselage. This is wrong. Fit the triangle shaped vent. All Skyhawks with the J-52 engine have this vent, either on the hump or on the fuselage.
Wing to fuselage join is as I always find it, fine except for the gap on the left hand side. I just fill this with Magic Scupt.
The right side has a much smaller gap.
Next was to tidy up the Tail insert.
The Argentine A-4C’s had 5 stations instead of the 3 on the
original A-4C’s. A reinforcing strip was added to the upper wing roughly above the two added
outer stations (1 and 5). A piece of
evergreen strip was used to simulate this.
I’m not sure if this was added to other operators who added Stations 1 and 5
to their A-4’s based on the A-4C.
Painting time. . I don’t usually fully prime any of my aircraft builds - just where I’ve been working. But on these kits I tend to work on most areas and the Hasegawa plastic is quite shiny and smooth so in this instance I think a primer coat of Mr Surfacer 1500, thinned with GP thinners is useful. After a light sand I added some various shades to the primer coat. As usual most of this will be obscured later so I really wonder why I bother.
After agonising over colours these aircraft were painted in I settled on following the advice from this Hyperscale post
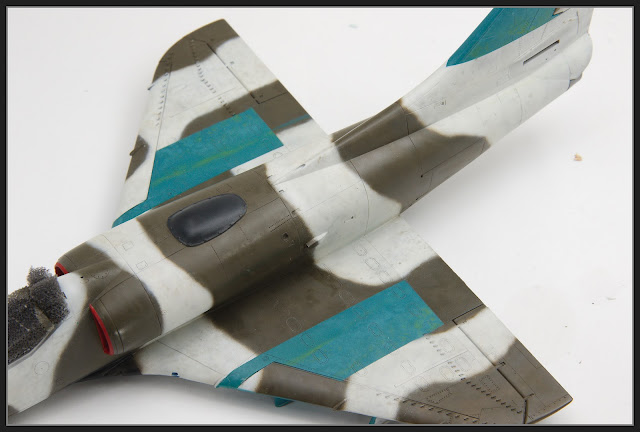
I used AKRC 259 Dark Olive Drab and Mr Color 311 FS36622 for the upper surfaces . These were sprayed freehand (badly). Black was Gaianotes German Grey
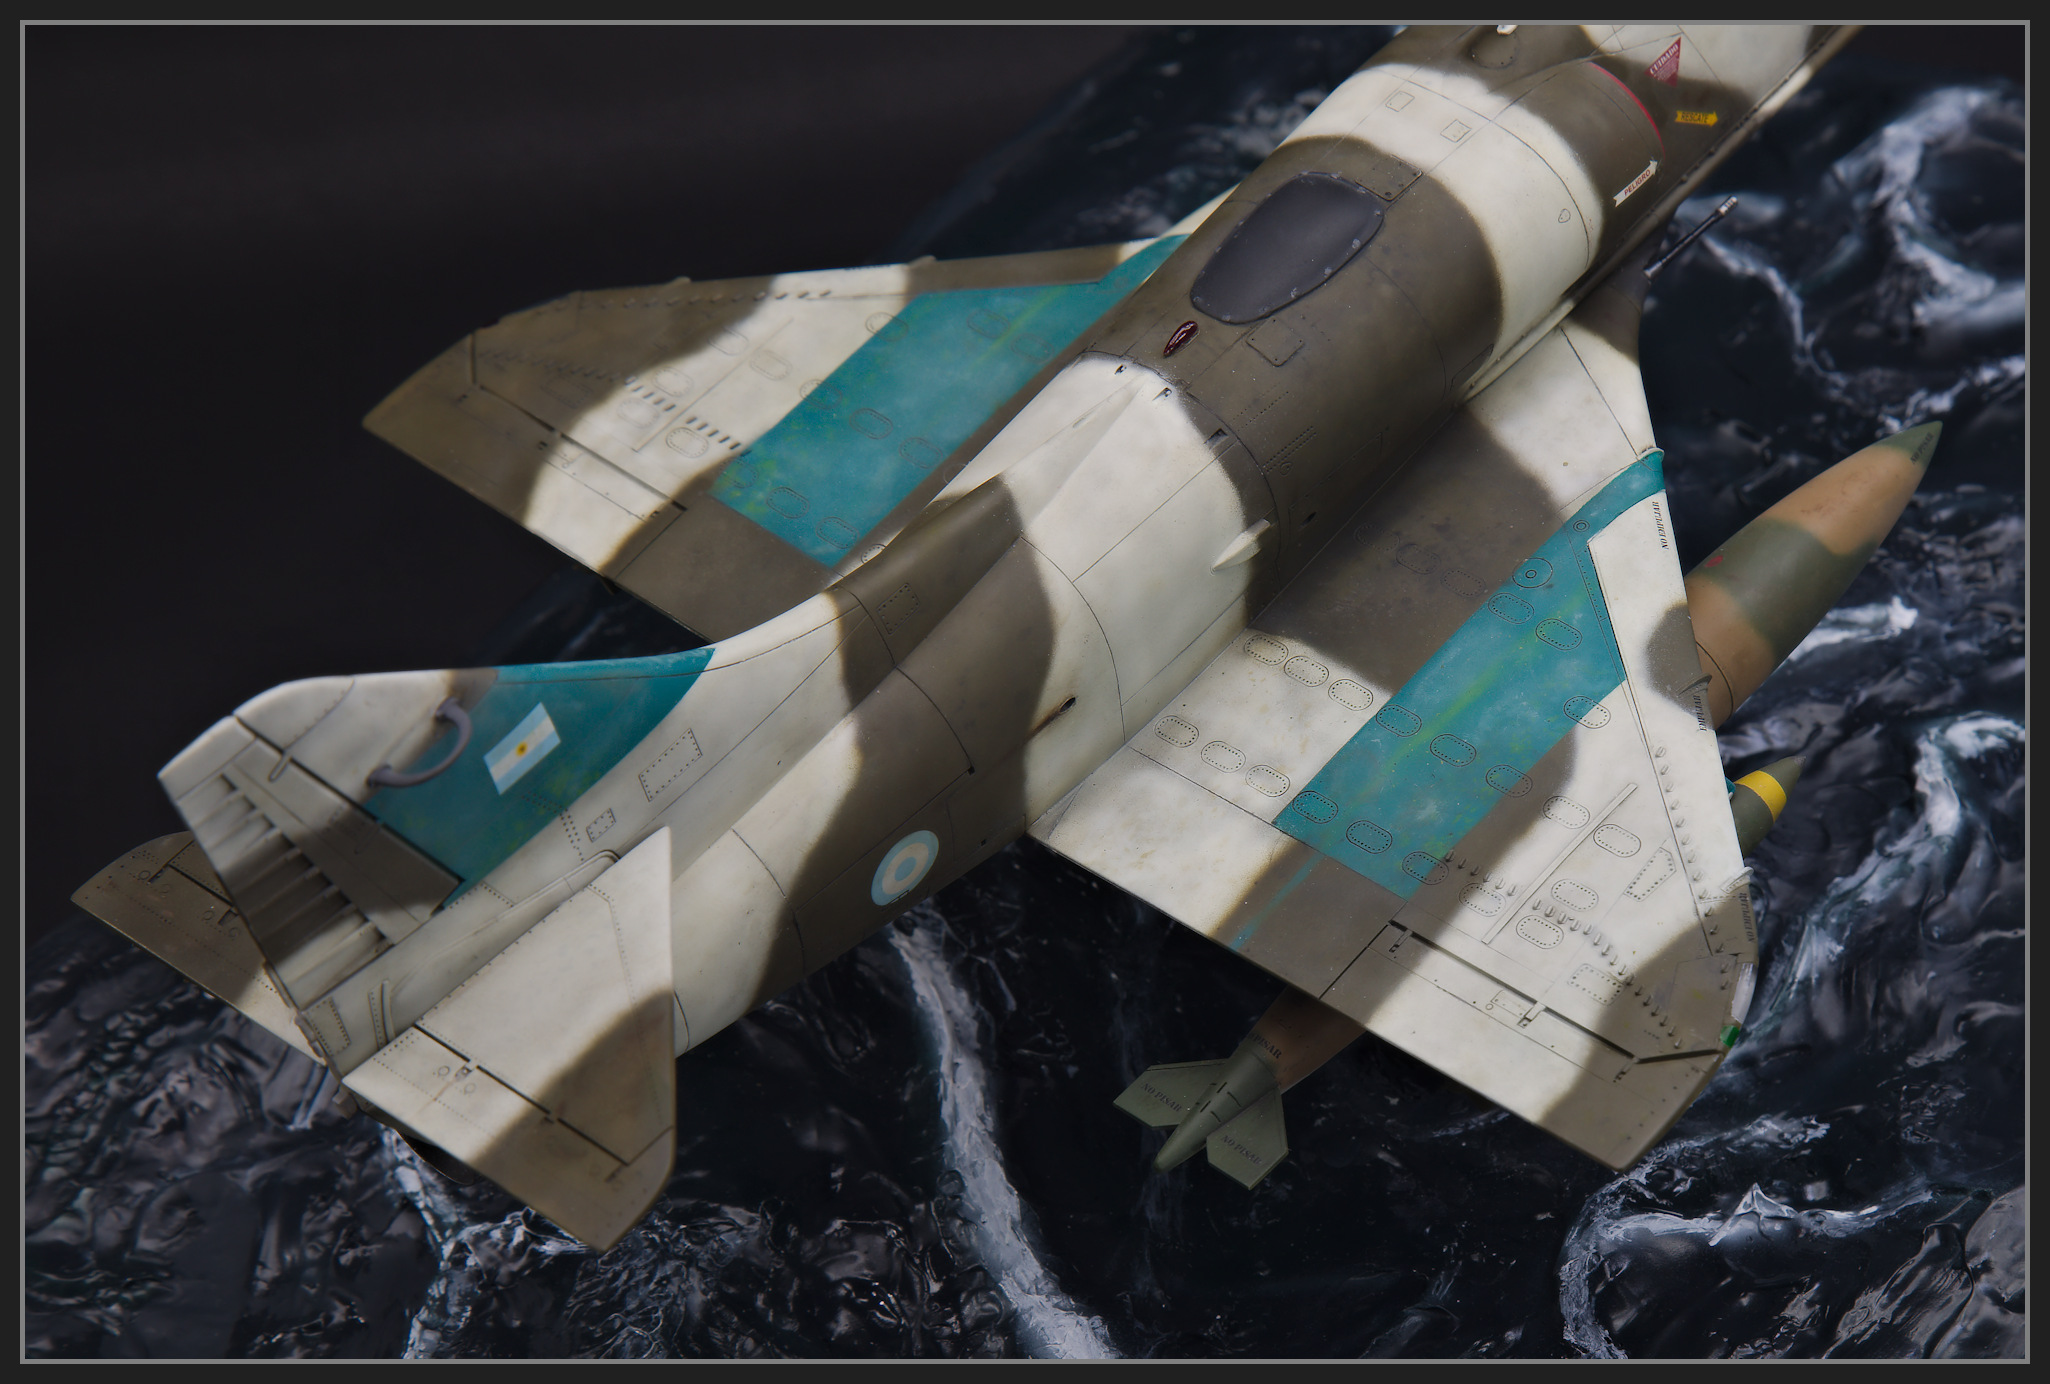
More painting. The blue ID bands was a mix of SMS Aotaki blue, MRP Marking Blue and SMS Insignia white. The Yellow stripe is there because the ID bands were originally yellow and they were overpainted with blue.
Most of the painting is done. I used a variety of splatter masks to break up the solid colours. I have collected an image of an A-4C being loaded with bombs during the conflict and it has a drop tank of a different camo pattern to the aircraft. This looked a bit different so I decide to use that as a reference for this build. On the underside , this was done with splatter masks and different shades of the base coat.
Here’s the paints I’ve used. I took this more as a reminder for myself.
Decaling
These are from the Aztec decals sheet - War for the Falklands/Malvinas No. 2. There is massive number of options on this sheet from both sides of the conflict. These have been printed by Cartograph so performed flawlessly. There weren’t too many decals to apply so this only took a hour or so.
I applied a gloss coat of SMS Gloss over the decals and then started with some washes. These were initially some AK armour washes I’ve had for ages but I’ve never really got on with them so I soon resorted to using oil paints thinned with odourless thinners. A flat coat of SMS flat was applied over the model prior to using some oils for more weathering.
Next it was time to start fitting some of the smaller detail parts, starting with the pilot. This is the Aerobonus A-4 pilot. Initially I was going to replace the head as it has an open face and not a visor. I intended to use one from a Hasegawa F-4 but the head from that was massive compared to the Aerobonus one so I ended up having to fashion a visor out of Magic Scuplt. It’s far from perfect but it will do.
Various oil paints and Mr Weathering Color were used for weathering. These were applied over the flat coat and stippled into surface with a selection of brushes. The raw umber oil paint I had proved very useful as it very closely matched the olive drab. I could alter it's shade by mixing other colours or if it was applied neat it could b used to touch up small areas
A mate printed me some BRPK -250 kg low drag bombs as there are none available in 48 scale. Hi-Planes and SBS resin do the high drag / cluster variants but I wanted some low drag ones. I glued on the sway braces trying to make sure the crutch pads would contact the bombs.
The bombs were then fitted to the racks. I pinned these with some brass wire.
The tanks were fitted to the racks using the same approach.
The Base
All that was left to attach the model to the base. The base is made from insulation foam covered with air dry clay to provide the basic shapes of the waves.
Once the clay was dry artist's Texture Paste is applied to fill the cracks. I also used the texture paste to make more waves. The base is lined with Balsa wood before painting.
I can't say the base is as good as I imagined / hoped but by now I'd had enough of this project and was ready to move on to something else
The final build photos will be on a separate post - see here