I tried the Jasmine Models sheet, but it just wasn't right, it seemed to have some of the problems of the Fightertown sheet. Plus the angle of the diagonals just didn't seem to line up right with the aircraft.
In the end I used the replacement set of Fightertown decals I’d been given. And while they when down OK, they again wrinkled when the clear coat was applied.
The model nearly flew at that stage, but after the clear coat dried I burnished the wrinkled down as best I could, sanded the remaining high spots of , which were only on the black part, then using post it notes roughly masked out the black between the chevrons and sprayed NATO black. This was actually easier than I’d though and only took an hour or so. Sorry no photos of all of the above as I was a little annoyed and wasn't in the mood.
The next job was even up the yellow stripes, the aft stripe on this side being thinner than the forward one. The reference shots show these are even.
I masked the aft side out and painted it Gunze RLM yellow. I actually think they are a little too thick, but at least they are even now. I then gave this area a coat of Tamiya Clear.
The same issues were present on this side, and the same “fix” was applied. This side had an even larger difference between the 2 yellow stripes with the forward stripe being the issue. I used Tamiya Lemon yellow on this side.
First Flat Coat on. I like Testors Dullcoate
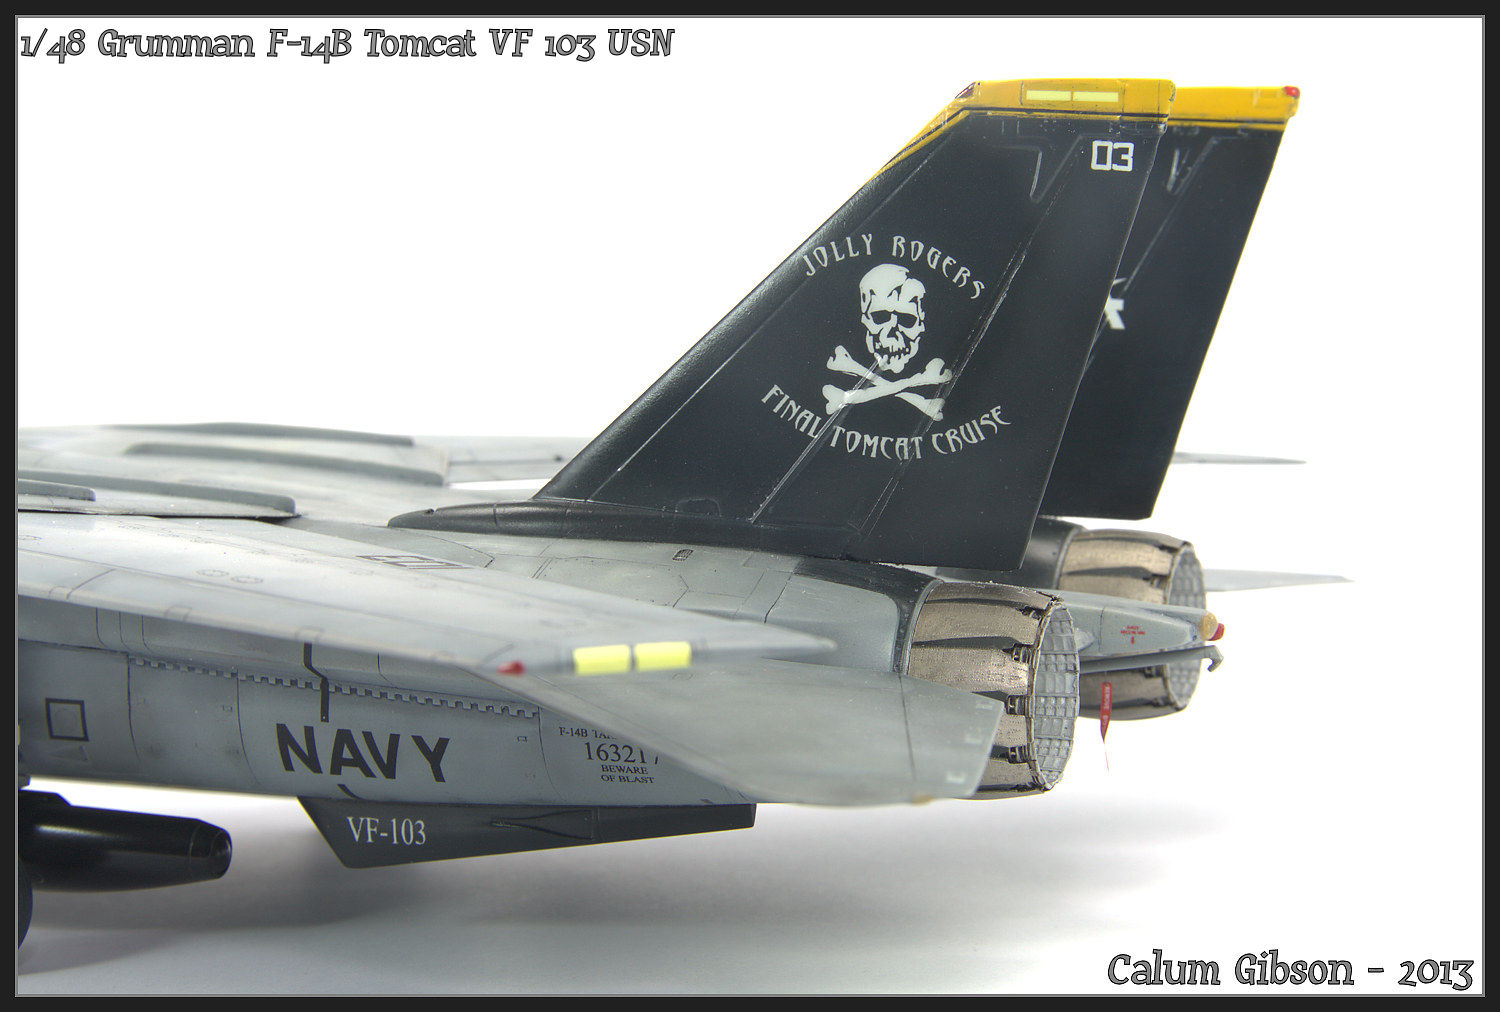
All the other Fightertown decals performed beautifully (as usual). Before I began decaling the tail decals were the ones I was worried about, a large piece of artwork over black and a raised piece of detail. But as you can see there is no sign of carrier film. I can't understand why the diagonal pieces from the same sheet were so difficult.
Here are the Cross Delta Walkway markings, whilst these are really nice with the non slip surface depicted well paint does not stick to them at all well and will chip very easily.
Yet again I find with this kit that nothing fits, the rear hole is way to small and the forward hole means the leg sits at the wrong angle (leaning forward instead of vertical). This
link shows the issue I encountered
Using a file I enlarged the rectangle and after reading some advice on the web I drilled another hole forward of the original
After 4 hours of fettling it's on it legs and everything looks the way it should (I think)
The red paint is to simulate is a lock that is removed before flight. I intend to stick a RBF tag hanging around there
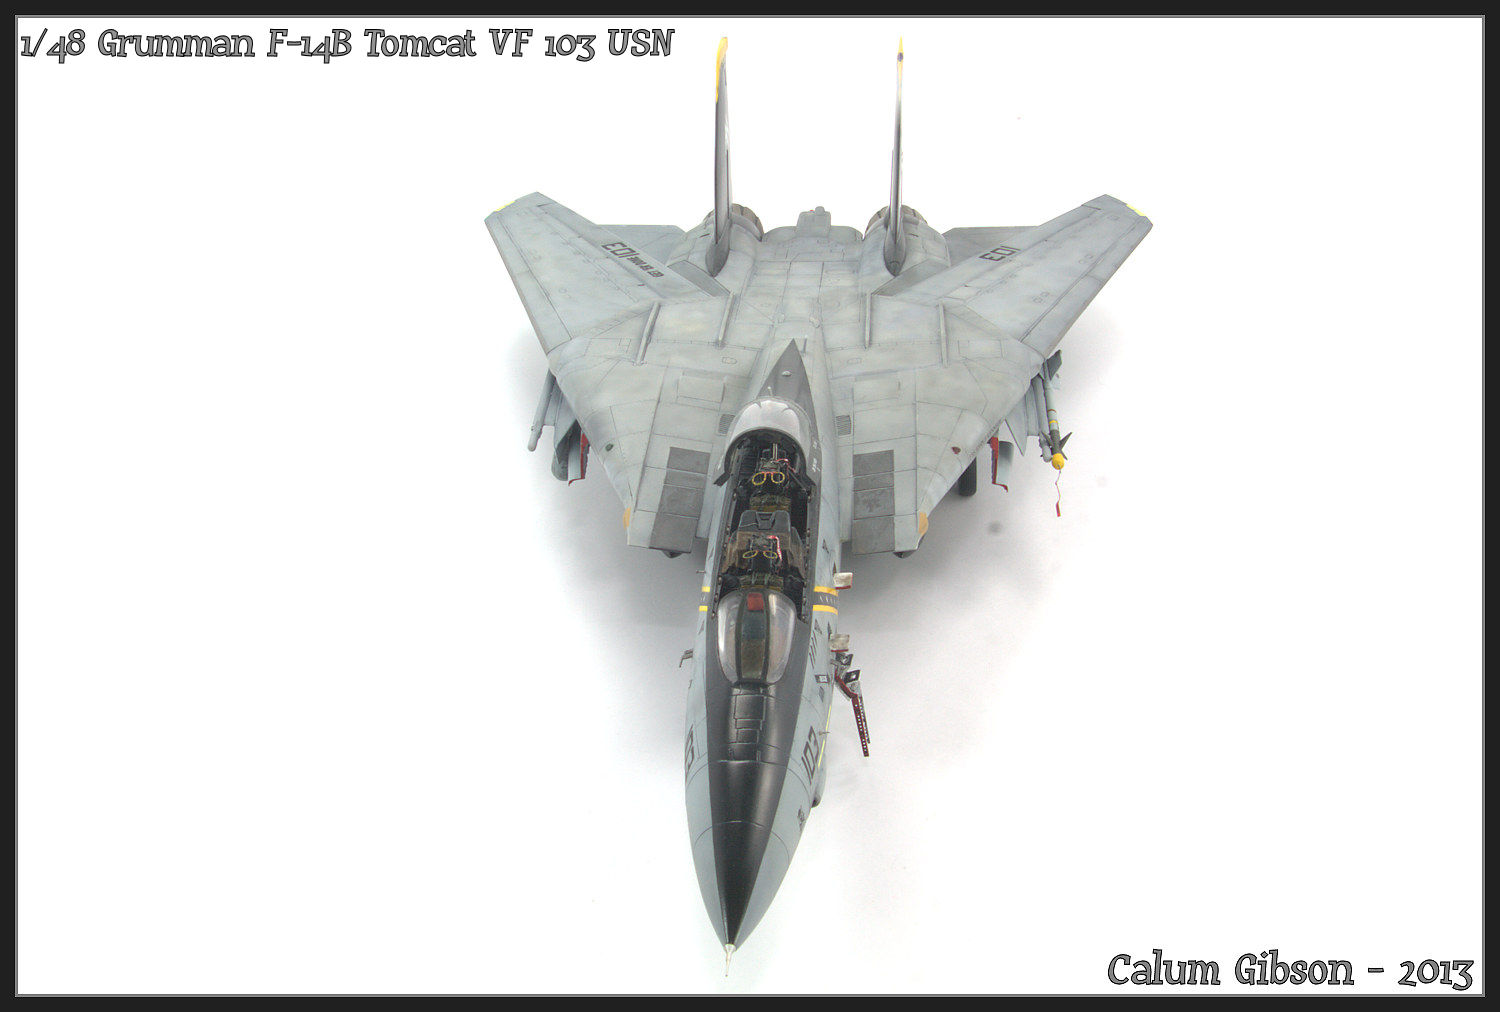
Exhausts are on. These went on without much drama. Good to have something go right or a change.
RBF tags and the stores and doors are on. More to follow soon
Nearly there, Lightning Pod and undercarriage doors are on
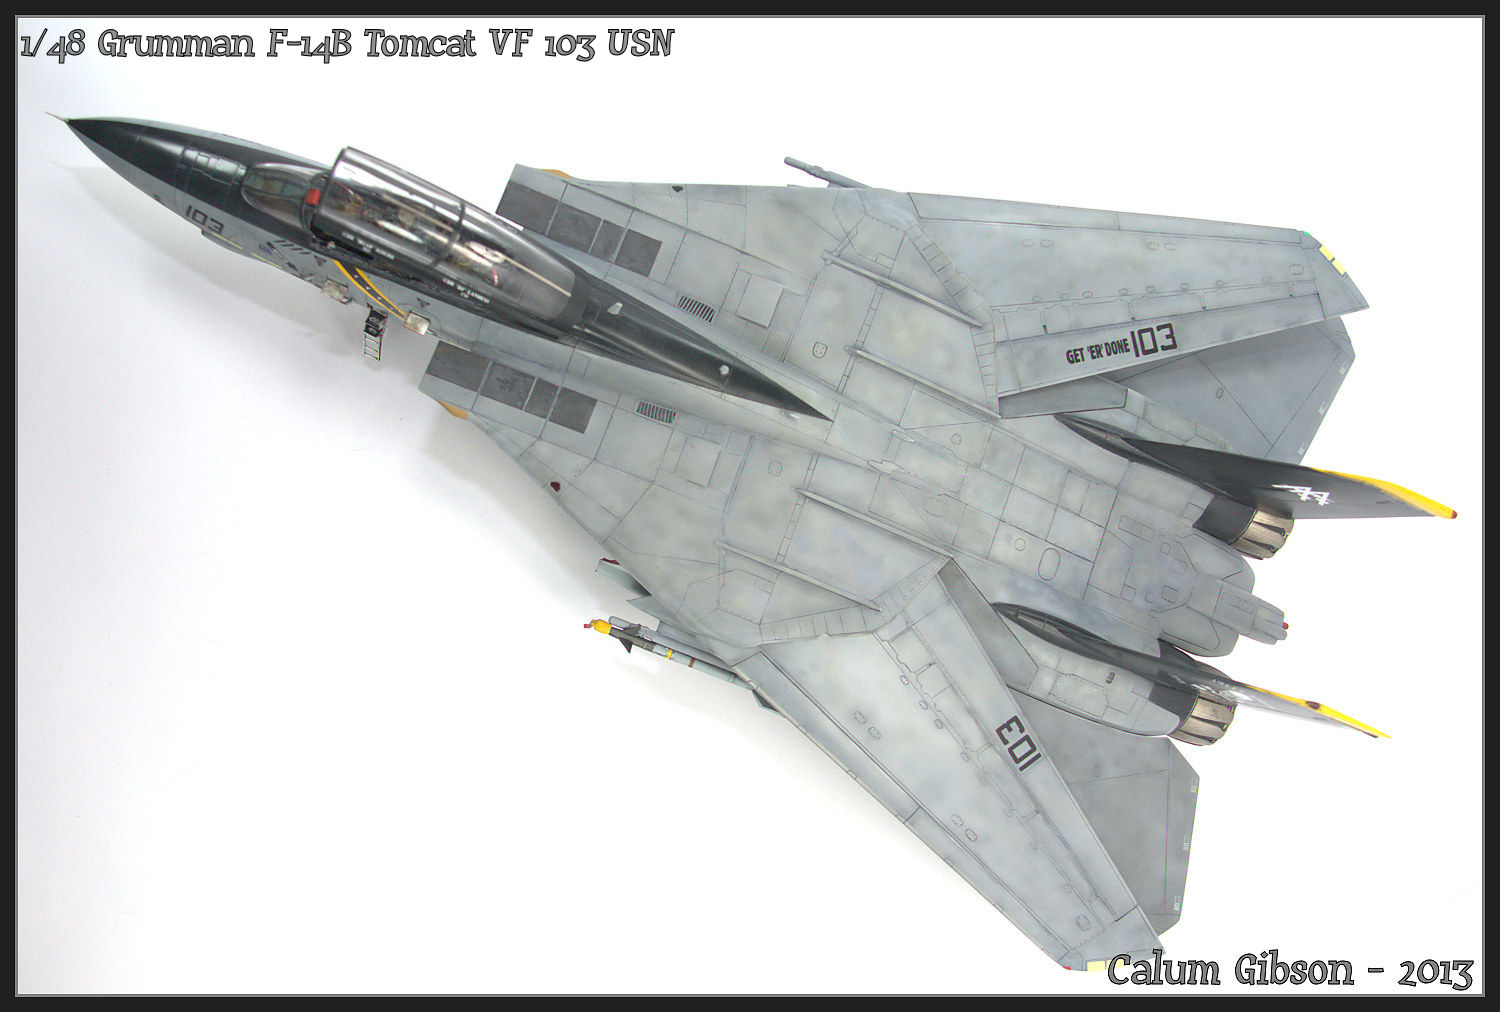
Top shot. Not sure if I should weather it with oils. I would like to try that technique but I've really had enough of this build.. Might save it for another
Just a few little bits to go and she'll be done. I stuffed up the pylons for the drop tanks so I'm getting some replacements
Just about done. If/when I build another F-14 I won't use the FOD guards. Not many photos of the F-14 I've seen hove then fitted.
I do need to paint the black parts semi gloss as these were glossy on the real aircraft


