Well 2021 is pretty much done. I don't see me finishing any of my current builds before the end of the year so it's time for the usual recap of the years efforts.
Another pandemic affected year with a two month lockdown in the middle meant I did get a bit of time at the bench. That said I didn't get through as many builds as I'd hoped, This was partially because jets dominated my attention this year and they just take more time than props.
This years tally included seven aircraft and one armour piece, all in 1/48. If you are interested in more of any builds the titles link to the actual build article. But enough waffle, on to the builds
Hasegawa A-4K Skyhawk of No. 75 Sqn RNZAF
Those of you who know me know I worked on these for a while so the subject is close to my heart. As such I wrote an article on modelling the RNZAF aircraft here.
A fair bit of work went into both Skyhawk builds so there is a separate build article here . This article has tips useful for any Hasegawa Skyhawk build


1/48 Eduard North American P-51D Mustang - Master Mike
This is my second Eduard P-51D. After the first one (see here) caused me a few issues, (the decals anyway) I decided I wanted to have another go - partly to see if it was me and partly as the Hasegawa Skyhawks were dragging me down at the time.


1/48 Hasegawa Douglas TA-4K Skyhawk - No. 2 Sqn RNZAF
Next was the second Hasegawa Skyhawk. This time T-bird depicted as a 2 Sqn aircraft base at HMAS Albatross in Australia.


1/48 Kinetic Mitsubishi F-104J Starfighter 202 Sqn JASDF
This was a quick palette cleanser. It was excellent build and made me want to build more.


1/48 Airfix Bristol Blenheim Mk 1F - No 25 Sqn RAF
I have a think for early war RAF subjects so the Blenheim was right up my alley. Overall it's a decent build . I'd love to see a Blenheim MK IV from Airfix. There is a full build article here.


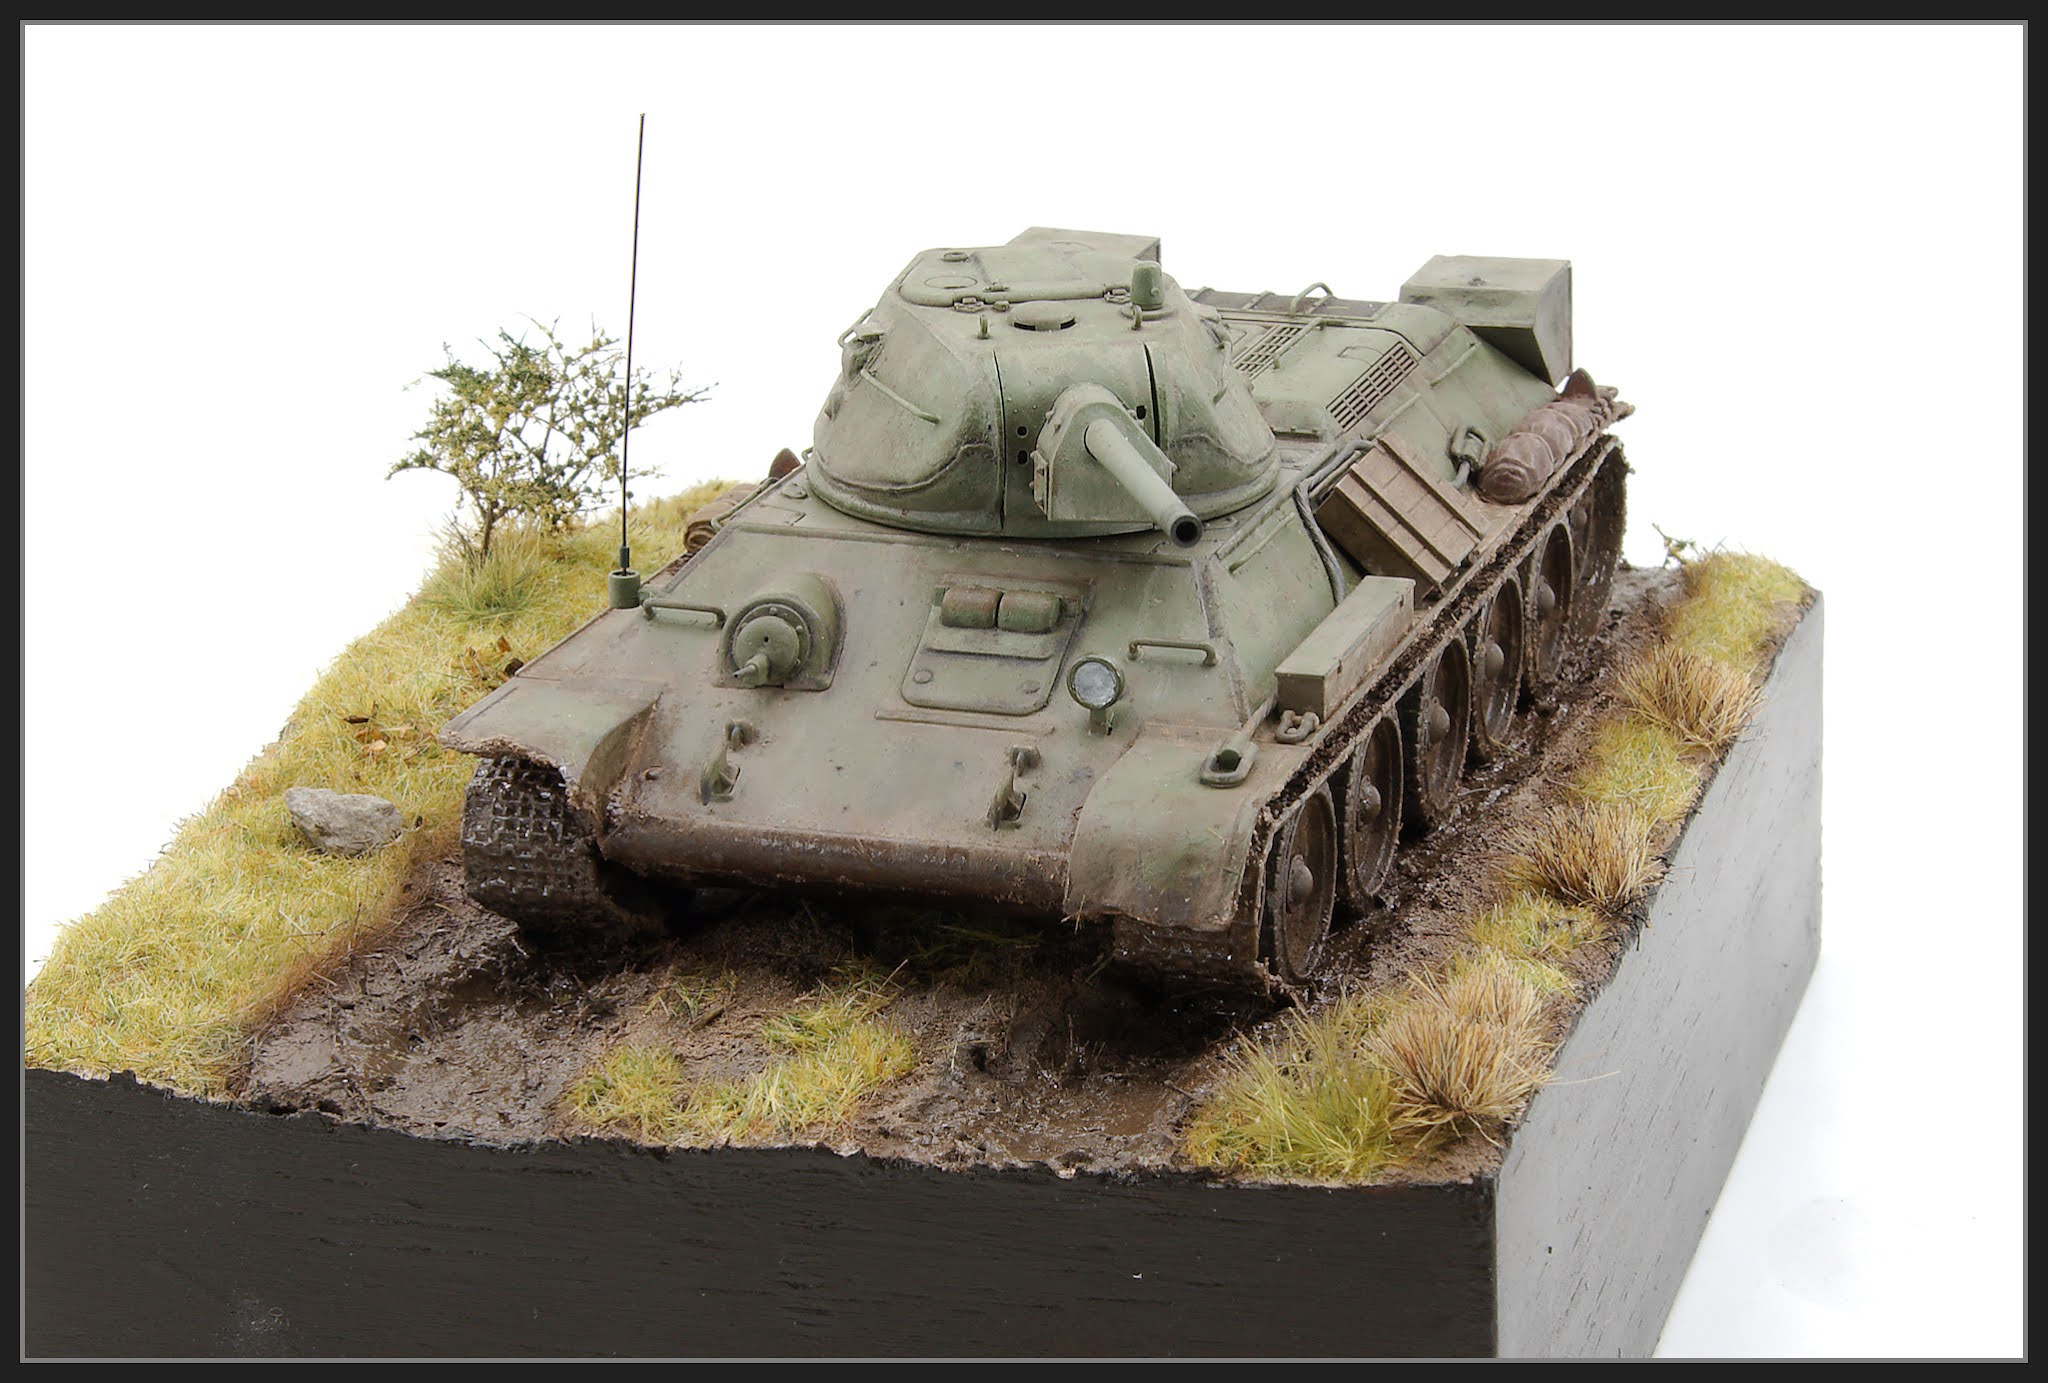
1/48 Tamiya T-34/76 - Tank No. 106 - Recon Platoon - 1st Regiment - Eastern Front 1944
The only armour piece for the year. I had a couple things I wanted to try on this build, those being multi colour hairspray chipping and a muddy. . I was really happy with the outcome.


1/48 Tamiya Lockheed Martin F-16C Viper - Arctic Aggressor
I'd been wanting to do this scheme for ages. I had a bit of an issue with the SMS light tan paint which set me back but overall it came out ok. There is a full build article here.


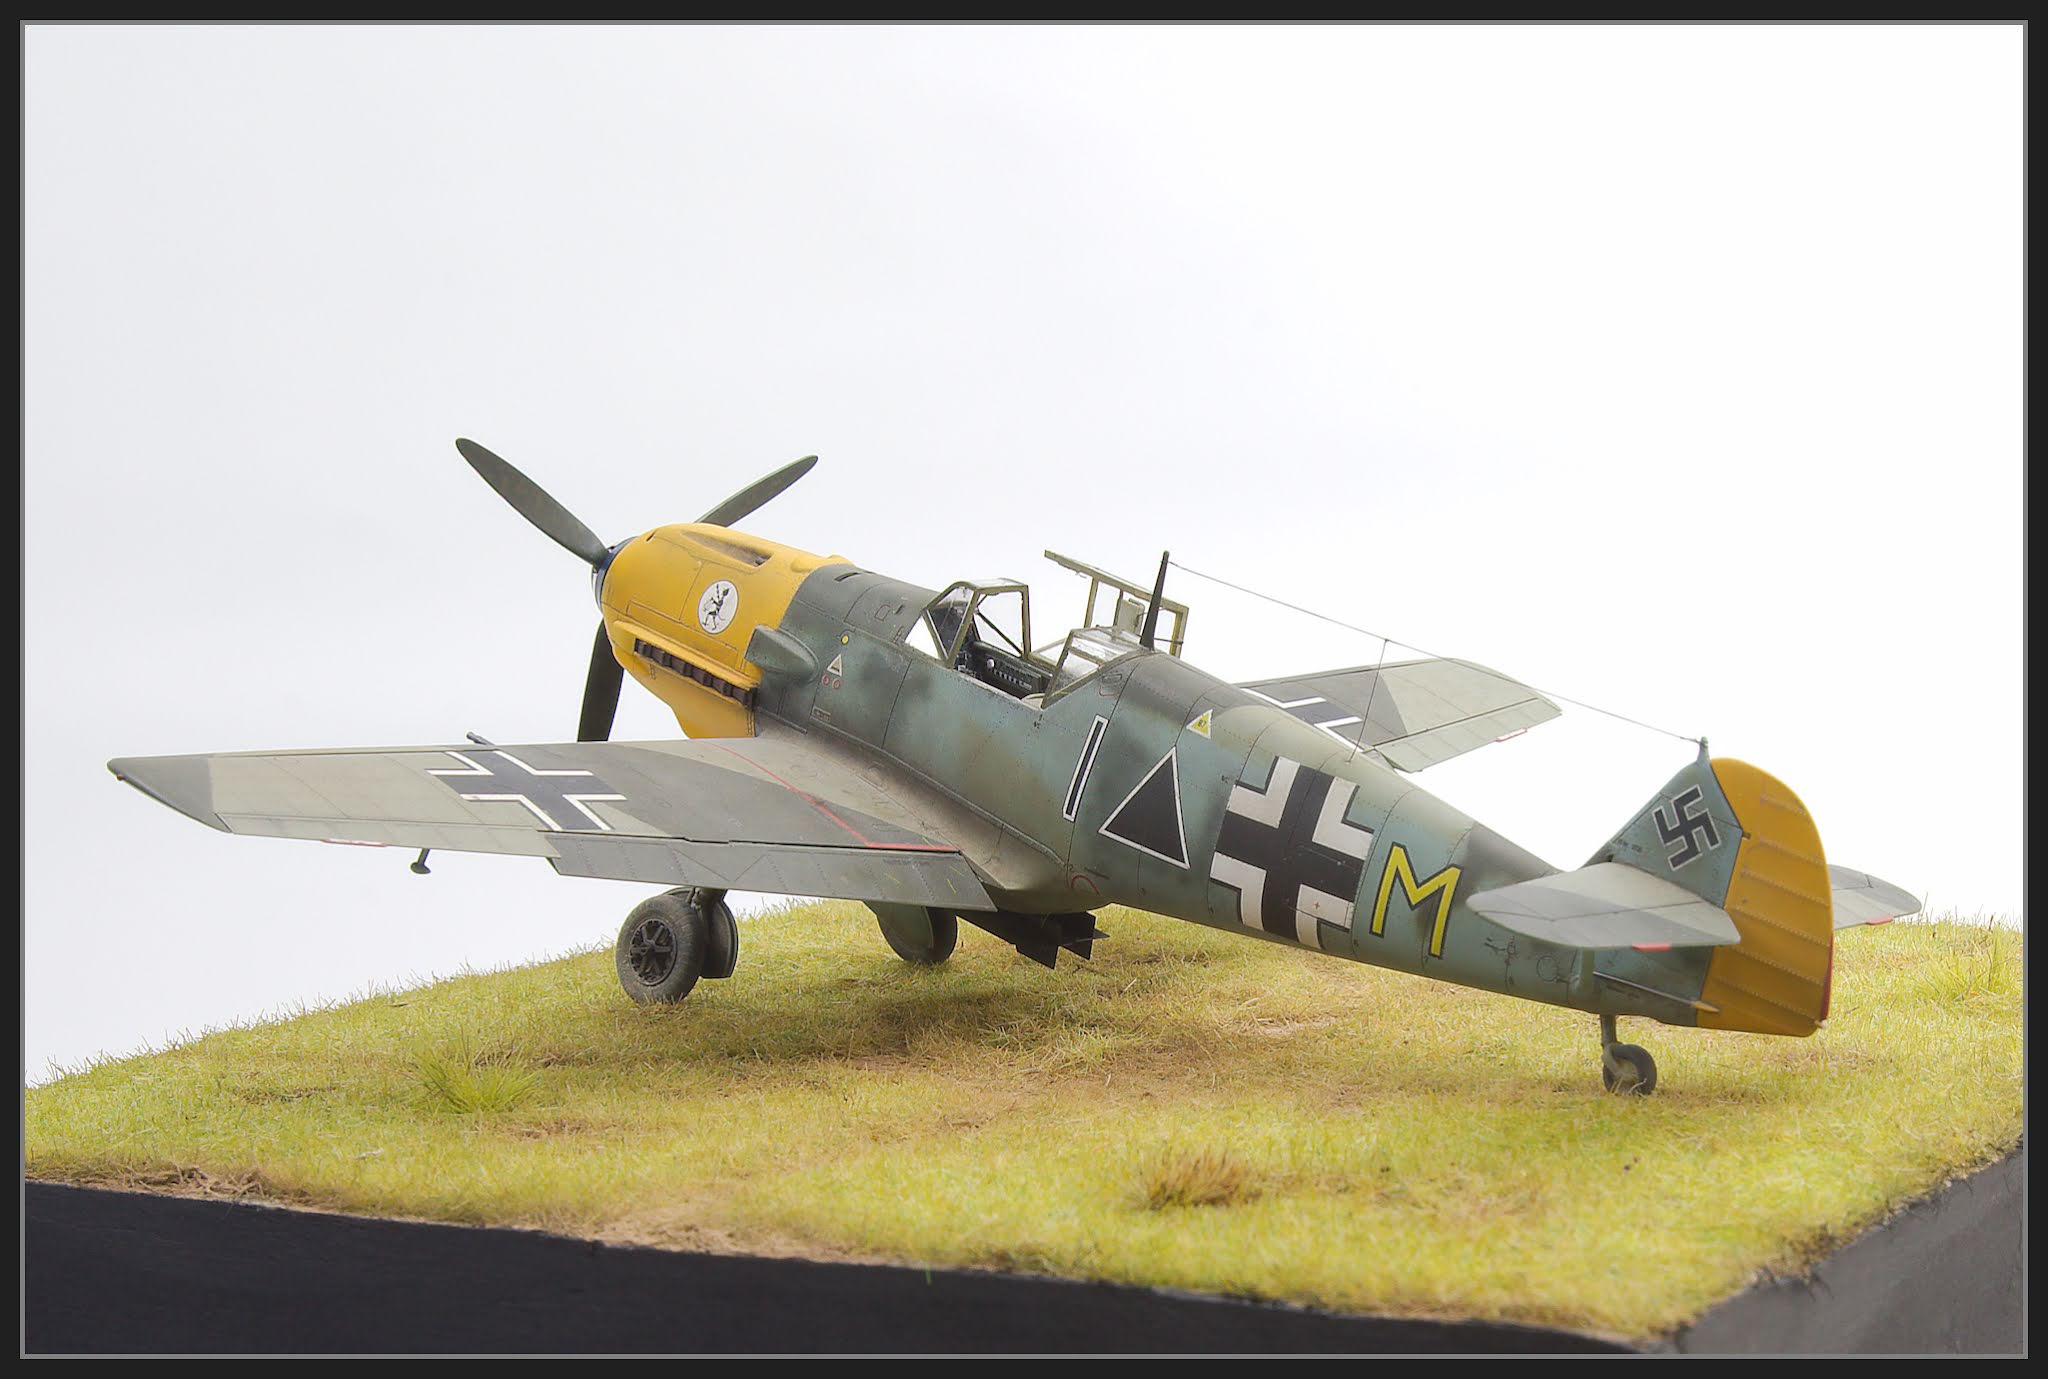
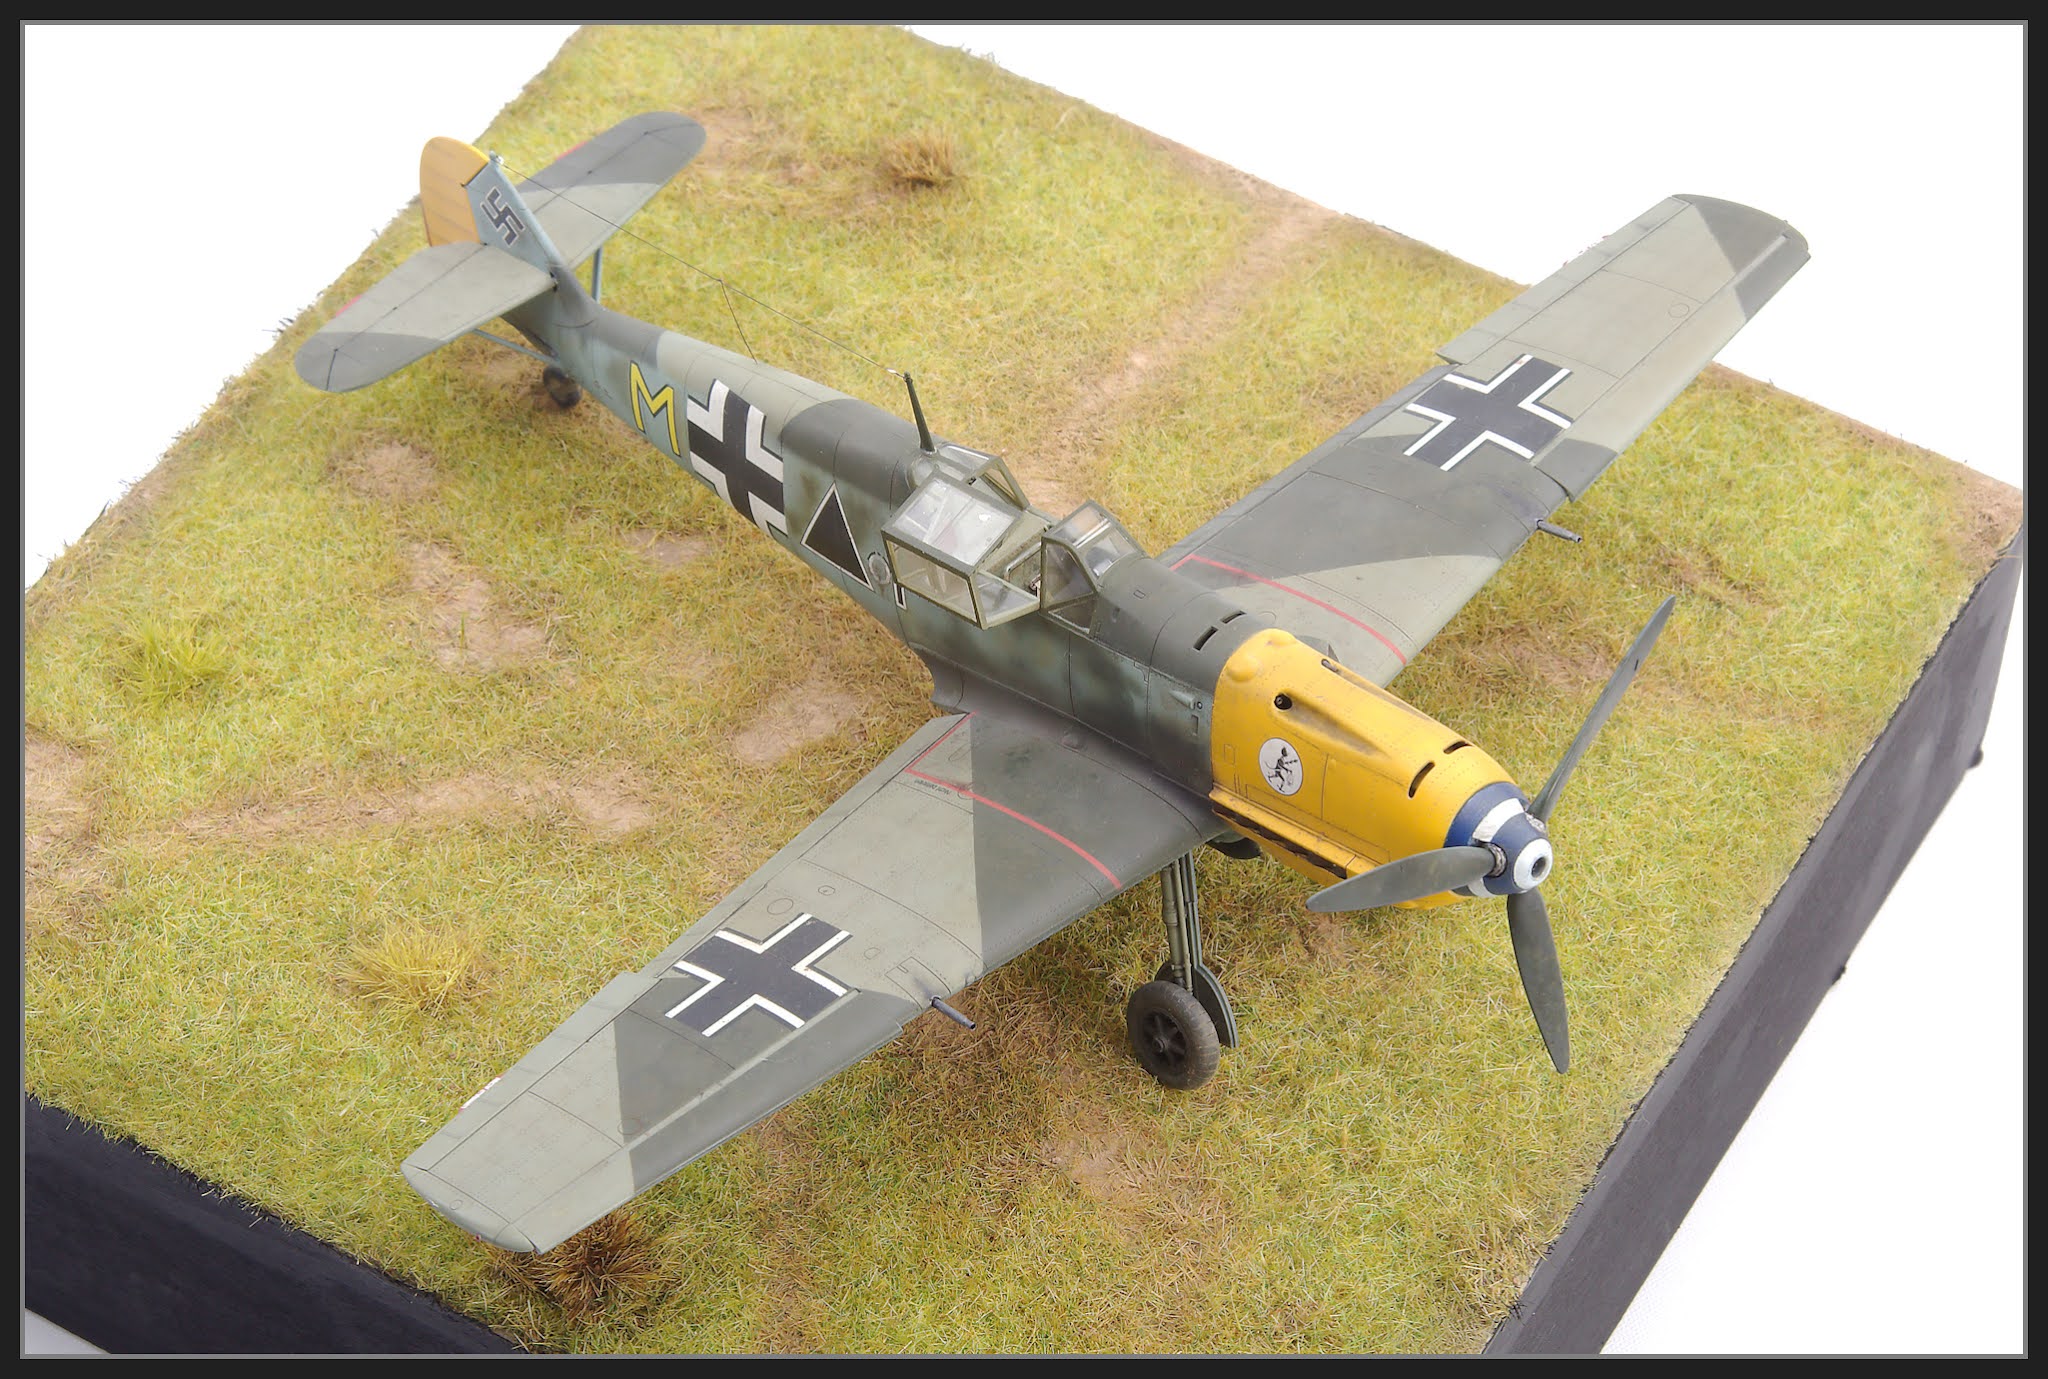
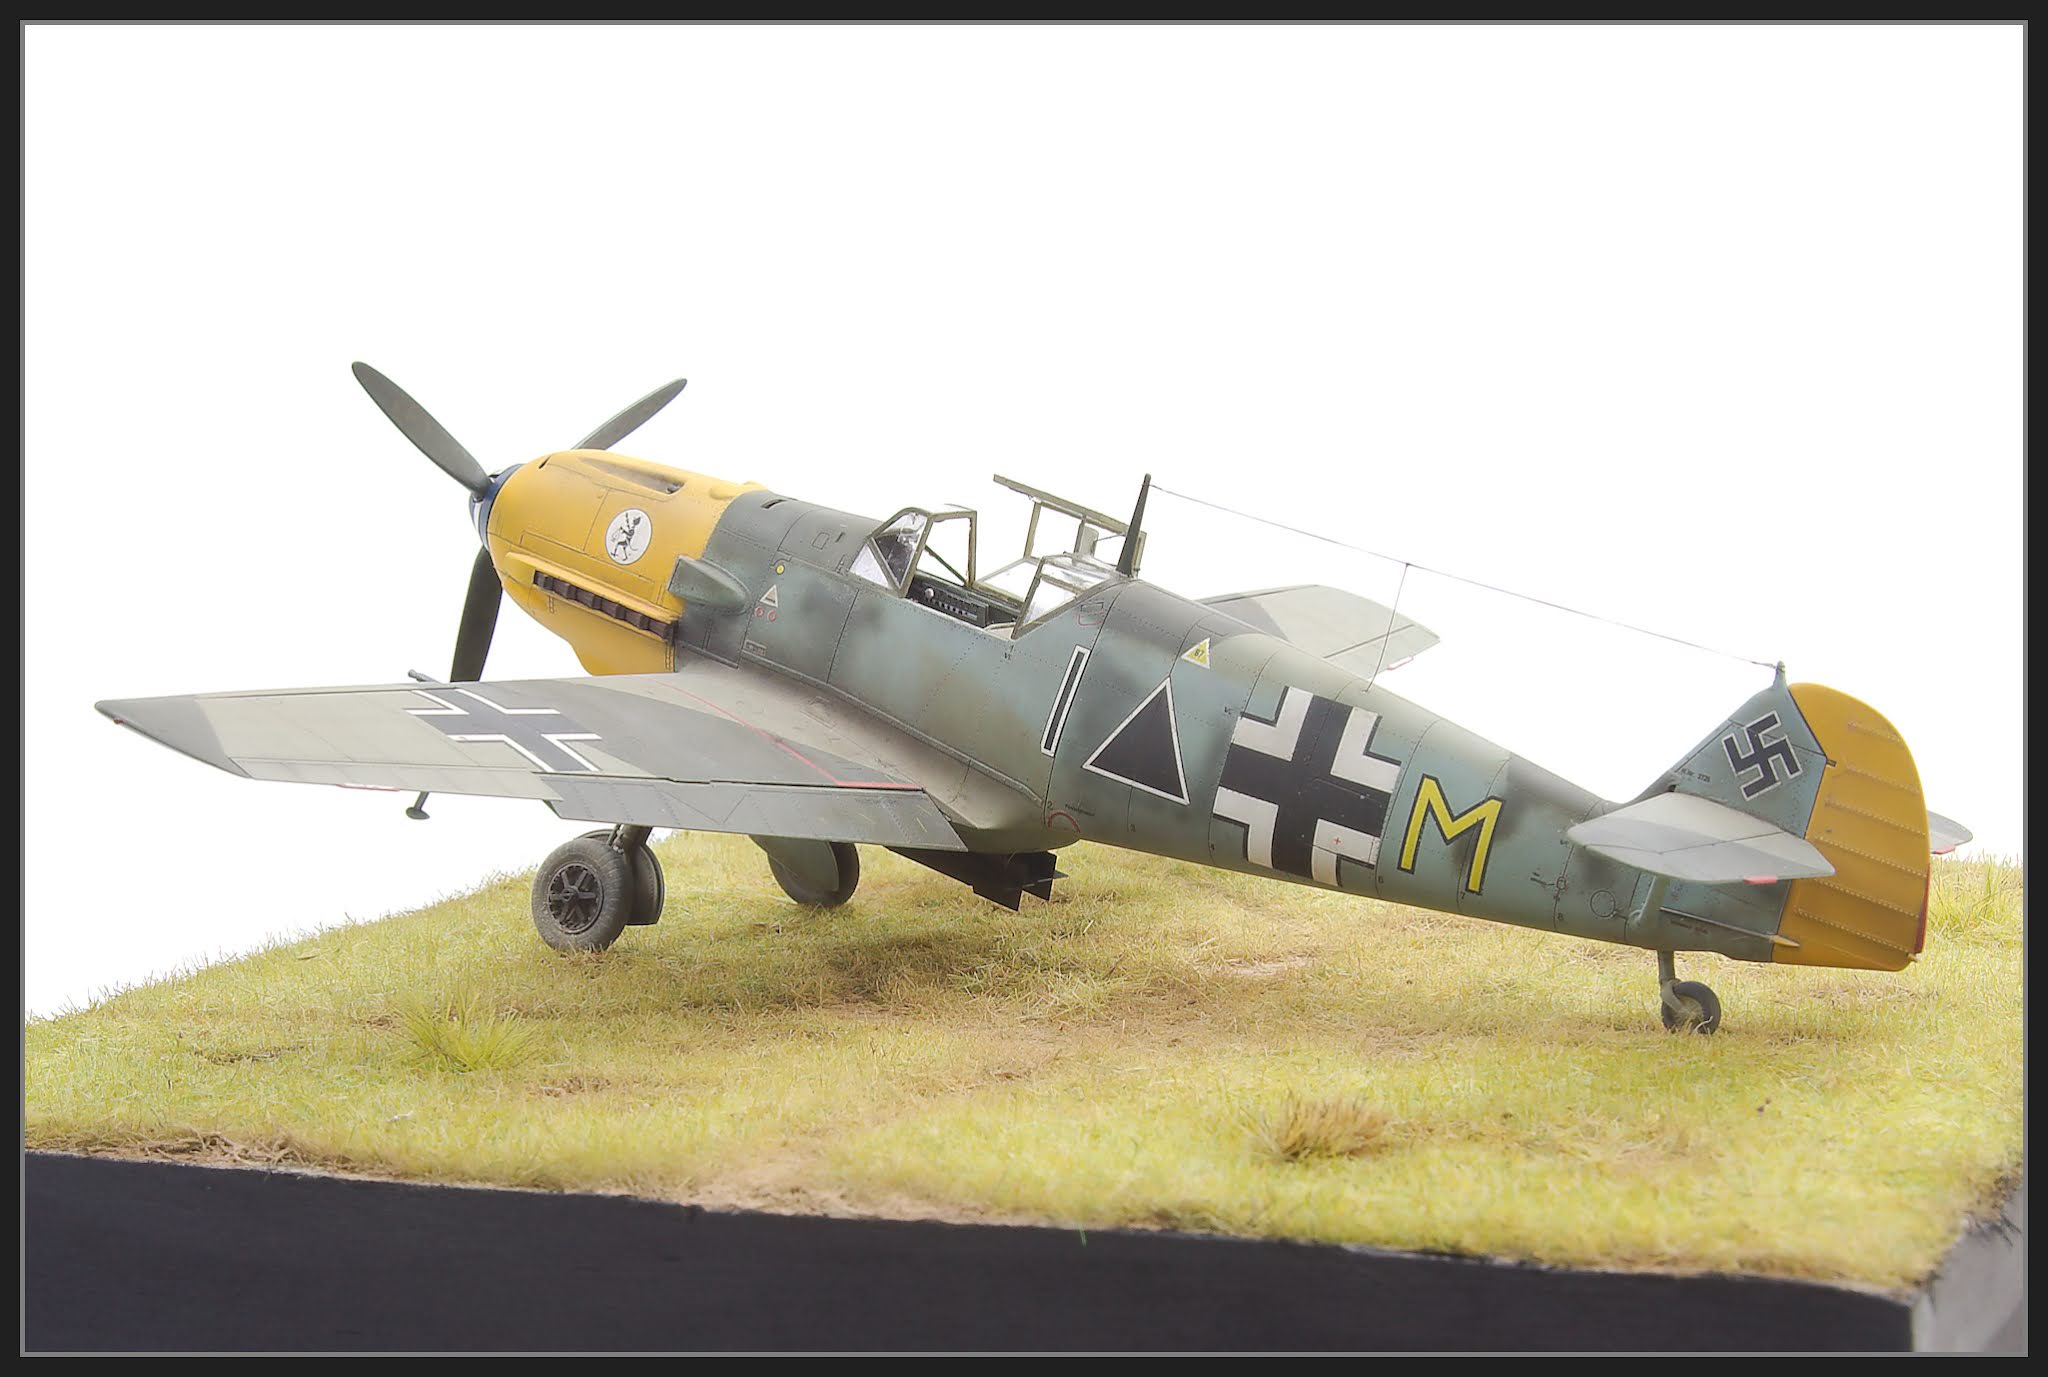
1/48 Eduard Messerschmitt Bf 109E-4B - 6 Staffel LG 2