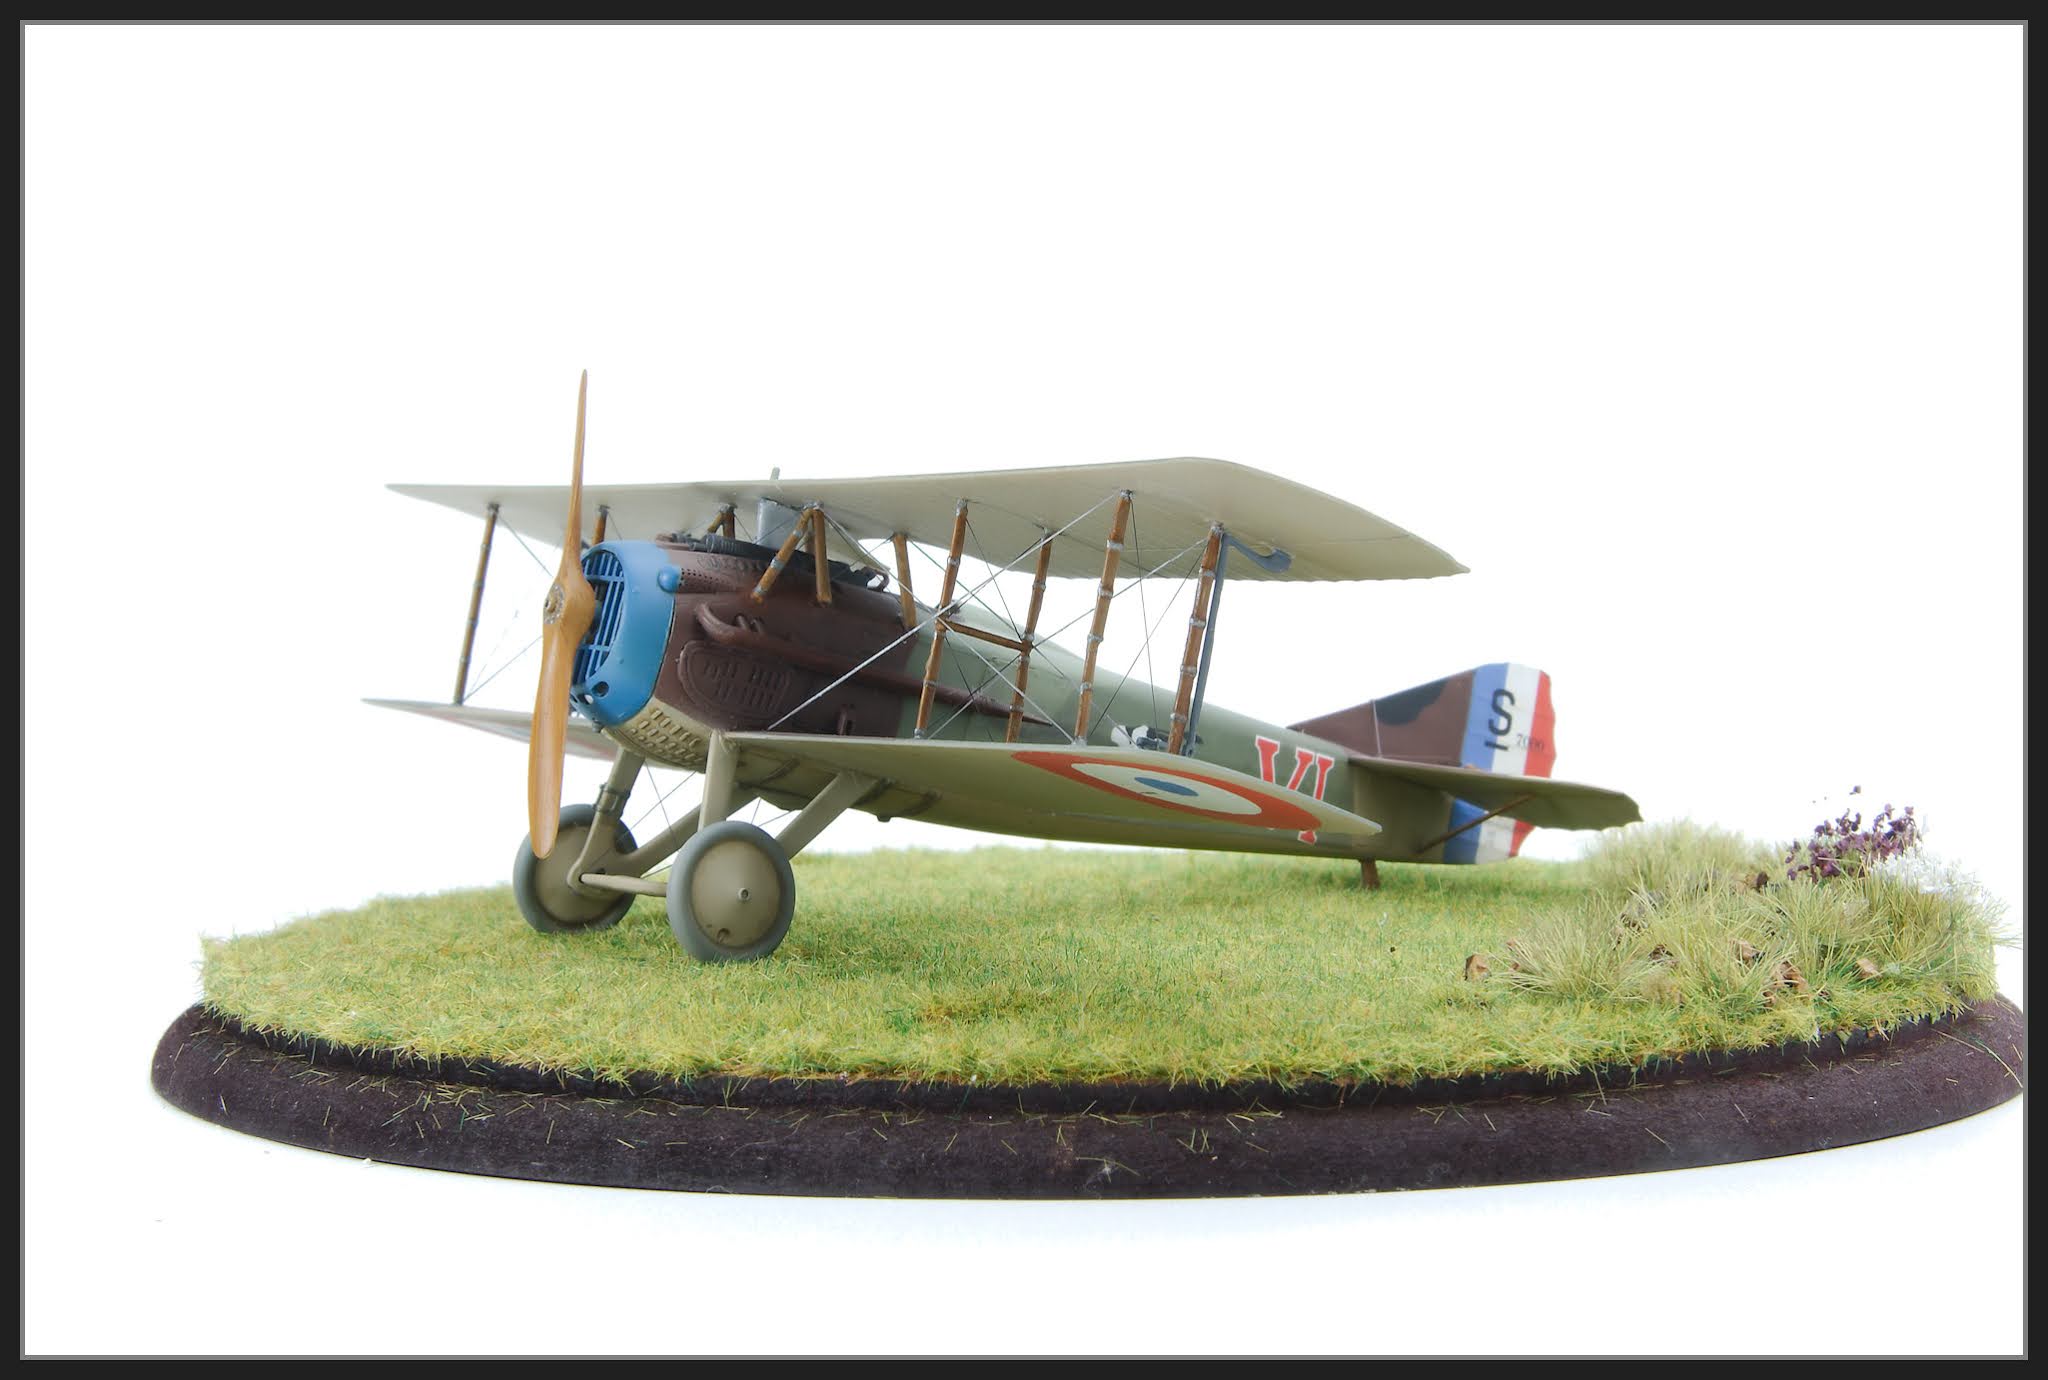
Depicted as a aircraft flown by Captaine René Fonck, Escadrille SPA.103 ( GC.15 ), Fall, 1918
This wasn't on the radar at all but one came in one of my shipments of stuff to sell. And for some reason I decided I wanted to build it.
The Kit
- 1/48 Eduard Spad XIII - Weekend Edition - Kit No. 8425.
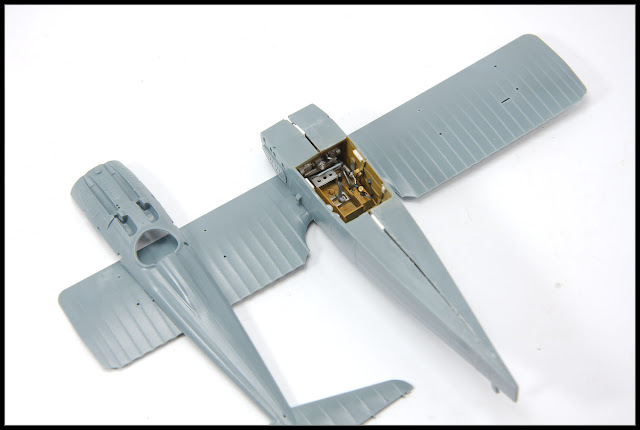
Certainly not a weekend build (for me at least) as there are a ton of parts in the kit. For the scale it has an excellent cockpit although nothing of it will be seen. The decal instruments look great and seem much better than their more modern decals.
The idea was to build this straight from the box - decal seat belts in all. I first put applied the decal to some Tamiya tape and then carefully cut them out. Not ideal and to be honest the harness looks a little over scale. I'd probably should have used some generic PE belts
The fit on this kit isn't the best. I glued the 2 halves together but they were considerably (1.5 mm) thinner than the top piece. So I cut it down the centre and added some shims to widen the top. Not ideal.
This obviously meant the cockpit piece was to narrow so some evergreen stock was needed for it sit on.
Some serious clamping was needed to get things into place. I still had a slight overhang so this was removed with a standing stick.


I'd posted this on my Facebook page and comment was asked about whether I'd considered the fit of the nose cowling after shimming the fuselage width. Well I hadn't so I rushed away to check.
Surprisingly, and thankfully it fit almost perfectly. This doesn't really make sense but I'll take it.
There were some differences in length between the top and bottom pieces and the main fuselage bits. I filled these with some card and sanded it flush (or nearly) using my Aluminum sanding blocks.
The kit survived the threat of Andering (i.e. getting binned) and moved towards the paint shop.
The Paint
- Tan - Mr Color 44 Deck Tan
- Light Green - SMS RAF Interior Green
- Dark Green Mr Color Dark Green 320 JASDF F-1
- Brown -Tamiya Nato Brown
- Black - Gaianotes German Grey
- Underside - Mr Hobby 85 - Sail colour
- The Blue band was mixed from a couple of random blues and a purple to match the decals
These aircraft were, apparently, brush painted so I went with a hard edged scheme . I up-scaled the instructions and printed them out on self adhesive label paper. Then cut the masks out with scissors.
The Eduard decals went on without an issue.
Rigging
- Ezy Line
- Ammo Fine rigging thread
One of the aims of this build was to try and improve my rigging. I really struggled with it on the Camel. Initially it went well as I decided to rig as much of it before I put the struts and top wing on.
It all went to custard once I tried to add all those. The fit (and my preparation) wasn't up to it. In the end I managed to get it all together , but not without a few breakages and lot of swearing. The photos, if you look close enough, will reveal some poor work.
The Base
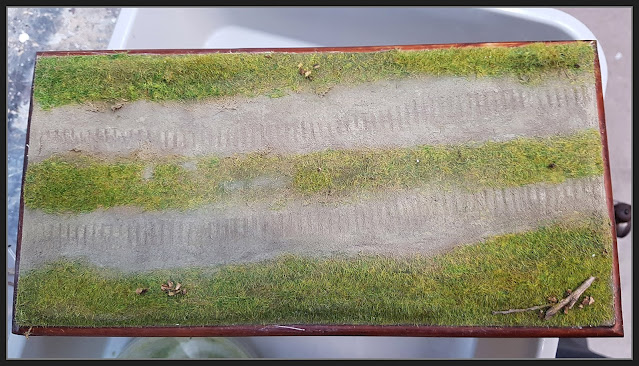
Another excuse to use the static grass applicator and use up a old crappy MDF base I've had lying around.


