I like early British World War II aircraft, particularly the ones that are considered failures. And whilst they may have been failures operationally you can't deny the courage of the aircrew that crewed them.
So I was happy when Airfix released the Blenheim, even though it was the fighter. variant I then stumbled across an article in Airplane Magazine about Kiwi Mike Herrick who flew the Blenheim MK IF during the Battle of Britain, scoring three kills at night. Now I had a subject to build.
I usually write a single post for each build. But this one had such a lot of images I've broken it up into a build post and a post with the final photos. If you want to skip to the glamour shots click here
The Kit
- Airfix 1/48 Blenheim Mk.1F Kit No 9186
Aftermarket
- Master Models 0.303 barrels
- Resin Lewis Gun - Ex Classic Airframes
- Eduard Interior PE set
- Eduard Steel Seat belt set
The Build
The cockpit is reasonably nice from the box but I added Eduard Steel belts and the interior PE set. . With all that glass at the front some of this will be worthwhile.

Fit was generally OK. But every part has that typical Airfix
mould line that needs cleaning up. You also have to get everything cleaned up
and lined up or things won't fit later on.
I also deviated from the instructions and added the two big nose
clear parts now. The thinking was that doing it now I could ensure a good join. Unfortunately this caused
issues later on as it was harder to fit the cockpit tub and then to troubleshoot
why it was not locating correctly.
I’d recommend fitting the clear parts after you have fitted
the cockpit tub to the left side fuselage, and dry fitted the right hand side
to that assembly.
I had to rework the joint for the seat to the tub assembly
because I didn't get it quite right and thus wasn't fitting correctly.
Once this had set I attached it to the left fuselage half. There
are 3 large holes in the fuselage which mate with the corresponding plugs on
the cockpit. This helps everything to line up, but having the clear piece in
place made this more difficult to locate as there is a bit of flex on the cockpit piece.
Some clamping was needed to keep things in place.
Here is the tub mounted to the left hand side fuselage.


The next step was fitting the right hand side. I didn't
bother with gluing the clear parts until I got a good bond with the plastic fuselage parts. I'm not sure if that was the correct approach as I ended up with an
alignment problem at the front - basically the right side sat slightly forward of
the left. The fit of the clear parts to the fuselage halves is fine so I think
fitting them after the fuselage is together (as per the instructions) would
have been better, rather than gluing them at the front and working backwards.
I ended up with a bit of a step on the underside along with some little gaps. These were all easily dealt with CA and Talc.
The undercarriage is pretty detailed but needs to be put in before the wings go together. I’m usually not a fan of this approach but the undercarriage here is pretty sturdy so it wasn't an issue. I painted everything Alclad Aluminium (as I wanted to use that up) then brush painted the black with Vallejo black.
The wings go on well enough. I did have to add some filler on the underside of the right wing as I think I shaved off to much when cleaning up the mating surface.
The clear parts here fit OK. But as I’ve said before, I think adding the clear parts now would have been better. Depending on the dry fit, I'd have glued them at the front and then slid that onto the kit.
Doing it the way I have done here resulted in small step on the centreline join. That was filled with Vallejo water based putty and smoothed with a wet finger. This took several applications to get this to a point where I was happy.
The engine nacelle fitment onto the wing underside is ok although they seem slightly smaller than the recesses in the wing - Perhaps this is correct. Regardless, I filled it with Magic Sculpt 2 part epoxy. It took 2 goes to get it filled to a point where I was happy.
I added the piece forward of the guns as the reference photos I have shown it fitted. It was a bit of a guess as to exactly where it should sit. I hope I have got it in the right spot.
I bought the Eduard Tface mask set which made the masking a lot easier. Tface means two faces, i.e. they have masks for the inside and outside surfaces.
I spent some so more time reworking the seam between the 2 large clear pieces down the front of the aircraft. For this I used Vallejo putty so I could smooth it off with a wet cotton bud / finger.
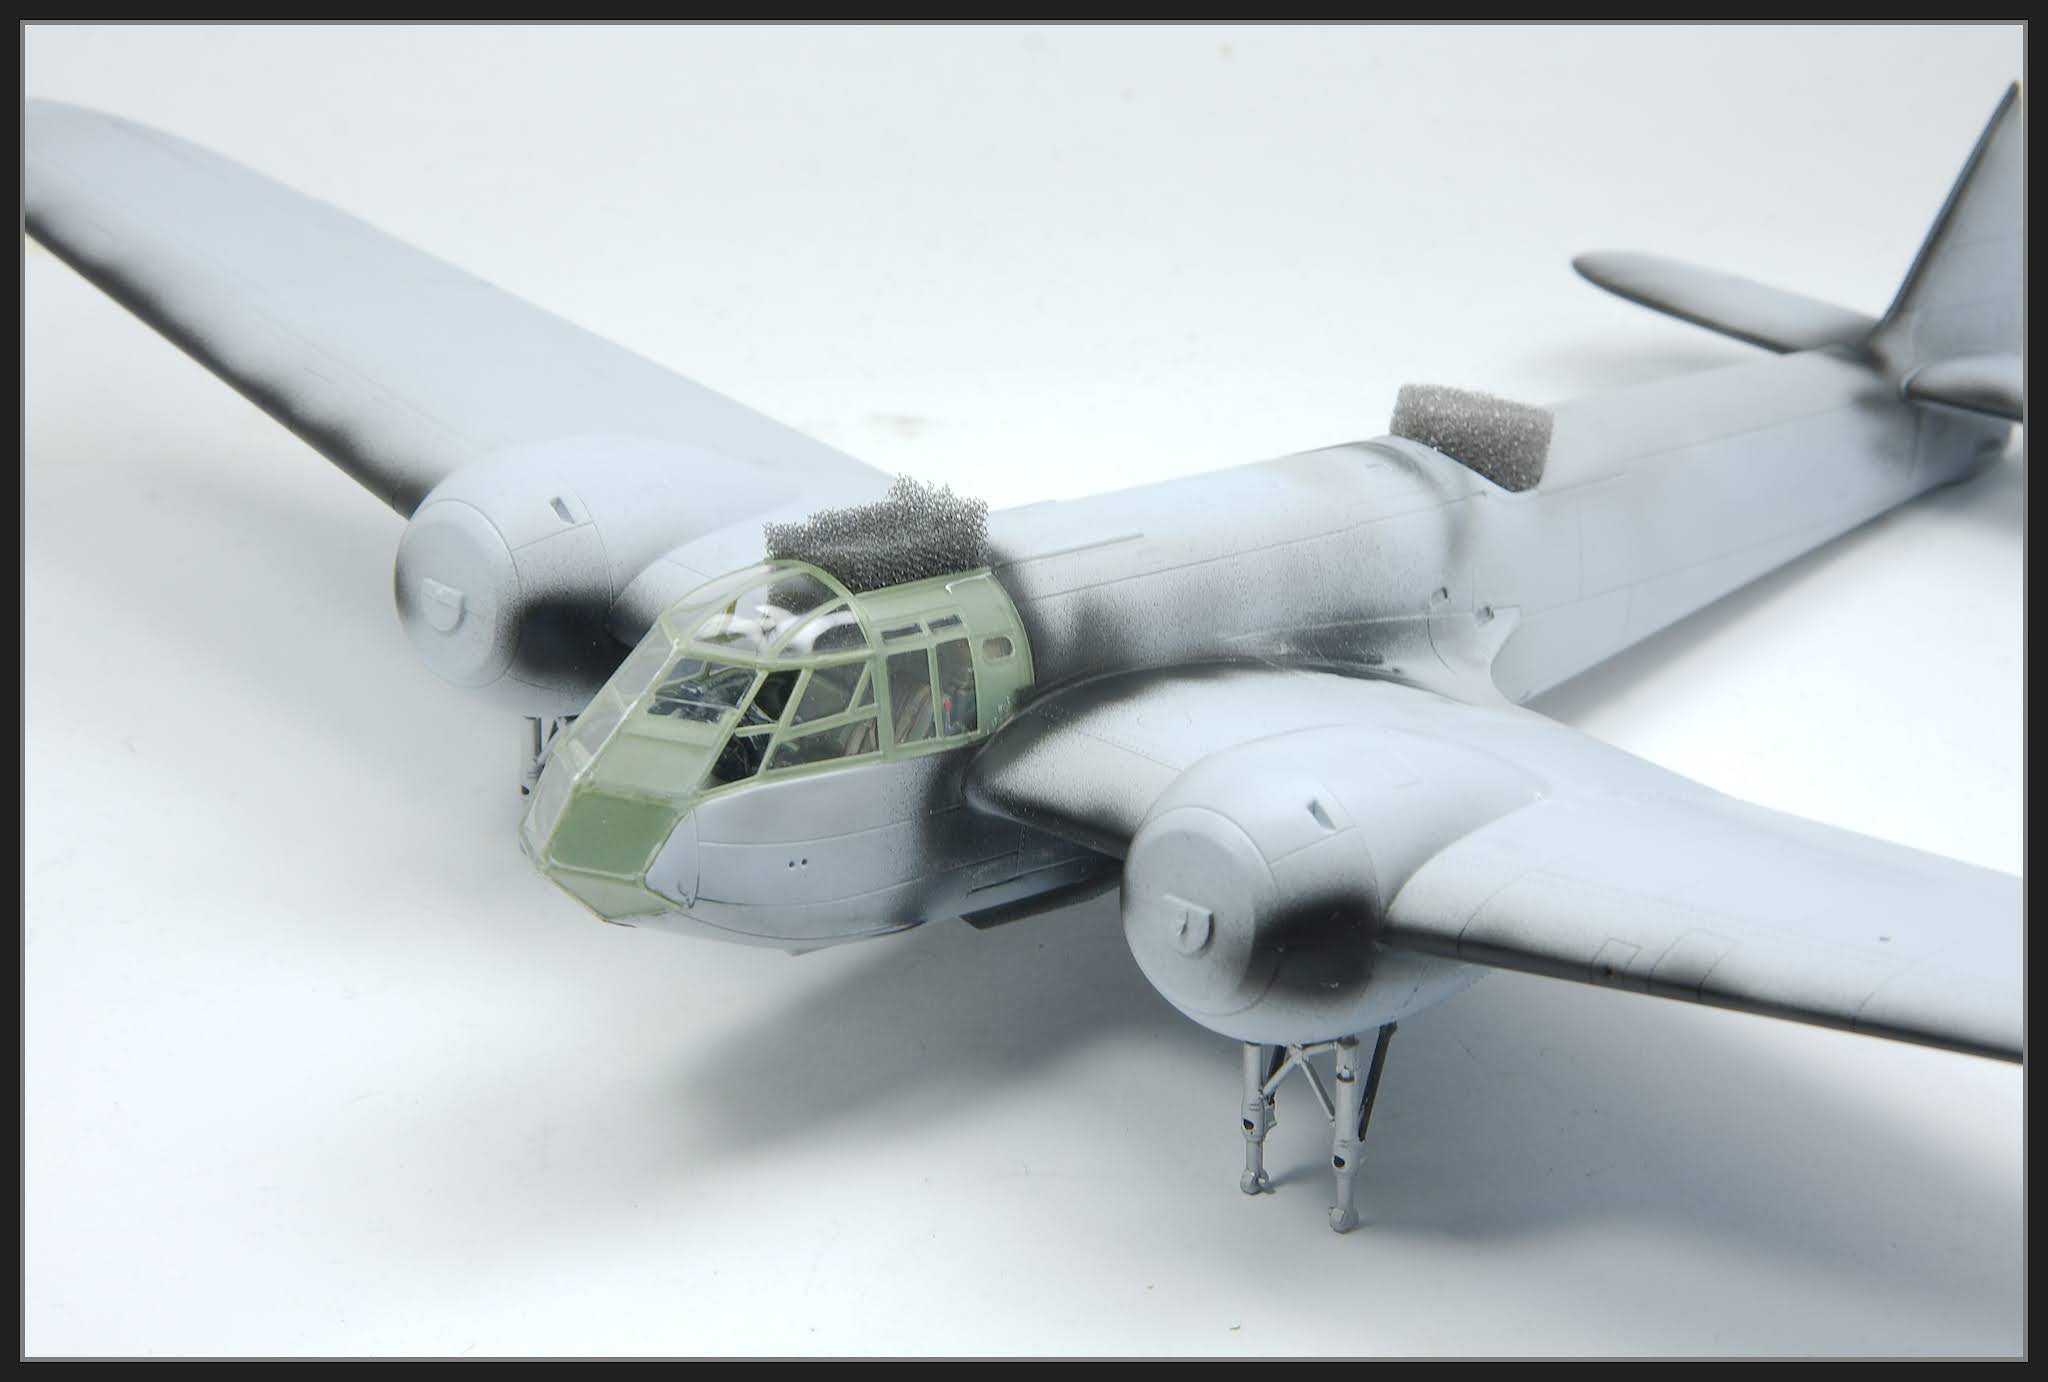
Starting off with the paint on the underside, I tried the layering technique. I used various greens, greys applied through a variety of airbrush stencils.
The closer the stencil to the model, the harder the splatter marks. The further away, the softer the marks. Ripped scotchbrite was also useful for this.
Next I applied light coats of Mr Color Sky to try and unify the finish. Trying not go too far is the key. I did go a bit further than I wanted so ended up doing some more splattering over the sky with some light greys.


I failed with the layering technique on the top surfaces, this was mainly due to the two colour camouflage adding an extra layer of paint over the marbling.
In the end I just used the splatter masks over the base colours. And to be honest this is a lot quicker and easier than doing it under the main colours.
For the Dark Earth, like the
1/72 Airfix Wellington I built a few years ago, I went with Spencer Pollards mixture of Tamiya Paints. It is 4 Parts XF 52 Flat Earth; 2 Parts XF 3 Flat Yellow; 1 Part XF 51 Khaki Drab, and 1 Part XF 2 Flat White.
It’s a bit lighter than my usual favourite Mr Color but I like the lighter dark earth for early war aircraft. I have no idea if it's accurate but it looks good to my eye.
Mr Color and SMS Dark earth were used to add some tonal variation / splatters via the Airbrush Splatter masks.
Masks were made by scaling up the plan of the camo pattern and printing it out on self-adhesive label paper.
The dark green was Tamiya XF 81. I used this mainly because I wanted to use the old bottle up.
Usually I use Mr Color Dark green, XF-81 looks a shade lighter to me but it still looks good. If they do it in lacquer I may switch to it.
Mr Color and Tamiya Dark green along with some other random greens and greys were used for splattering. I also adjusted the SMS Dark earth to make it more brown (it is far to yellow for me) and used it though the splatter masks over the green.


I find with some models there is a make or break part of the kit. On this kit it’s the clear front parts. Unfortunately I dropped it on bench and cracked the front nose join.
After calming down I re-glued the nose join and touched up the paint. I then pulled of the masking to make sure everything was still ok. Thankfully it was. Not perfect, but good enough to get it a reprieve from the bin.
Another of the things I wanted to do on this build is to paint all the markings.
First I made the masks in Corel Draw and cut the masks on my Silhouette Portrait cutter using Oramask 810 as the medium. I sized the codes by eye using the reference photos I found of No 25 Sqn Blenheim MK 1F’s in late 1940.
First were the codes under the turret which were painted Mr Color Medium Sea Grey.
Next were the big wing roundels. I started with the red centre. The red was a mixture of Tamiya paints. It started as 50% XF7 Flat Red, 25% X7 Gloss Red, and 25% XF64 Red Brown. I then adjusted it a bit to get the shade I liked (using the decal as a reference).
Now the Fuselage Roundels. First I painted the white, which was SMS Insignia white. This is my current favourite white paint as it covers well with only a light coat. Then I applied the white mask and sprayed the red. After covering the hole it was ready for the blue.
As much as I take the piss out of my mate
Bruce's Scale Models he occasionally has some good advice. Prior to painting the yellow roundel ring he suggested undercoating with pink . So I mixed some red and white and sprayed a light coat first.
Then I sprayed the MRP Marking yellow. Off came the masks before adding the last of the codes and the serials. I was happy how they came out.
Figuring these aircraft were operated from grass strips so they would get dirty underneath, I started weathering the underside with a series of browns
sprayed through various splatter masks,
I used a series of oil paints for the stains and for the dirt on the wheels. In these images you can see the master barrels in their housing.
The same approach was taken for the upper surfaces but got so absorbed with the process that I didn’t take any photos.
I replaced the single Lewis gun in the turret with one from a Classic Airframes kit that given to me by a club mate.
The last step, was perhaps the most frustrating. Fitting the antenna which was made with Ezy
line.
And that was that. At
this stage I realised I’d not applied the few maintenance stencils. I briefly considered applying them but
figured it would be more trouble than it was worth. So this build has no decals at all, something of
a first for me.
Conclusion
Overall the kit is a relatively straight forward build. Getting that nose glazing right is the most important part. I consider the level of detail fine for the subject. The panel lines are perhaps a fraction heavy, but they look good enough for me under the paint.
I had a real go at weathering this aircraft and am happy enough with what I ended up with. Would I build another? Probably not a MK I, but if they do an Mk IV I’d be all over that. I think Airfix better get their finger out though, as I reckon ICM might do some Blenheim’s in the near future.
Finished Photos
For photos of the finished subject see the subsequent post
here.
To see what I'm up to on a regular basis, check out


No comments :
Post a Comment