
One of the things I wanted to try with the 109E-4 build was to try out Eduard new type of decals where you can remove the carrier film.

First up I want to make it clear that whilst Eduard say you can remove the carrier film this isn't a design feature . They do not intend for the carrier film to be removed so you do so at your own risk.
Preparation
Decal Application
I applied the decals as per this YouTube video, with Daco strong setting solution underneath the decal and Mr Mark Softener over the top.
The decals were simple to apply. As easy as any decent quality decals I've used in the past. And much easier than the old style Eduard printed decals which I found wouldn't slide, liked to fold over at the drop of a hat, and were prone to ripping. These decals had none of these issues.
At times a tiny bit of dishwashing liquid was used to break the surface tension on the model to ensure the solutions covered the whole area. I then left the model overnight (approx. 14 hours).

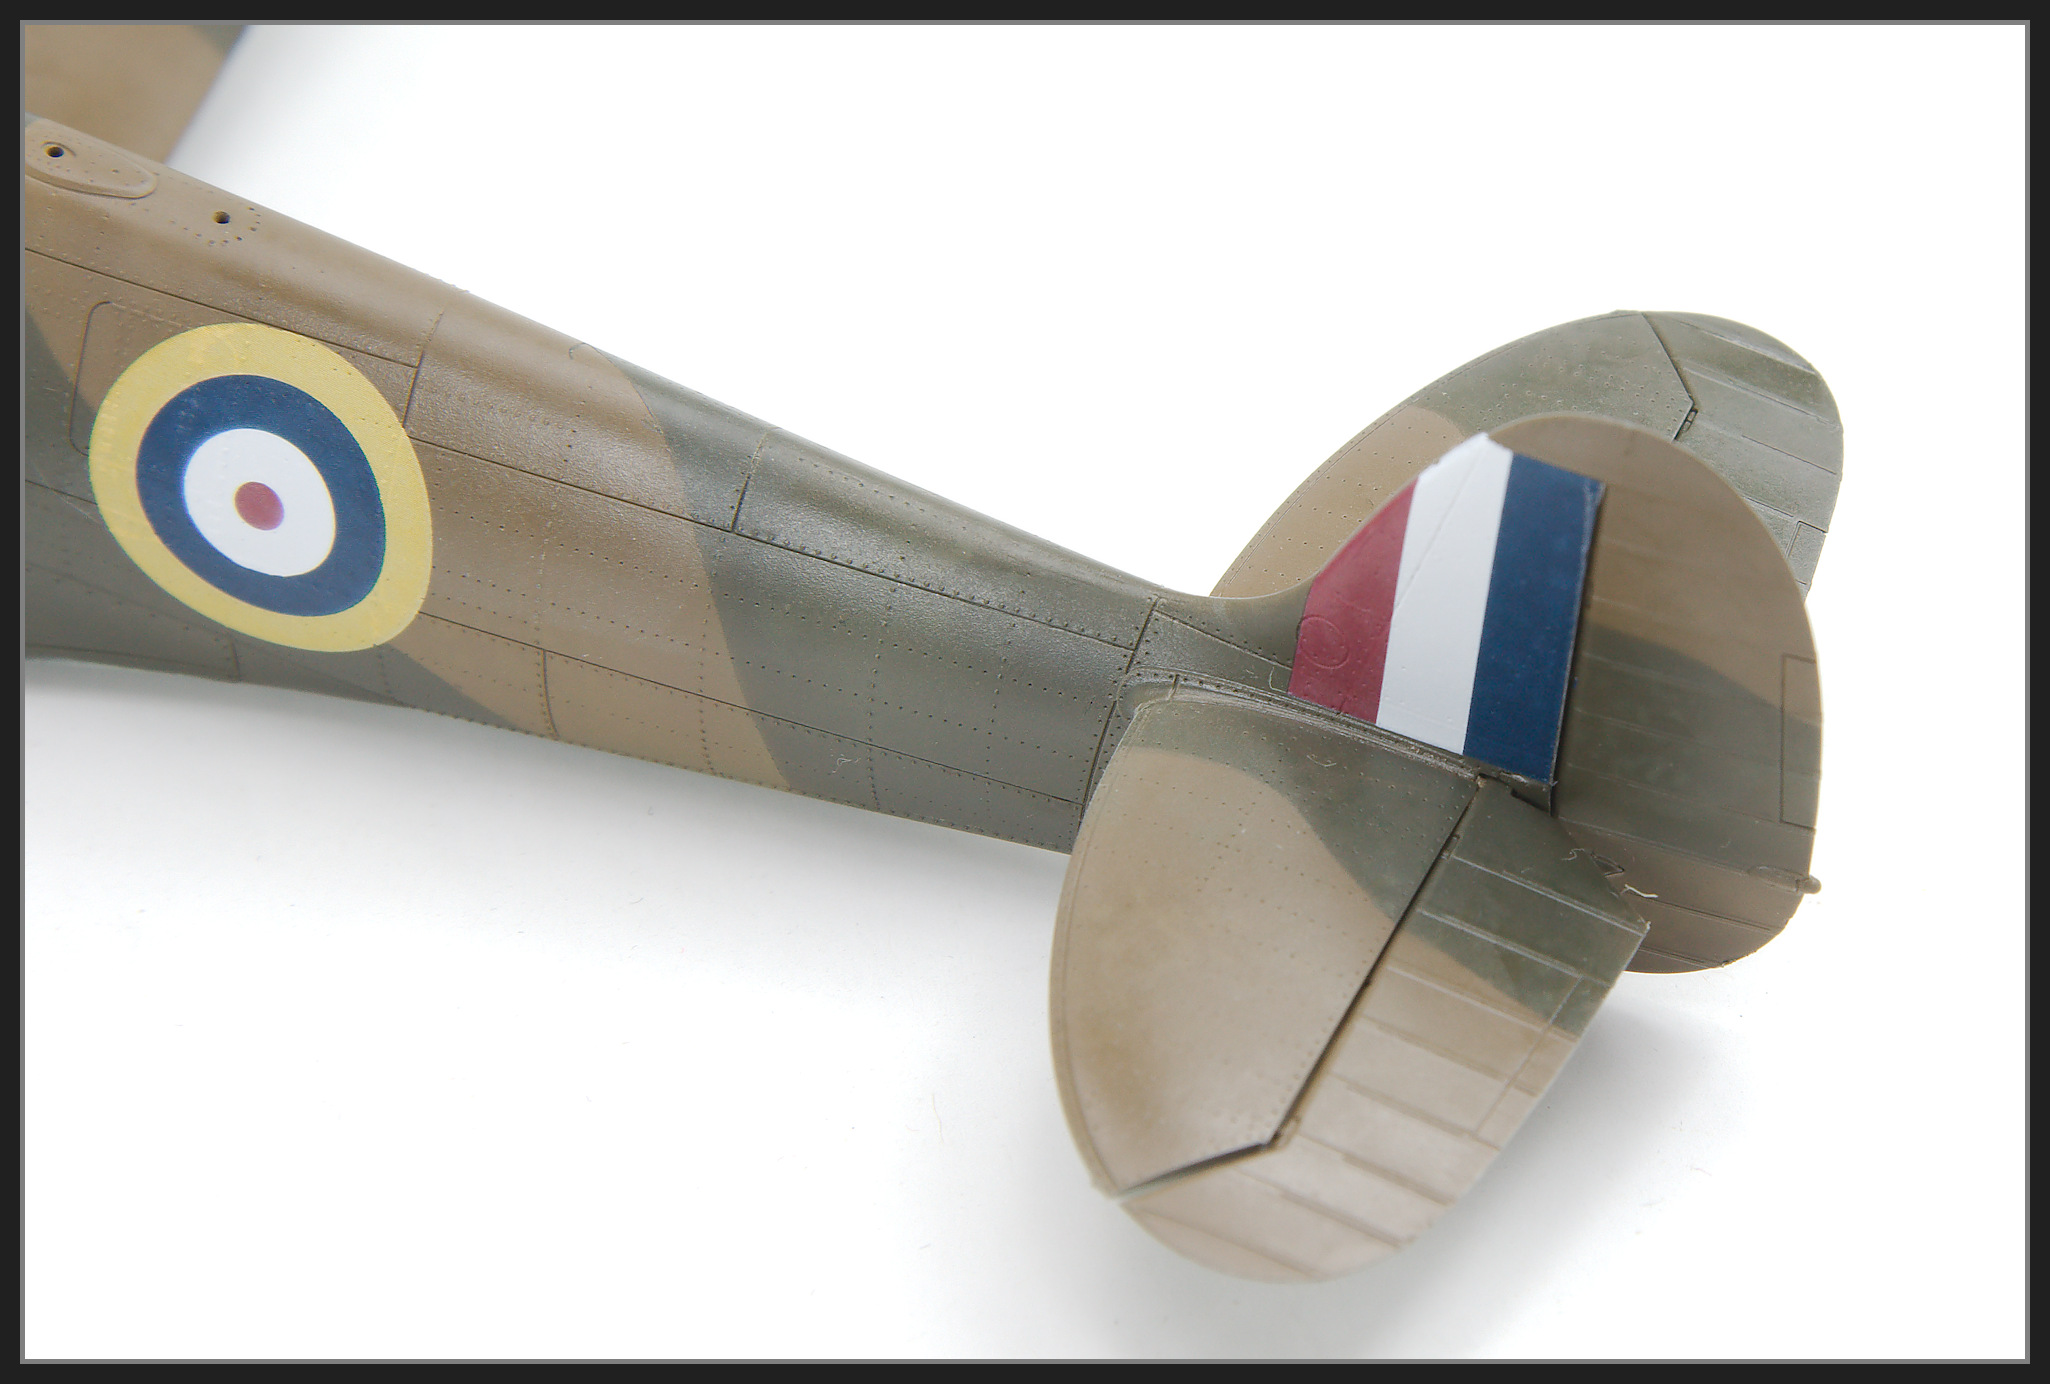
The markings in this image still has the carrier film . You can see its edge if you look close enough. You can also see how well they have gone down into the details.

Removing the Carrier Film
This is very easy; I had no issues at all using tweezers.
With the points closed I pushed the edge of the decal until it bunched up, then I grabbed the film and peeled it away.
Sometimes the film came off in one piece but it usually ripped so I had to repeat the process. Again this was simple, much simpler than the HGW wet transfers I have used in the past.
I tried using tape as per the video referenced above but had no success using Tamiya tape.
Later I tried using odourless Thinners on some small stencils and this worked however you need to be careful not be to rough as you will start to remove the artwork after the film has gone.
In this image you can see I left a huge piece of carrier film on the I to make it easier to peel.

This image has the carrier film removed from the I but the other markings have still have the film to be removed.. As you can see I lost a bit of the I on the lower left corner

In this image the carrier film has been removed from all the markings. Unfortunately bits of the edges of the M came away and this swastika didn't stick as well as the other markings and lots came away.
You can see the decal has been removed from the panel lines in places. This could be good or bad.

The film over the upper wing decals came away well with a few small exception. I guess I can call it chipping.

The Plusses.
The decal with the film removed looks excellent, as good as a painted marking. It has a flat sheen to it and the all the detail is visible.


The Negatives.
I reckon I lost a bit of nearly every decal where I removed
the carrier film. Often this was at the
edges and also in the panel lines. But
there were also bits that pulled up from
the middle of the decal. In some cases I
can live with that and call it weathering or chipping, or even go back later
and touch up with a paint brush.
However losing some of the decal where the edge had a fine
line or colour change is an issue as this is very hard to restore - if you want all your markings these - which usually we do.
On a couple of decals, as I started pull up the film, I
could see I was going to lose a substantial amount of the decal so I put the film back down before it ripped and re-applied the Mr Mark Softener. On those decals I left with the film on
as I doubted that they will “stick” on the model despite subsequent applications
of Mr Mark Softener. Plus I had no spares for
them.
On one of the swastikas far too much of the decal came off with the carrier film to call it weathering so I removed the decal completely

This wasn’t as easy as I’d hoped, even using normal sticky tape didn’t remove the remnants. I ended up using my fingernail to remove what was left. Thankfully the paint was fine and there are spare 2 part swastikas which I could use.
Do You Even Need To?
But do you even need to remove the carrier film? Eduard say no, and I tend to agree.
This image shows the side where I didn't remove the carrier film from any of the decals.

The decals in this kit went down really well and sucked into the detail without issue even with the carrier film remaining. The main markings look excellent,; there is none of the pixilation I saw in the Spitfire codes.
The stencils also performed well . I removed the carrier film from some of them using the tweezer and Odourless thinners. Others I left as I wasn't confident they would stick.
If you aren't going to remove the carrier film I'd recommend trimming the carrier film as close to the decals as possible as there is a heap of it.
Unfortunately all the ones with red were way out of register. So I ended up painting the walkway markings and removing the others.

Conclusions
If there was a way to ensure that - every time, - every part of the decal would stay stuck to the model when the carrier film is peeled then this could be a real game changer.
But there just isn’t.
You just don’t know what is going to happen with each decal. How much of the decal will remain on the model? There are too many variables at play.
I have seen posts online not to use any setting solutions at all. I'm not convinced of this. I think that you really need to ensure the decal really adheres to the model. So I think using something under the decal is definitely needed. W0uld something like Tamiya decal adhesive be better? I'd like to get some to try.
So you if you decide to remove the film you take your chances.
Whether another setting solution was needed over the top, I don’t know. But it didn’t seem to do any harm.
Update - January 2022

There is tiny bit of white showing on one part of the edge of the roundel there. This only became apparent with the film removed. I ended up making a mask and spraying some green to hide it

The underside decals split but I think most decals would have struggled having to conform over those large fairings . next time I will apply the decals first then apply the fairing and touch it up with paint
The tiniest stencils were left with t the film as it was difficult to remove the fil.


No comments :
Post a Comment