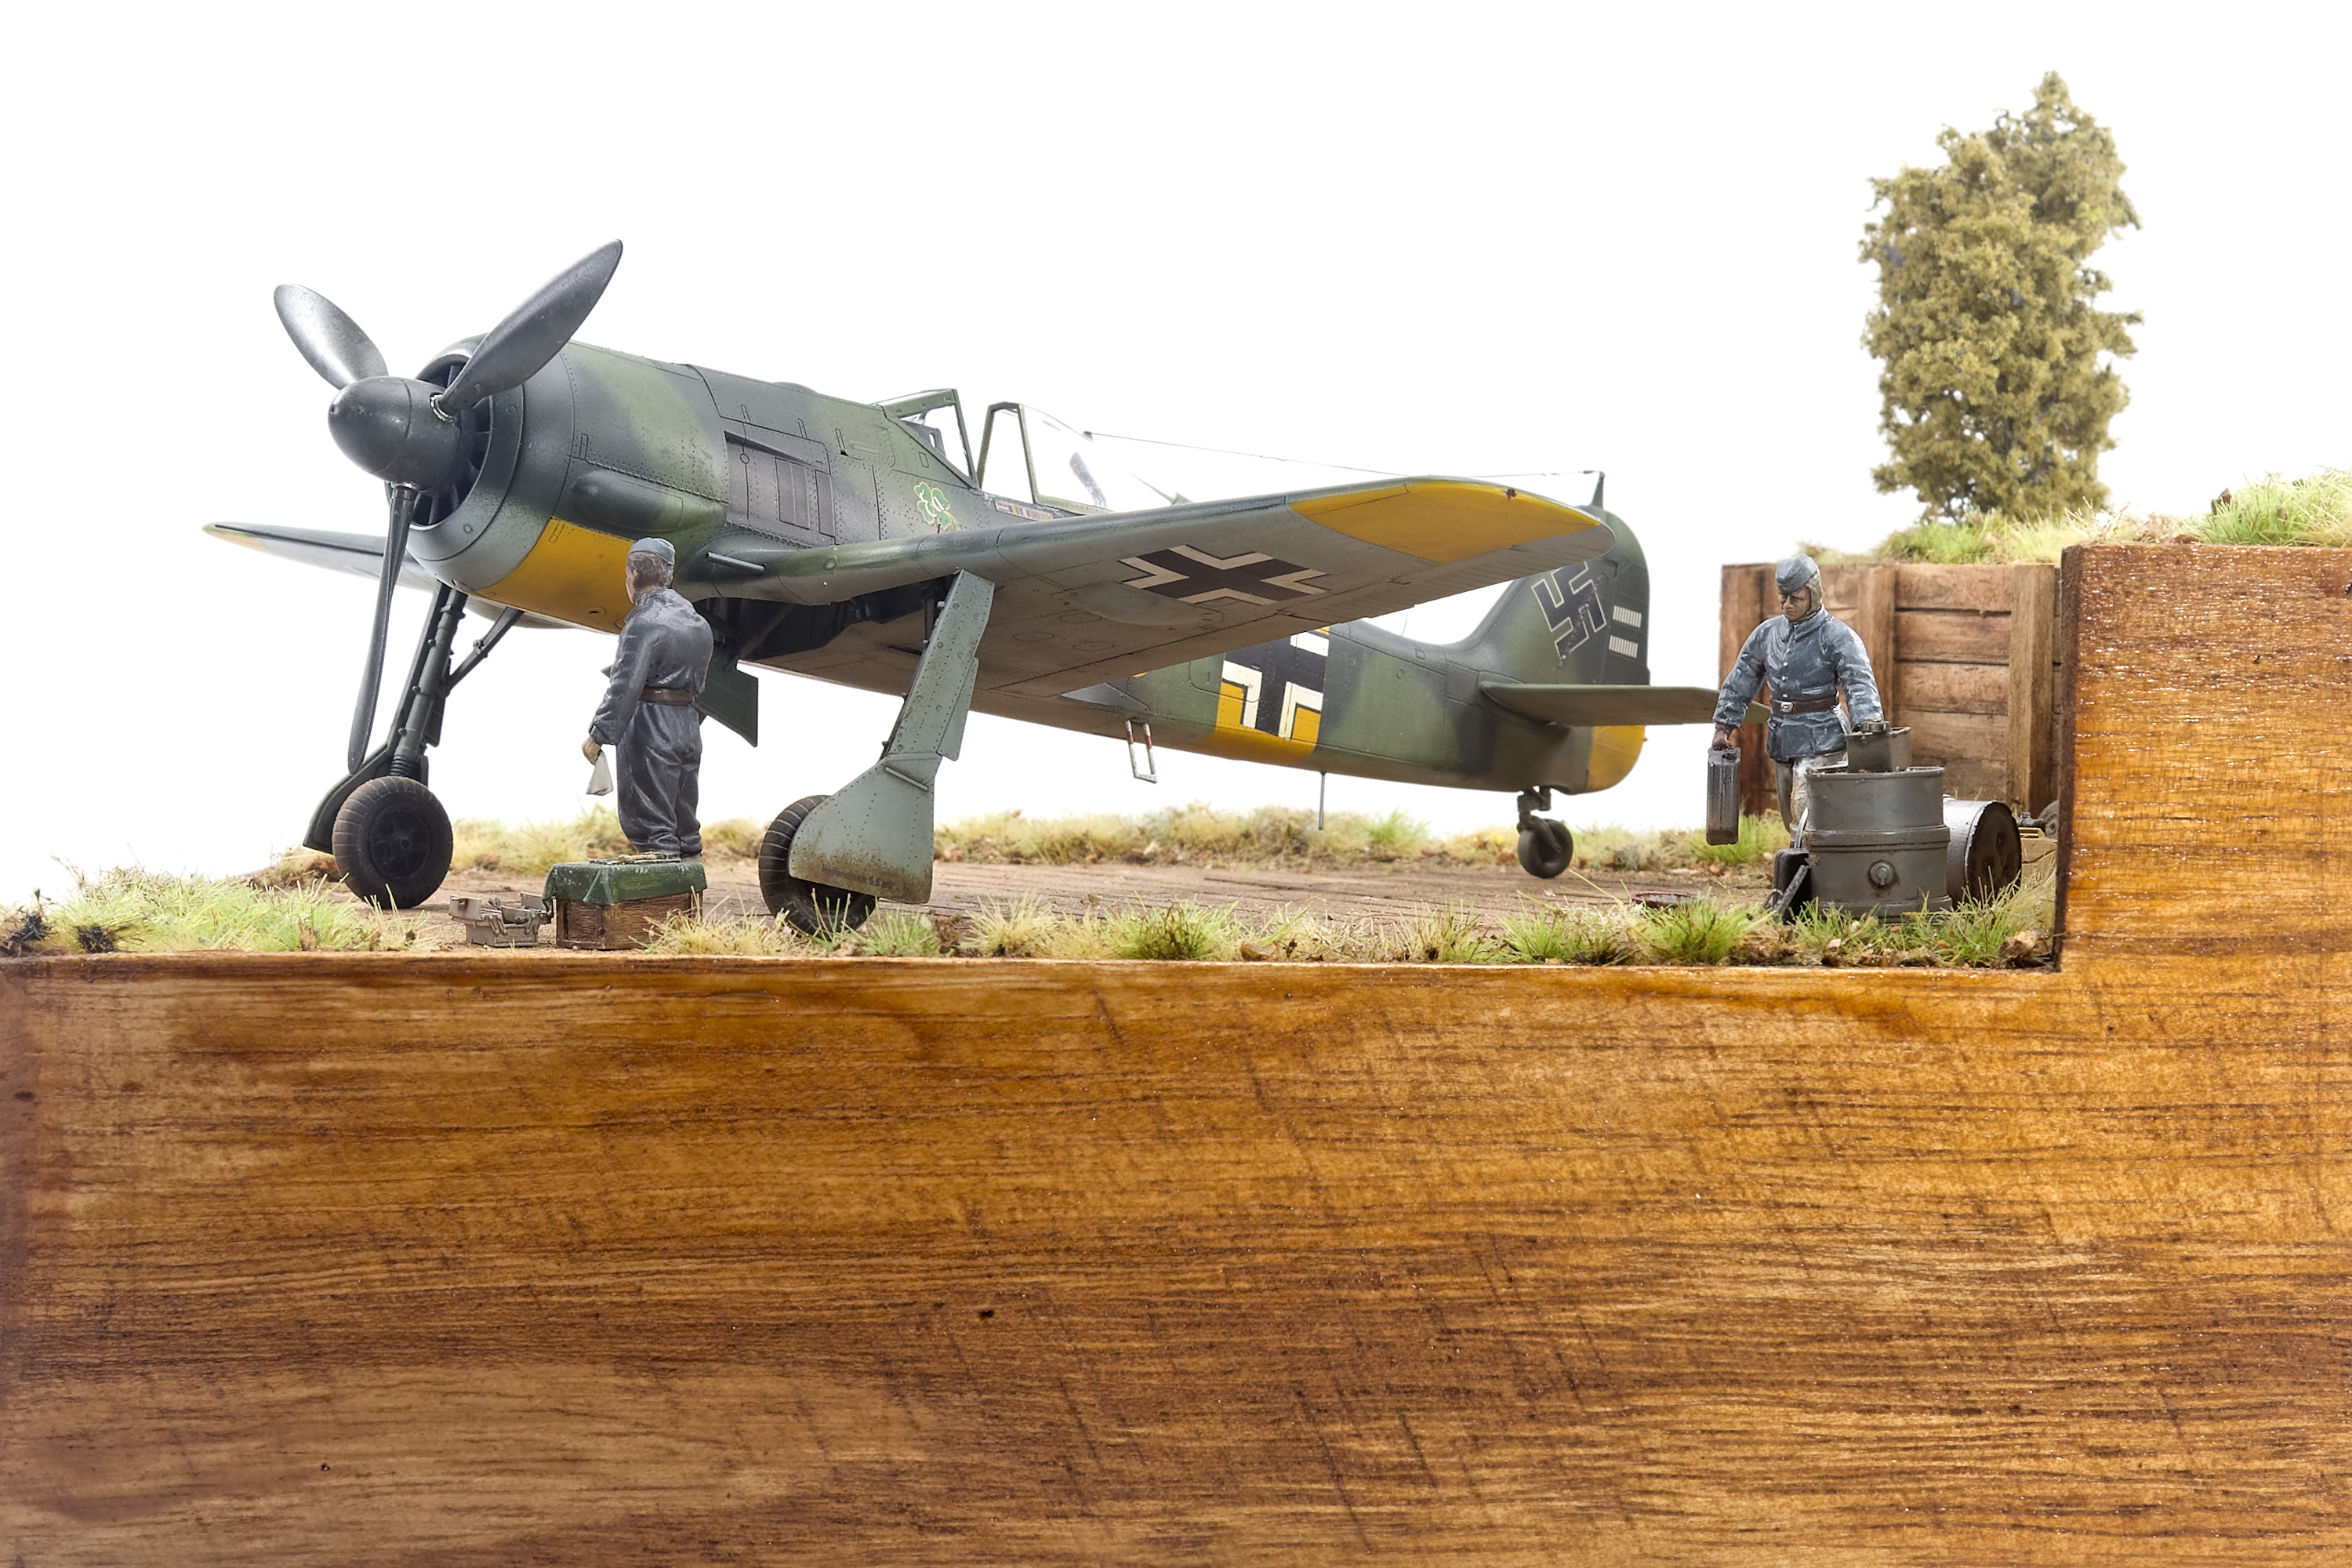
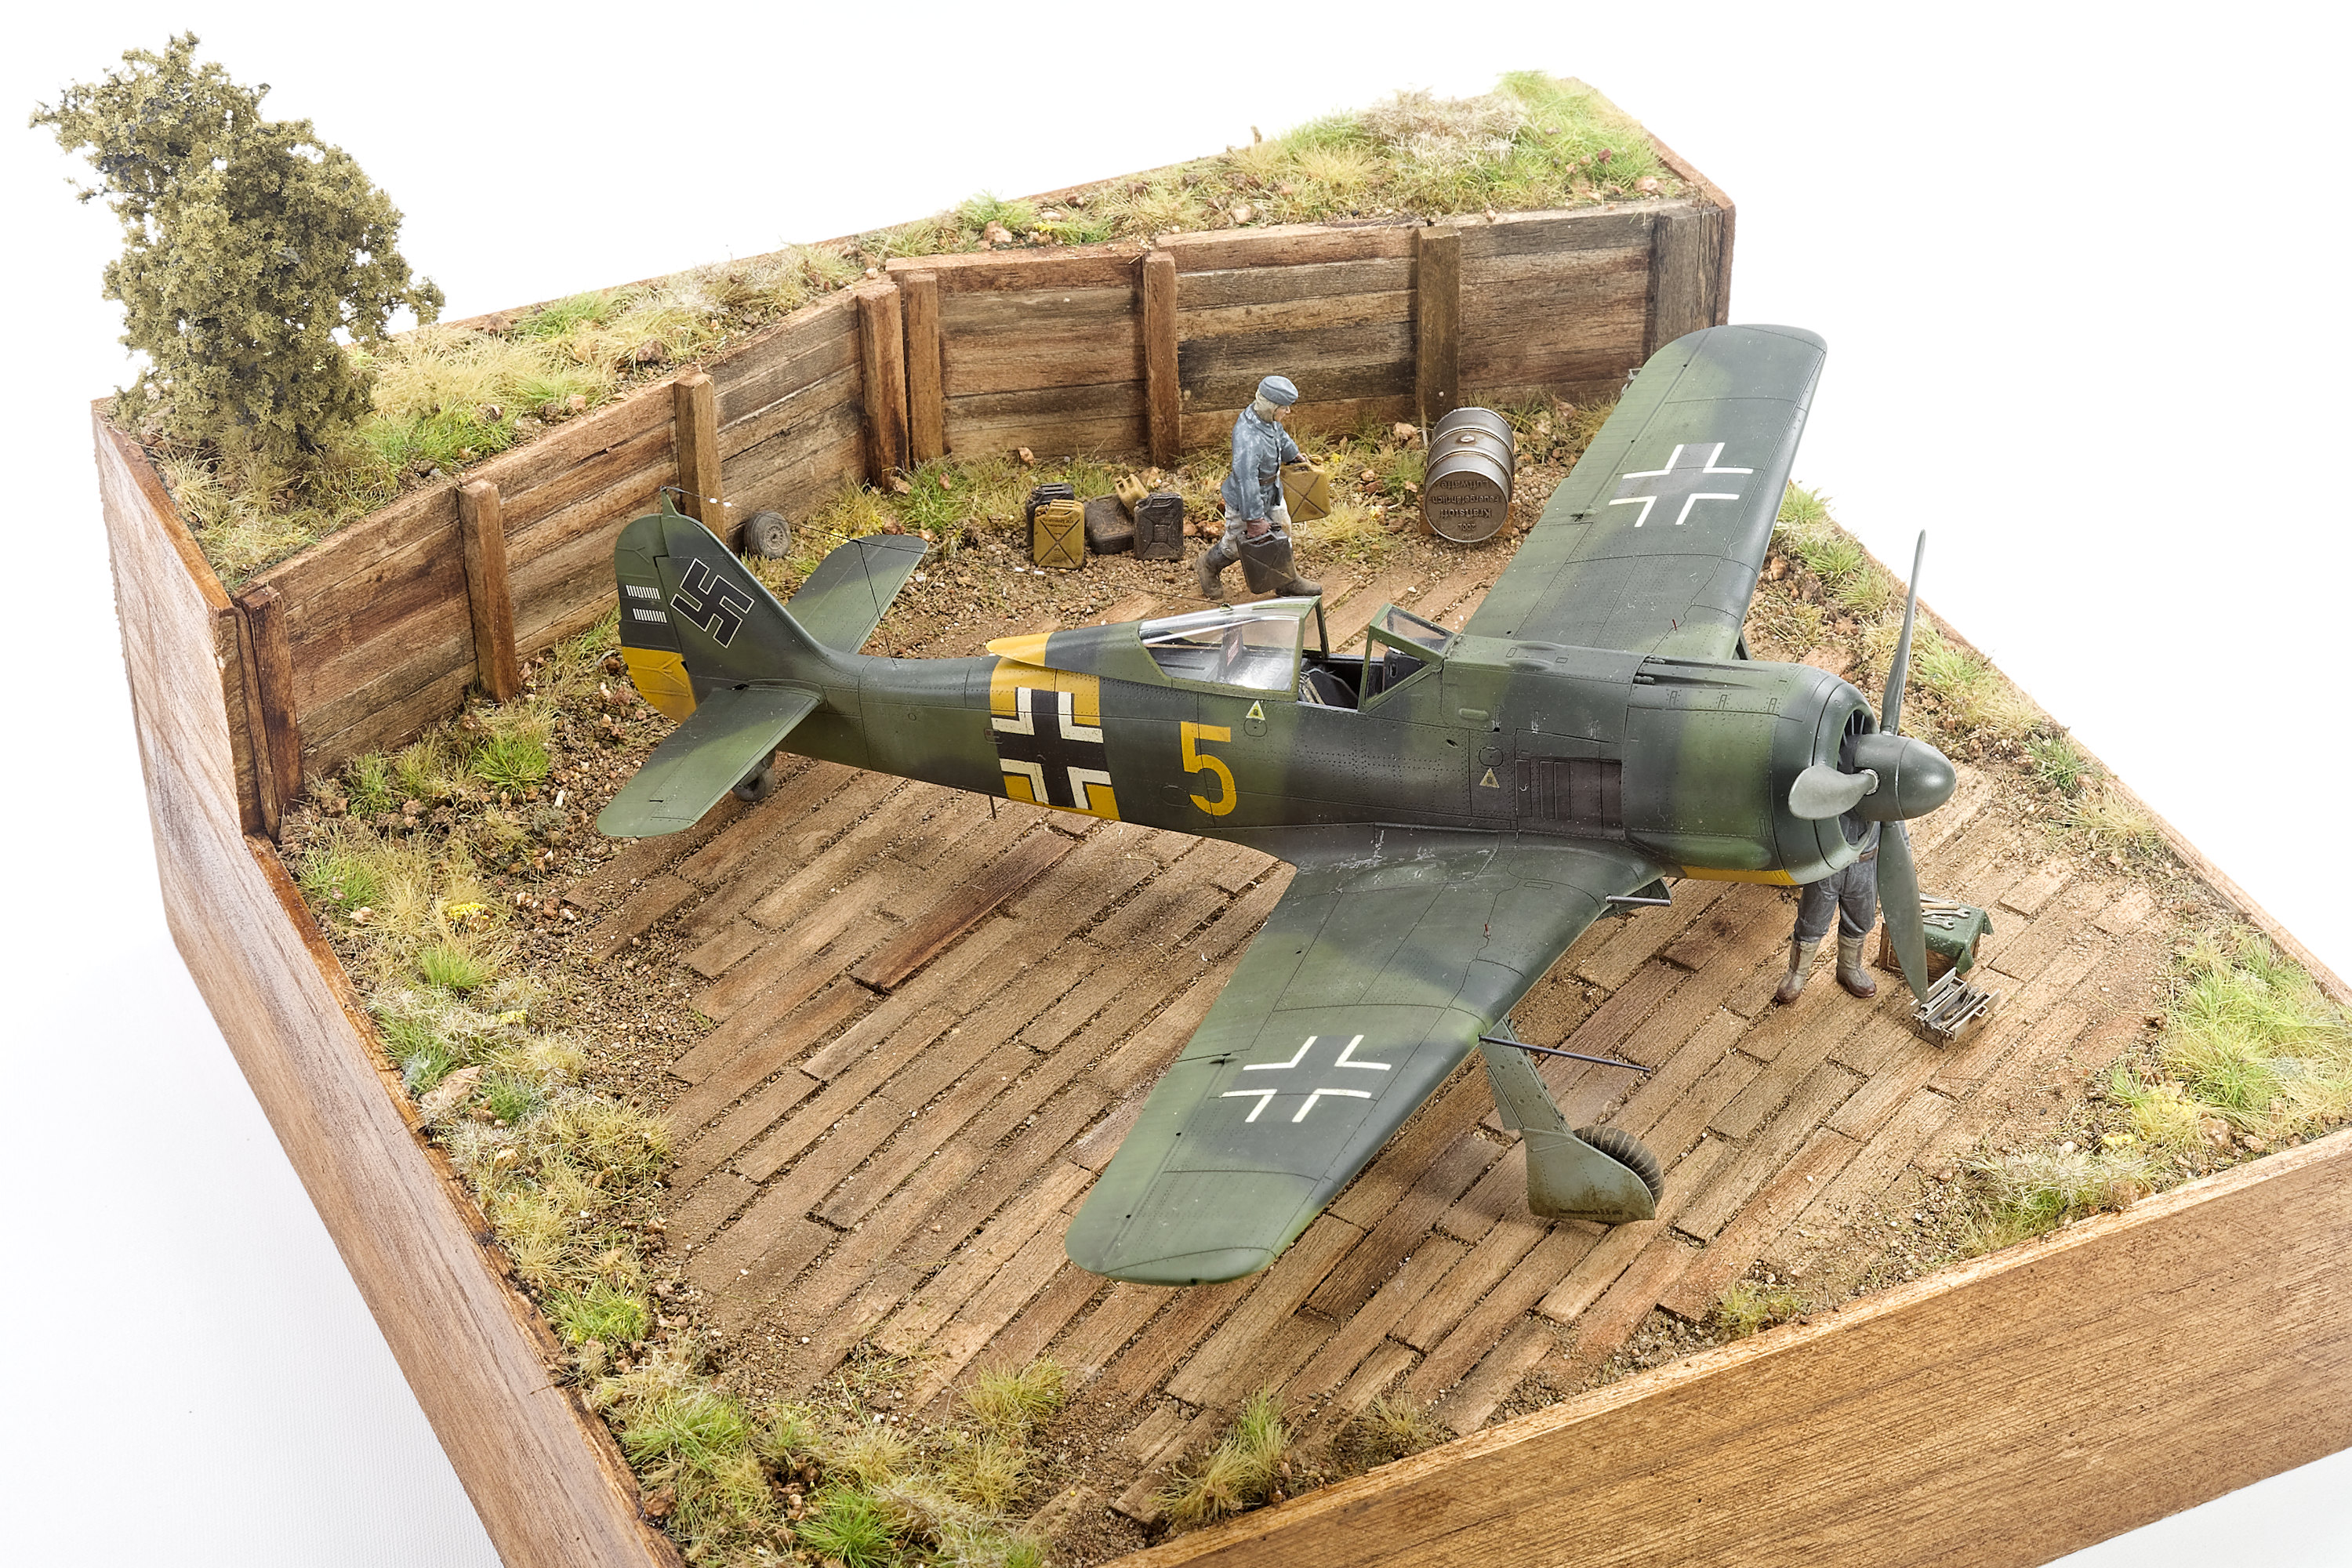
Depicted as an aircraft flown by Karl 'Charly' Willius of 3. / JG 26, Dno, in the Soviet Union early April 1943
The aim with this build was to construct a little scene or vignette. I have been doing a lot of scenic bases over the past few years but I wanted to do a little bit more. I stumbled across a youTube video by Plasmo that provided the required inspiration. It helped that I had the same terrain mat as he did.
The Kit
- 1/48 Eduard Focke-Wulf Fw 190 A-5 Kit No 82149
Aftermarket
- Barracudacast Wheels
Decals
- Exito Decals ED48002 - 1:48 Wulf Pack vol.1 - Focke-Wulf Fw 190
Originally I had intended to do the camouflaged example on the box art but found I don't have the paints required and couldn't source them locally so looking through my decal stash I came across an aircraft with a similar but simpler paint scheme
The Build
I've built a number of Eduard's new tool kits over the past few years, including 3 of the Spitfire IX/ VIII's, Spitfire Mk 1 and Vc, 3 P-51D's 2 109E's , a 109F and the Typhoon V. So I reckon I've got a good handle on where they are at. This Fw-190 was the best fitting of the lot. Apart from the centreline seams, which can't be avoided, no filler was needed.
Detail is, as usual for Eduard, excellent. I did struggle with the PE seat belts. I noticed they have just released a 3D printed seat with integral belts so I will be purchasing some of those for future builds.
I elected to use the Photo etch for instrument panel and side console detail. Sure it's flat but you really can't see it. I also applied the decals over the raised panels (although Eduard want you to use them on flat panels), they fit well enough that I may just grab weekend edition kits in the future.
 |
| Decals vs PE |
Build wise there is nothing much else to say. Just follow the instructions and everything just goes together as you'd hope.
Painting
Paint was applied freehand after marking out the pattern with a coloured pencil. Tamiya XF27 Black green was used for RLM70 and Mr Hobby H340 Field Green for the RLM62.
Spatter masks with lightened mixes of the base colours were used to add some variation to what I assume is a field applied camouflage. I also like to use thinned versions of opposing colours to add variation. By this I use the dark green on the light green and vice versa.
 |
| Topside Painting |
 |
| Splatter Masks for some variations |
The RLM 76 on the underside was Mr Color C117 and the RLM04 was SMS's version of that colour.
 |
| Underside Paint and Preliminary Weathering |
The thing I love about SMS yellows and whites is their coverage. You don't have to stuff around laying down lots of coats. Even over dark colours a couple of passes will do it.
 |
| Yellow Bands are SMS RLM04 |
Markings
For the national markings, bar the tail swastika, I used those from the box. Eduard's new decals are a bit polarising. Some hate them , some love them. I'm in the later camp. I like being able to remove the carrier film. Initially the printing quality was poor but newer printings are excellent. Even if you don't peel the carrier film they work and look great.
 |
| Underside Paint |
For the tail swastika I used Exito decals as the Eduard version looked too large compared to the reference photo on the Exito sheet. the Yellow 5, artwork and national flags are also from Exito.
Exitio advise that on the real aircraft the flags (of his victims) were applied on a piece of aluminium and they supply a 3D decal (or like) with those.
The aircraft also retained the original camouflage colours of RLM74/75 under the national marking on top of the wing.
Once the carrier film was removed using odourless thinners I sealed the decals with a coat of SMS gloss before masking out the relevant areas with de-tacked tape. Then Mr Color versions of RLM74 /75 were applied.
 |
| Markings complete |
 |
| RLM 74/75 on the wing markings |
Weathering and Finishing Touches
After sealing the model again with a 50/50 Mix SMS Gloss / Flat (to get a semi gloss finish) a panel lined wash of Starship filth was applied to the model. ABT 502 Sepia was used for a darker wash around the control surfaces.
Oil paints were then splattered on to, then worked into the surface of the model. In hindsight I should have done a bit more around the underside of the front of the engine. Oils were also used for gun and exhaust staining. I don't have the skill to do this with the airbrush and find using oils more forgiving if you make a mistake.
 |
| Underside Weathering |
The one weakness of this kit, and its one that I think a number of Eduard kits suffer from, is the attaching points for the undercarriage. These are always a little vague and not as sturdy as they should be. That said, I managed to get the legs in this model fitted and aligned after studying the instructions and the kit parts.
The antenna wire is from an Infi elastic rigging material . The insulators are blobs of white vallejo paint.
I didn't take any photos of the final stages as I focussed on finishing the kit. Plus I was in the process of also finishing the base, which I was enjoying.
Photos of the Finished Aircraft
The Base
As described in the initial paragraphs of this blog I pretty much copied Plasmo's ideas for the base.
The foundation is high density insulation foam lined with balsa. All this was sourced from The Church of the Red Hammer. The rear parts were attached with white glue and nails.
The balsa planks for the ground and retaining wall were cut using my 'Cutter' and secured with white glue.
Thinned oil paints were used to paint the timber. Vallejo flat brown was used to base coat the ground and the sides where lined with more balsa glued with a hot glue gun.
The vegetation is a mat (from Mig AMMO IIRC) cut to shape and glued down with white glue.
Dirt from the backyard and garden was sieved and sprinkled to fill all the voids. This was fixed using AK sand and gravel fixer applied using a pipette. Bits of the mat were pulled off and glued down . Poster tacks were used to hold the bits down while the glue was drying.
More vegetation was applied and the sides of the base stained using a wood stain applied with a sponge
It was about this time I got a 3D printer and went a bit mad downloading and printing out things for use in the scene. These are Luftwaffe fuel drums, which i figured would be a good fit for the scene.
To finish it of I added a couple of figures from a Tamiya set (these were actually ICM figures). I modified one of them to carry the jericans. The tools, tool boxes, boxes and barrels were all printed on my 3D printer.
The Finished Scene


No comments :
Post a Comment