
Slowly plodding on with this. Managed to get a shot up it's bum

Primer on. I've used Mr Surfacer 1200 thinned with Lacquer thinners and sprayed through my airbrush
Another Hasegawa boo boo is the size of the camera pod. It should go all the back to the nose gear bay. I've used a bit of card and some filler to extend the pod to the correct length.

The F-14 has a green tinge to the centre panel of the windscreen. I chose to simulate this by airbrushing light coats of Tamiya Clear Green/X 22 Gloss thinned with Mr Color Thinners. This was my first attempt, to many coats so it's to dark. To remove it just use Isopropal Alcohol. This will not damage the plastic

Second attempt. Maybe a bit light. The hardest part is not getting any dust on it. I painted it on the inside of the windscreen as it should be less likely to get damaged during the rest of the build.

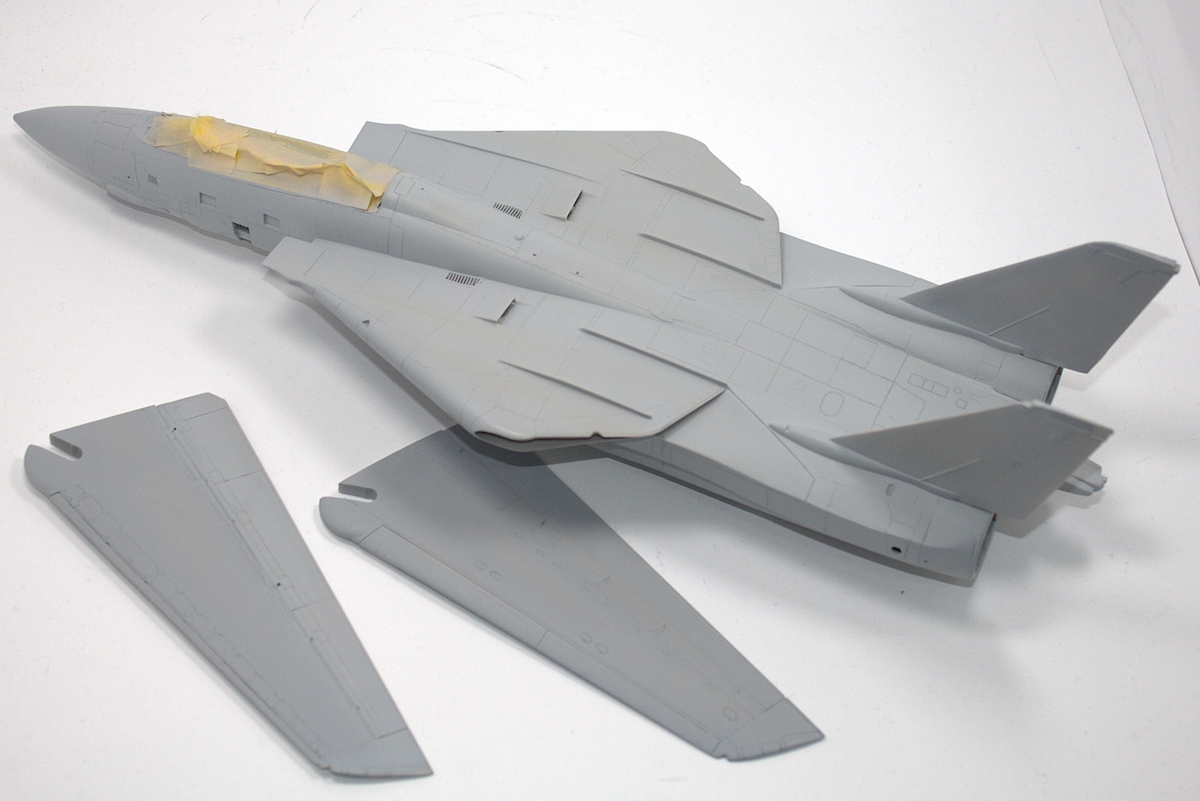
Pre shading, I'm not usually a fan of this, but the F-14 did get quite dirty, and light grey overcoat should mean I can get a decent result.


Happy enough the with finish that I can move onto the next stage. I've used the Mr Color and Mr Hobby Paints, called out in the instructions for the base coats. The other "50 Shades of Grey" are Mr Color, Mr Hobby and Tamiya from my extensive collection of grey paints


Before I do the back I have to fill the windscreen. I used normal cement, applied carefully to secure the windscreen. I'll used Perfect Plastic Putty to fill the gaps

Hours of masking, for 2 mins spraying - Still what choice do you have, its the only way to get the a good finish.

The Black is Tamiya NATO Black decanted from the Aerosol can and sprayed though my airbrush.

A few touch ups were needed after the masking came off. Particularly the rear of the black , which wasn't symmetrical

Masked out the wheel wells, this took another 60 mins but worth it as I got a nice finish. After this dried I applied a black Wash. I couldn't be bothered going to town in there. Very little will be seen.

At the same time as masking the wheel wells I did the step wells.

She now looks OK. Time to do the yellow (I hate painting yellow) and fit the clear anti col's

No comments :
Post a Comment